
AWS-Vault is a command-line utility for storing AWS IAM user credentials in your operating system’s secure backend and then creating short-lived sessions for the AWS CLI or Management Console. If you still rely on IAM-user bootstrap credentials for local development or admin work, AWS-Vault is a practical way to avoid leaving long-lived keys in plaintext files.
This page provides an overview of the TurboGeek AWS-Vault family. Use it to understand where AWS-Vault fits, how it works, and which platform-specific guide you should follow next.
Important: the original 99designs repository is marked abandoned. AWS-Vault is still widely referenced, but before you standardise on it you should review the latest release path or active fork and decide whether it is still the right choice compared with IAM Identity Center.
Choose your AWS-Vault path
- How to Install AWS-Vault on macOS for Homebrew and Keychain setup.
- How to Install AWS-Vault on Windows for Chocolatey, Scoop, and Windows Credential Manager.
- How to Install AWS-Vault on Linux for Linux package managers and backend choices.
- AWS-Vault Security Best Practices for Protecting AWS Credentials provides hardening guidance.
- AWS-Vault vs IAM Identity Center: What’s the Difference? If you are choosing between local credential tooling and workforce SSO.
What AWS-Vault does
- Stores AWS IAM user access keys in the operating system’s secure backend instead of a plaintext credentials file.
- Creates temporary sessions for AWS CLI usage through
aws-vault exec. - Supports MFA and role assumption for safer day-to-day admin workflows.
- Can open short-lived Management Console sessions with
aws-vault login.
Supported install paths
AWS-Vault is commonly installed with Homebrew on macOS, Chocolatey or Scoop on Windows, and Homebrew on Linux or native package managers on selected Linux distributions. Use the platform guides above for the exact path you need rather than treating this page as a one-size-fits-all install tutorial.
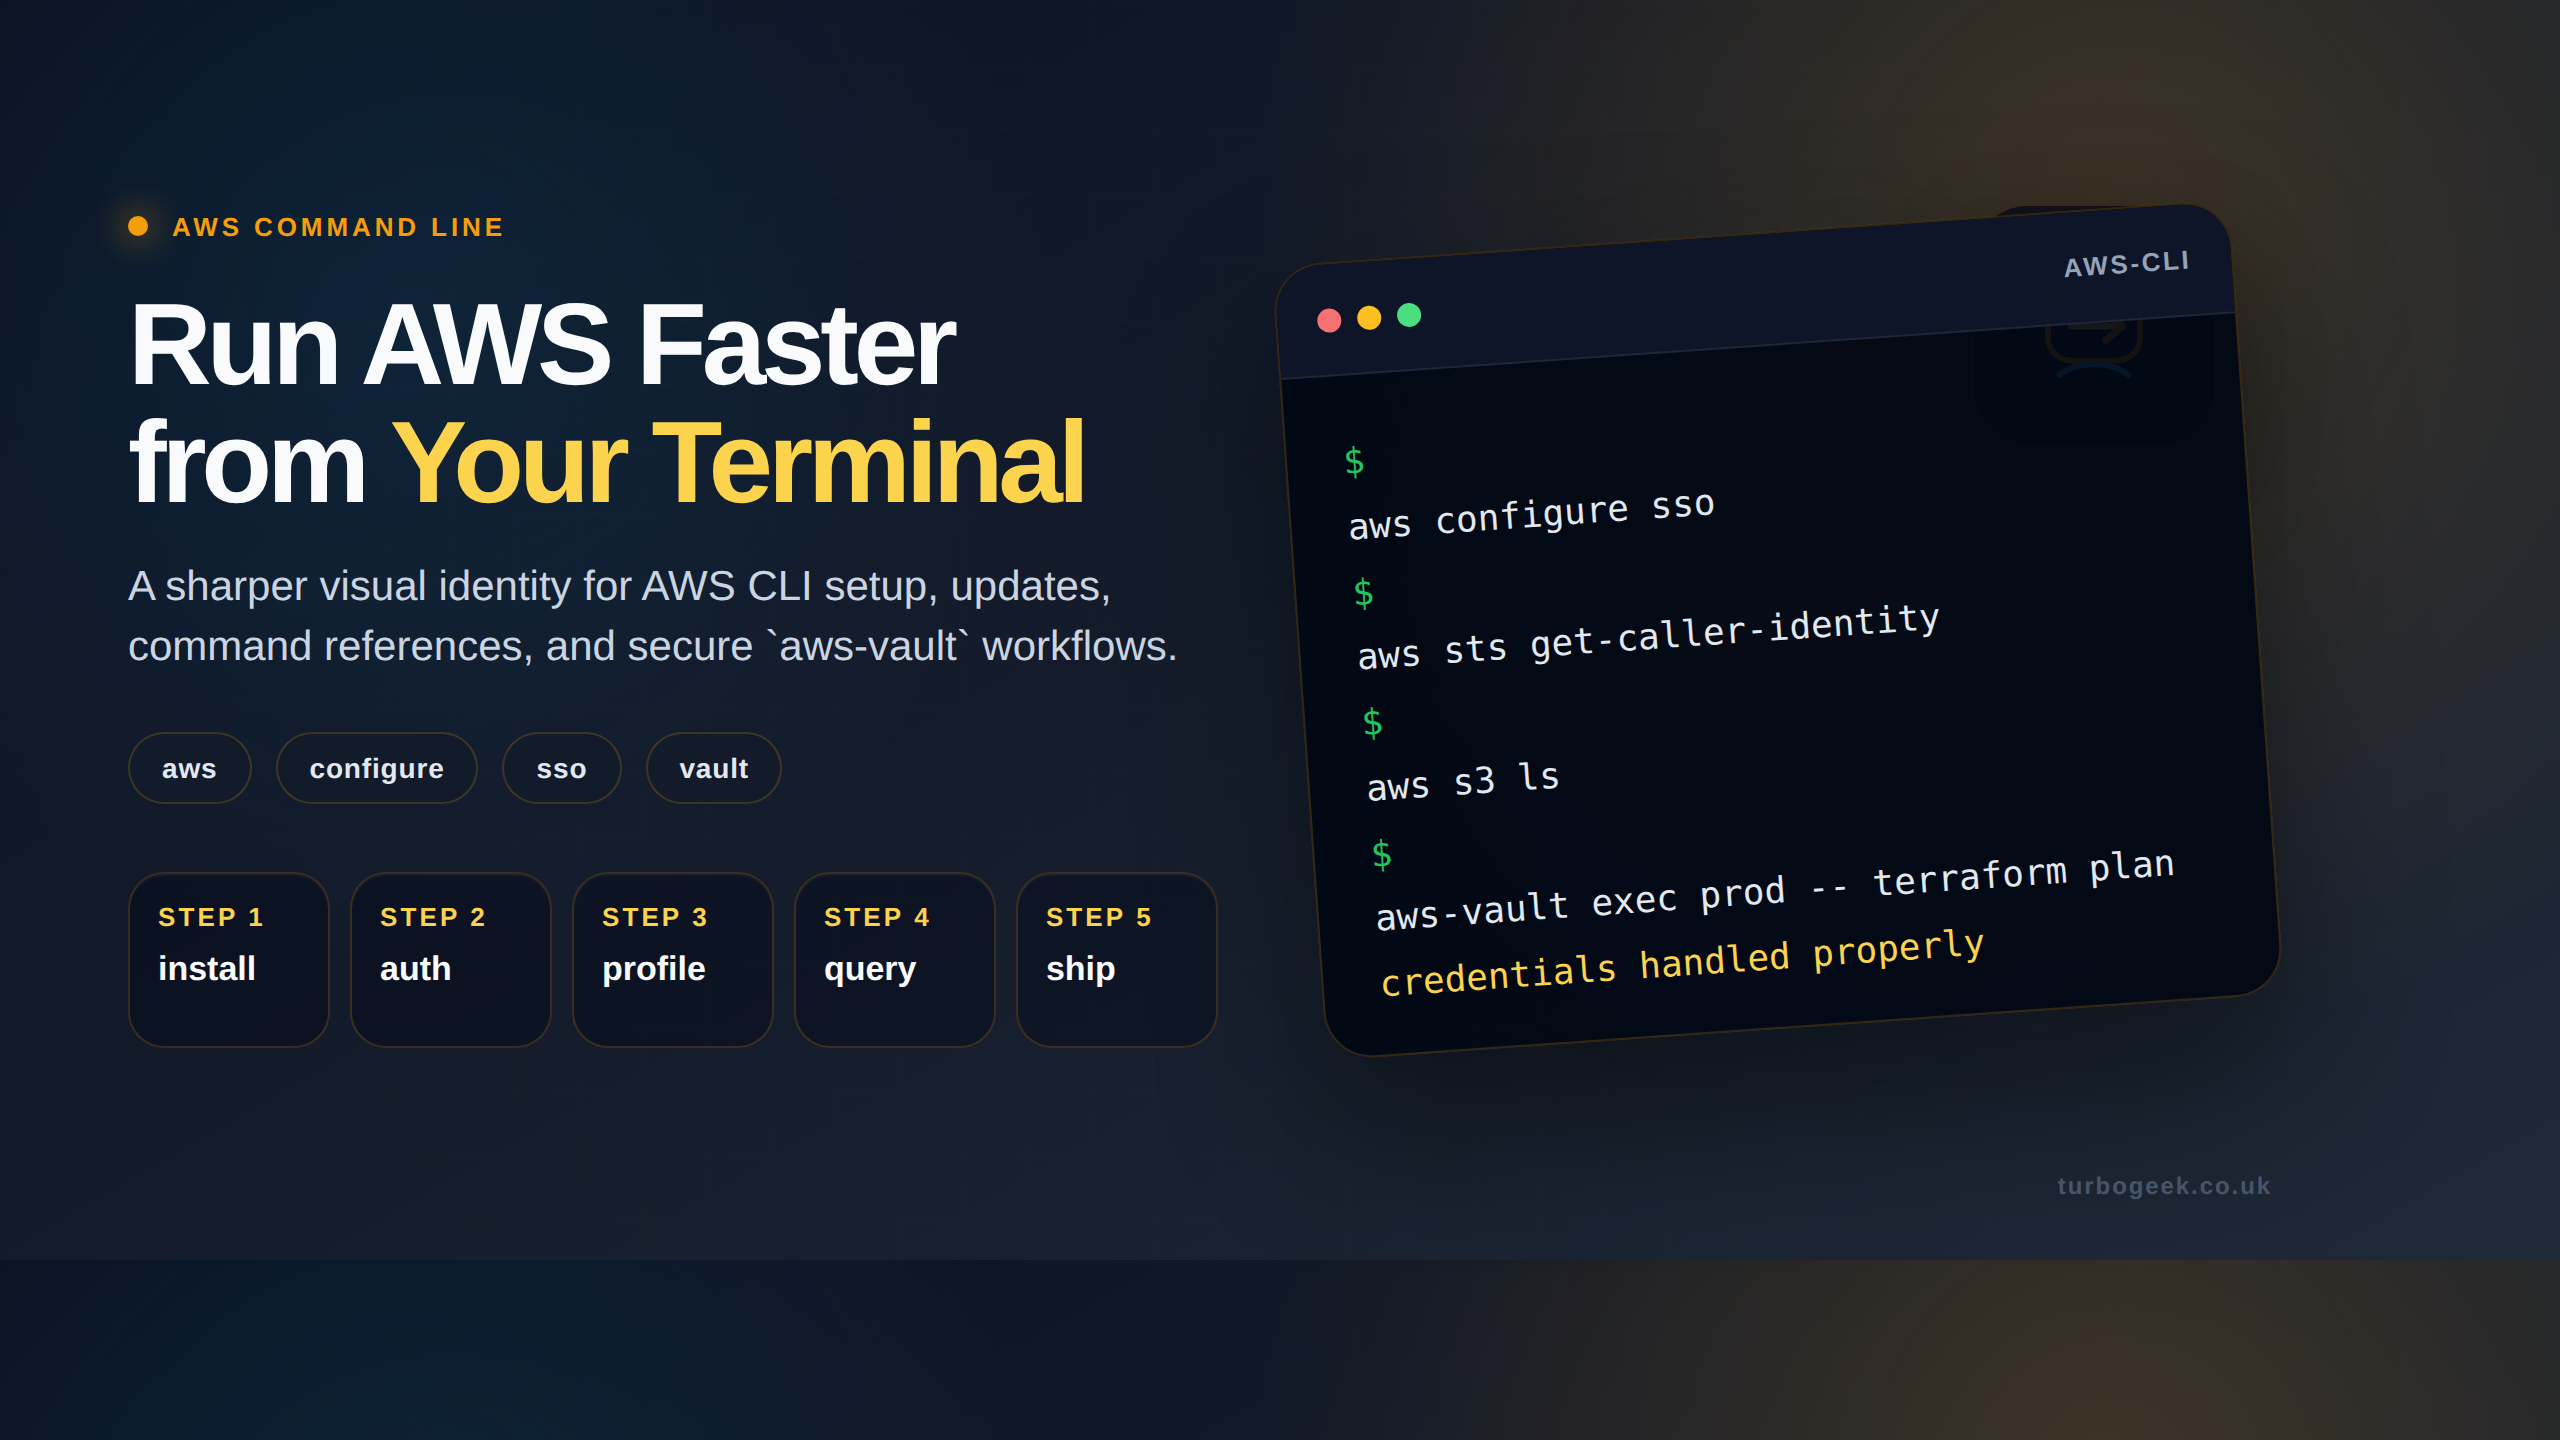
Quick start
1. Store the bootstrap profile
Add the base IAM user profile to your secure backend:
aws-vault add devThis stores the access key in the operating system’s secure store. The name dev is just an example.
2. Define a role profile
Add a role profile in ~/.aws/config that points back to the stored base profile:
[profile dev-admin]
source_profile = dev
role_arn = arn:aws:iam::123456789012:role/DeveloperAccess
mfa_serial = arn:aws:iam::123456789012:mfa/your.name
region = eu-west-23. Test CLI access
aws-vault exec dev-admin -- aws sts get-caller-identityIf MFA is configured, AWS-Vault will prompt for it before creating the session.
4. Open the AWS console
aws-vault login dev-adminThis opens a short-lived browser session for the selected profile.
When AWS-Vault fits best
- You work mainly from the CLI and assume multiple roles across several AWS accounts.
- You still have an IAM-user bootstrap credential but want to stop keeping it in plaintext files.
- You want MFA and temporary sessions to be part of the normal developer workflow.
When IAM Identity Center is the better default
- You need organisation-wide workforce access across many AWS accounts.
- You want central lifecycle management with an external identity provider such as Microsoft Entra ID or Okta.
- You want to avoid distributing long-lived IAM user access keys as a bootstrap approach.
Common issues to check
- Profile not found: make sure the profile name used is in
aws-vault execoraws-vault loginmatches the profile names in your AWS config. - Access denied: verify the role trust policy and permissions attached to the assumed role, not just the bootstrap user.
- Keyring prompts or failures: confirm your operating system’s secure backend is unlocked and available for the user running AWS-Vault.
Leave a Reply