
Install and Use the GitHub CLI (gh) on Ubuntu (Step-by-Step)
Key Takeaways
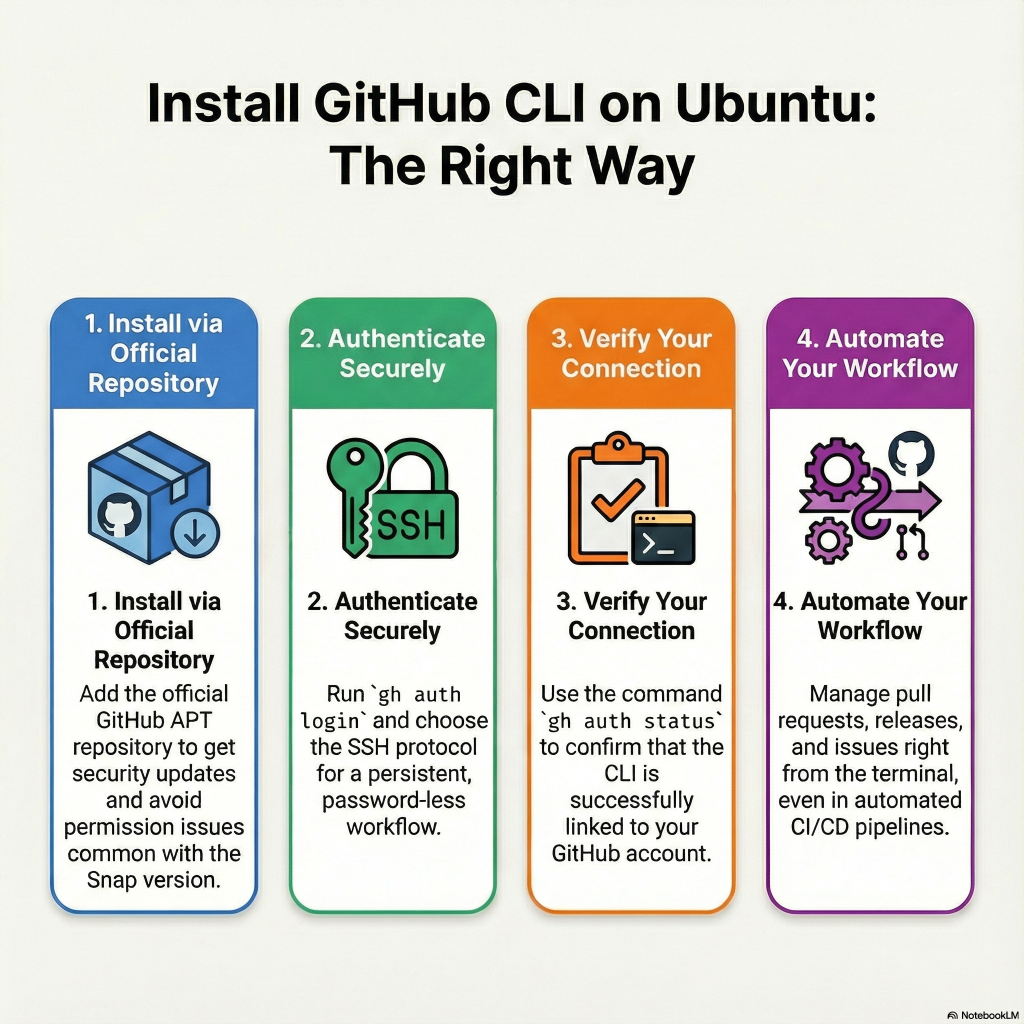
- Official Source: Always install
ghvia the official GitHub APT repository to ensure API compatibility and security updates. - Avoid Snap: Skip the Snap store version to avoid sandboxing issues that block access to SSH keys and local Git configurations.
- Secure Auth: Use
gh auth loginwith SSH for a persistent, password-less workflow. - Automation Ready: The CLI is designed for pipelines; use
GITHUB_TOKENfor headless operations in CI/CD.
The GitHub CLI (gh) brings the pull request, issue tracking, and repository management experience directly to your command line, reducing context switching between your terminal and the browser.
While many users encounter the frustrating Command 'gh' not found error, this guide focuses on the proactive, correct installation procedure to prevent those issues entirely. We will cover the official installation method, secure authentication, and practical workflow integration.
Prerequisites
Before starting, ensure your environment meets these requirements:
- OS: Ubuntu (or Debian-based distribution).
- Access:
sudoprivileges to install packages. - Network: Outbound internet access to
cli.github.com. - Account: A valid GitHub account (Free, Pro, or Enterprise).
Step 1: Install gh Using the Official APT Repository
Why not use Snap?
Ubuntu Software Center often suggests the Snap version. I strongly recommend against this.
The Snap version is strictly sandboxed, which frequently leads to permission errors when the CLI tries to access your local SSH keys or global .gitconfig.
The Secure Installation Script
The best method is to add GitHub’s official package repository. This ensures you receive verified updates directly from the maintainers.

Run the following command block in your terminal.
This script installs dependencies, securely downloads the GPG keyring, and installs the CLI:
(type -p wget >/dev/null || (sudo apt update && sudo apt install wget -y)) \
  && sudo mkdir -p -m 755 /etc/apt/keyrings \
  && out=$(mktemp) && wget -nv -O$out https://cli.github.com/packages/githubcli-archive-keyring.gpg \
  && cat $out | sudo tee /etc/apt/keyrings/githubcli-archive-keyring.gpg > /dev/null \
  && sudo chmod go+r /etc/apt/keyrings/githubcli-archive-keyring.gpg \
  && sudo mkdir -p -m 755 /etc/apt/sources.list.d \
  && echo "deb [arch=$(dpkg --print-architecture) signed-by=/etc/apt/keyrings/githubcli-archive-keyring.gpg] https://cli.github.com/packages stable main" \
     | sudo tee /etc/apt/sources.list.d/github-cli.list > /dev/null \
  && sudo apt update \
&& sudo apt install gh -yWhy this matters: the upstream doc notes that some community-distributed versions have been broken due to deprecated GitHub APIs (and your prompt showed an Ubuntu package version in that range). (GitHub)
Verify the Install
Once the process finishes, confirm the binary is accessible and check the version:
gh --version

#gh version 2.83.2 (2025-12-10)
#https://github.com/cli/cli/releases/tag/v2.83.2Step 2: Authenticate with GitHub
Installation is only the first half; now you must link the tool to your account. The CLI provides a user-friendly interactive wizard.
Run the login command:
gh auth loginDuring the prompts:
- Choose GitHub.com (or pick Enterprise and provide a hostname)

- Pick HTTPS or SSH depending on how you normally use
git

Note: I have opted for SSH because I have already configure my local SSH keys with my GitHub Account.
- If you use SSO in an org, complete the browser auth step fully

One-Time Code: Copy the code shown in your terminal, press Enter, and paste it into the browser window.

This is the officially documented login flow. (GitHub Docs)
Validate Your Session
To ensure your token is valid and has the correct scopes, run:
gh auth statusYou should see output like this:

Step 3: Practical Application (AIO Expansion)
Automating Pull Request Reporting
Project managers often need a summary of open work. Instead of clicking through the UI, you can generate a structured JSON report directly from the CLI. This is incredibly useful for automating developer workflows.
Try this command to list open PRs with specific fields:
gh pr list --state open --json number,title,author,urlYou can pipe this output into tools like jq to filter data or send it directly to a Slack bot integration.

Deep Dive: Using gh in CI/CD (AIO Expansion)
A common misconception is that gh is only for interactive use. It is actually highly effective in CI/CD pipelines (like GitHub Actions or Jenkins).
In a headless environment, you cannot use the interactive browser login. Instead, gh respects the GITHUB_TOKEN environment variable.
Example: A Script for CI Pipelines
export GITHUB_TOKEN="your_personal_access_token"

# Now gh commands work without manual auth
gh release create v1.0.0 --title "v1.0.0" --notes "Release from CI"This capability allows you to script complex release processes, issue triaging, and repository maintenance tasks reliably. For more on securing these tokens, read our guide on managing Linux environment variables.
Troubleshooting: Common Errors
Even with a perfect install, edge cases happen. Here is how to resolve the most common issues.
1. Command 'gh' not found
If you see this error after installation, it usually means the binary location is not in your system’s $PATH.
- Fix: Run
echo $PATHand ensure/usr/binis listed. - Fix: If you installed via a package manager other than APT, the binary might be in
~/.local/bin. Add that directory to your path in.bashrcor.zshrc.
2. Permission denied (publickey)
This occurs if you selected SSH during setup but your local SSH agent isn’t running or doesn’t have the key loaded.
- Fix: Ensure your SSH agent is active:
eval "$(ssh-agent -s)". - Fix: Add your key:
ssh-add ~/.ssh/id_ed25519(replace with your key name).
3. Issues with Snap Installations
If you ignored the warning and installed via Snap, you might see errors accessing /tmp or home directories.
- Fix: Remove the Snap version entirely and reinstall using the APT method in Step 1.Bash
sudo snap remove gh
For further assistance with system configuration, refer to our Linux Command Line Cheat Sheet.


Recent Comments