
After you have installed the Windows Server 2016 Nano instance, you can now configure it to enable remote access. Nano has no GUI, and it is only accessible after configuring WinRm on the server with PowerShell.
What is WinRM?
WinRM (Windows Remote Management) is a Microsoft technology that allows remote management of computers running the Windows operating system. It enables administrators to execute commands, run scripts, and manage configurations of remote Windows machines using various tools and protocols, such as PowerShell and WMI (Windows Management Instrumentation).
WinRM relies on the Simple Object Access Protocol (SOAP) over HTTP or HTTPS to transport data between the client and the server. It uses a secure, encrypted channel to protect the confidentiality and integrity of the communications.
WinRM is an essential component for managing remote computers using tools like Windows PowerShell or the Microsoft Management Console (MMC), and it is enabled by default on Windows Server since version 2012.
Server Nano can only be managed with PowerShell, and there is no GUI to interact with
Step 1- Enable WinRM on your local computer and the Nano Server
Windows Remote Management (WinRM) is a powerful tool that allows administrators to remotely manage and monitor Windows servers and workstations. To use WinRM, it must be enabled on both the local computer and the remote machine:
Enable-PSRemoting -ForceTo Check the service is running, type:
Get-Service WinRMIf the service is not running, type
Start-Service WinRMStep 2 – Power up the VM/Server and wait for it to boot
After creating a virtual machine (VM) or setting up a server, the next step is to power it up and wait for it to boot. This step is crucial as it enables the operating system and other software installed on the machine to initialize and become operational. Depending on the hardware configuration and software installed, the boot process may take a few minutes to complete.
It is important to exercise patience and avoid interrupting the boot process as it may result in system errors or data loss. In this step, we will discuss the best practices to follow when powering up a VM or server and waiting for it to boot.
Step 3 – Configure Server Nano Networking
Configuring networking is essential to enable communication between the Server Nano and other devices in the network, such as other servers or client machines. Properly configuring networking settings is crucial for the Server Nano to function as intended and to allow access to its resources.
In this step, you will learn how to set up IP addresses, DNS settings, and network adapters to ensure your Server Nano is properly connected to your network.
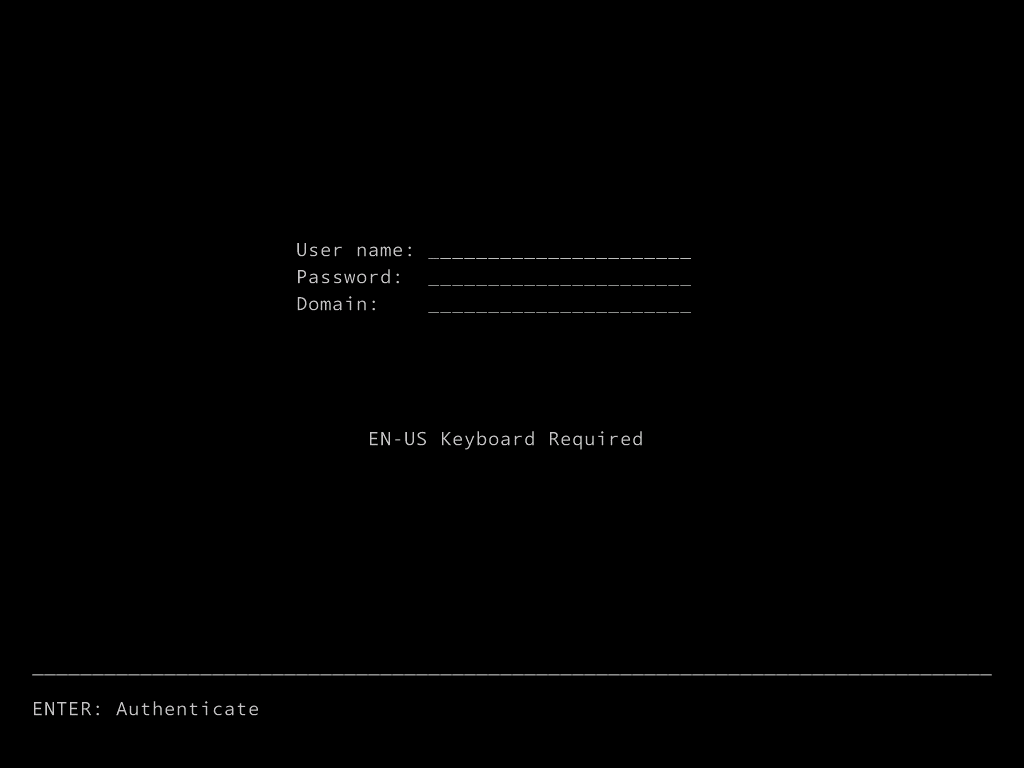
- Log onto the server using the credentials configured during the setup process.
- Navigate to the “NETWORK” section and press enter.
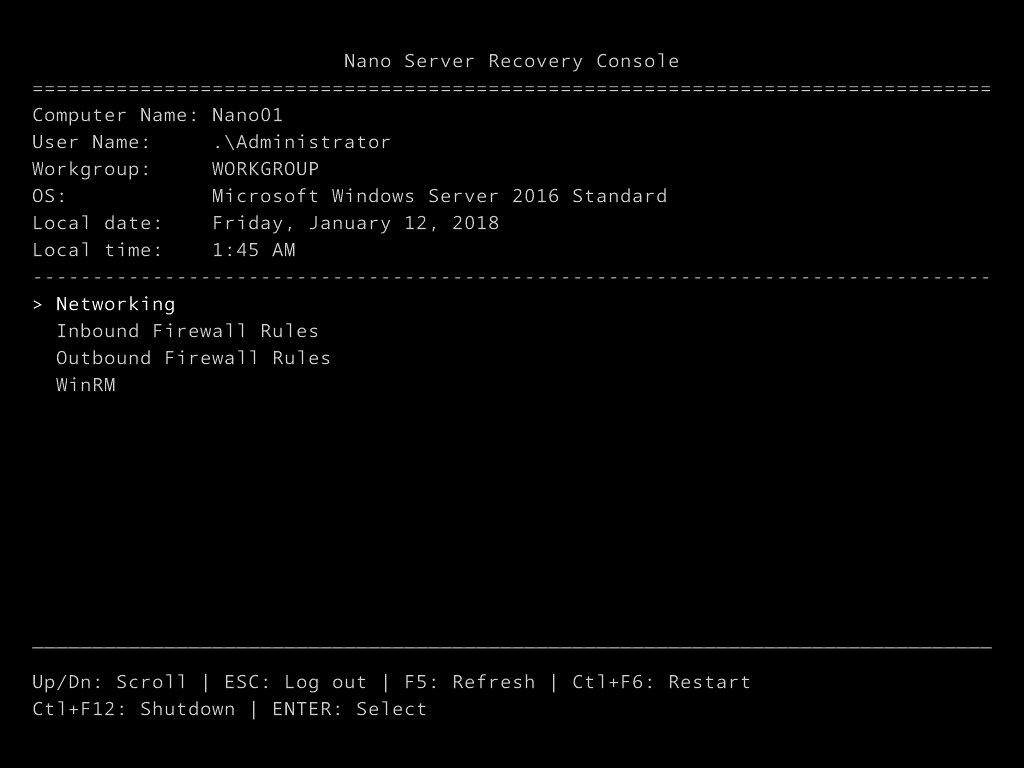
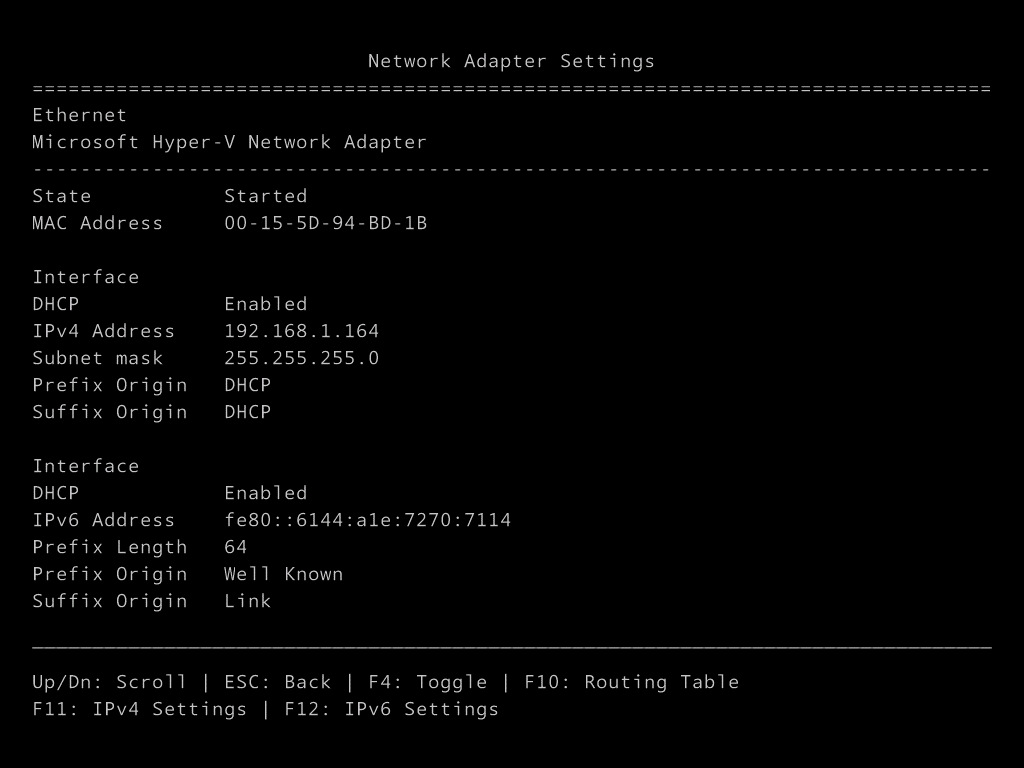
- Here you can set the server’s IP address, configure DNS etc.
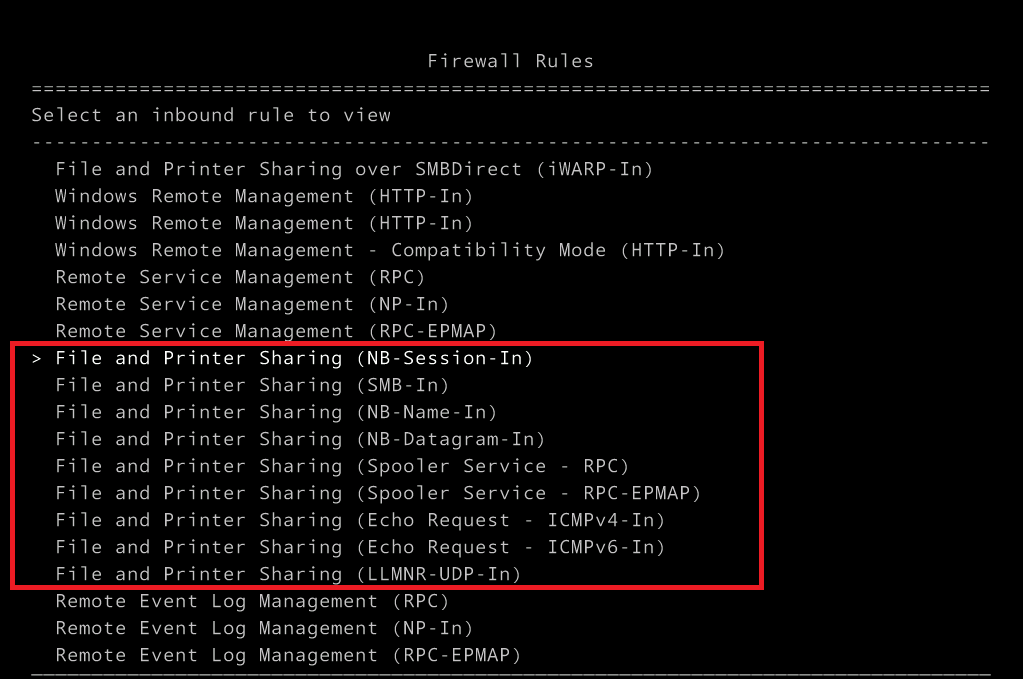
- Once the Server has an IP, go to the “FIREWALL RULE” section and enable all the rules highlighted below.
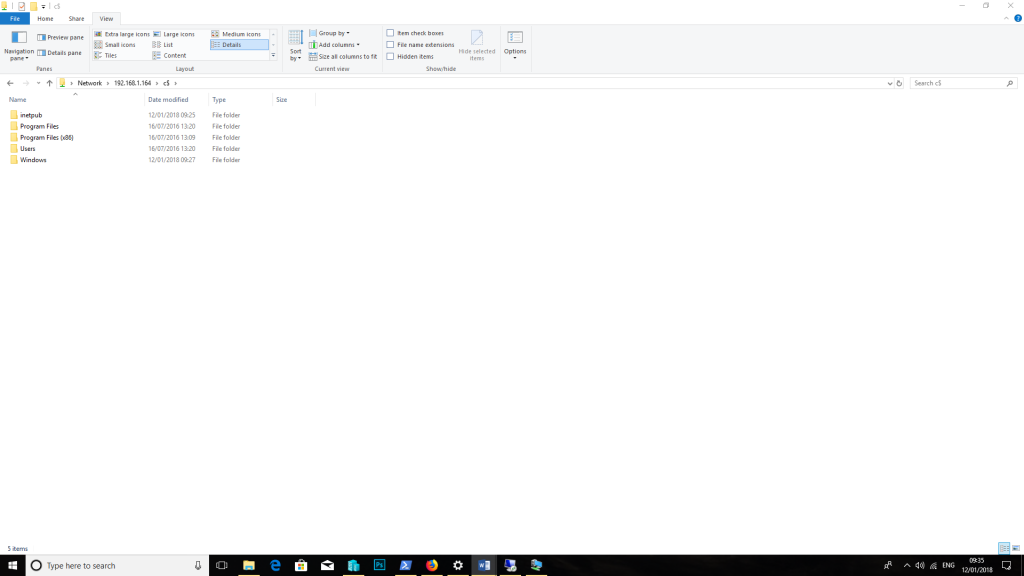
- You should now be able to connect to the ADMIN SHARE of the server.
- Next, Open PowerShell and Set the server IP as a trusted host (see below)
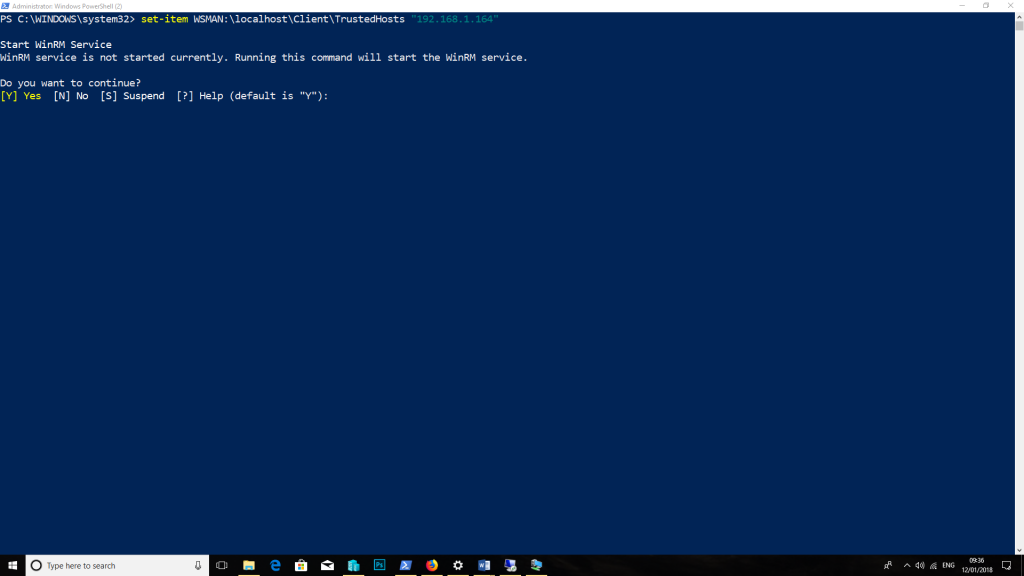
- Once set as trusted, you will be prompted to Start the WinRM service (press YES)
- You will also be prompted for WinRM Security config (Press Yes)
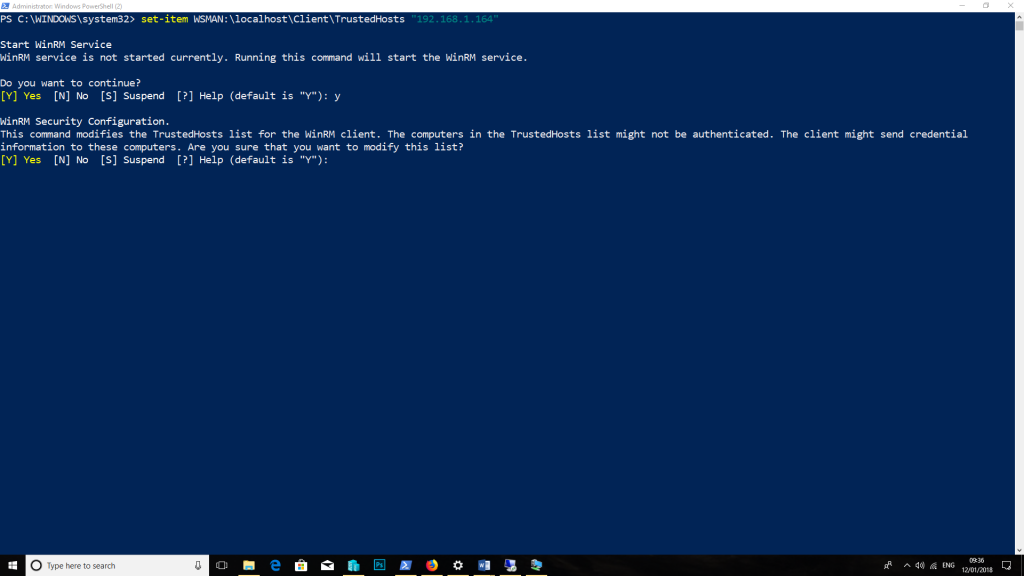
- Once complete, you will now be able to connect to the Nano server with PowerShell
Step 4 – Connect to the Server Nano Instance
Once your instance runs, you must establish a remote connection to manage and configure your server. This step is crucial to ensure you can access your instance and start configuring it to meet your needs. This guide will cover the steps required to connect to your Server Nano instance using various remote connection tools.
By the end of this step, you should be able to successfully connect to your instance and begin configuring it to meet your specific requirements.
- Create a variable with the server IP – e.g. $IP = “192.168.1.164”
- Then use Enter-PsSession to connect to the server (nano server enter-pssession) – Example below.
Enter-PSSession -ComputerName <Nano Server IP Address> -Credential <Nano Server Admin Account>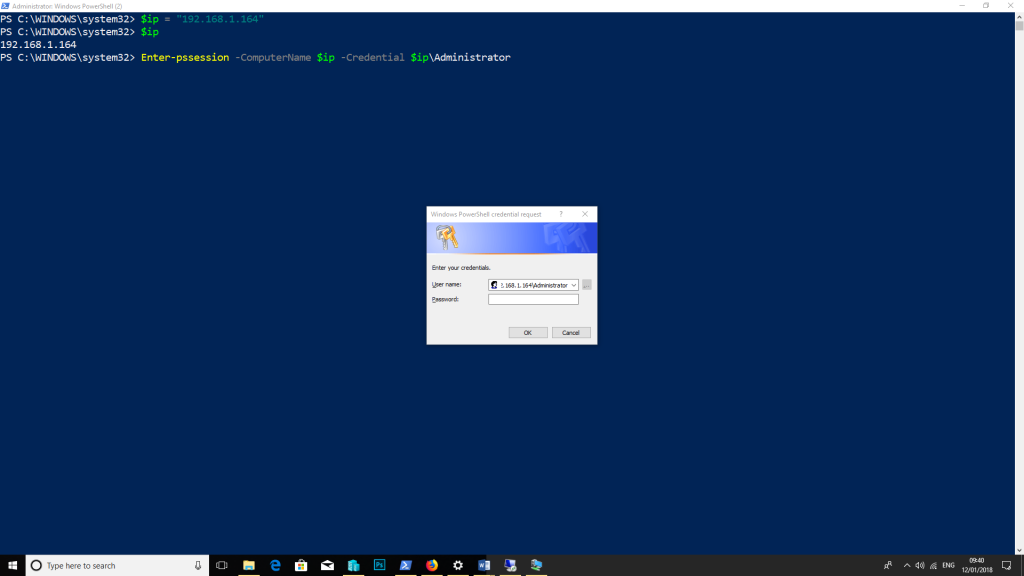
WinRM FAQ
Q: What is WinRM?
A: WinRM is a Windows feature allowing remote management of Windows operating systems machines.
Q: How does WinRM work?
A: WinRM uses a combination of the SOAP protocol and HTTP/HTTPS to provide a secure way to remotely manage Windows systems.
Q: What is the default port used by WinRM?
A: The default port used by WinRM is 5985 for HTTP and 5986 for HTTPS.
Q: What are some common use cases for WinRM?
A: Some common use cases for WinRM include remote PowerShell management, remote administration of Active Directory, and remote monitoring of Windows servers.
Q: How can I enable WinRM on my Windows machine?
A: You can enable WinRM using the command prompt or PowerShell by running the command “winrm quickconfig”.
Q: What is the WinRM client?
A: The WinRM client is a tool for remotely connecting to and managing Windows machines with WinRM enabled.
Q: How do I authenticate to a remote machine using WinRM?
A: WinRM supports several authentication methods, including Kerberos, Negotiate, and Basic Authentication. The authentication method will depend on the security configuration of the remote machine and the user account being used to connect.
Q: How do I troubleshoot WinRM connection issues?
A: Some common WinRM connection issues include firewall or network, authentication, and configuration issues. You can troubleshoot WinRM connection issues by reviewing event logs, checking firewall settings, and ensuring that WinRM is properly configured on local and remote machines.
Leave a Reply