
While Windows offers automated methods for managing services, manual deletion is sometimes necessary to maintain a healthy and secure system. Here are some common scenarios where you might need to take this approach:
- Removing outdated services: Over time, you may install software that installs services no longer needed. Manually deleting these obsolete services helps reclaim system resources and improve performance.
- Troubleshooting problematic services: If a service is causing system instability, crashes, or performance degradation, deleting it can often resolve the issue.
- Eliminating malicious services: Malware often installs services to maintain persistence on your system. Manual removal is crucial for eradicating such threats.
- Cleaning up after program uninstallation: Uninstalling software doesn’t always guarantee the removal of associated services. Manual deletion ensures a clean and complete removal.
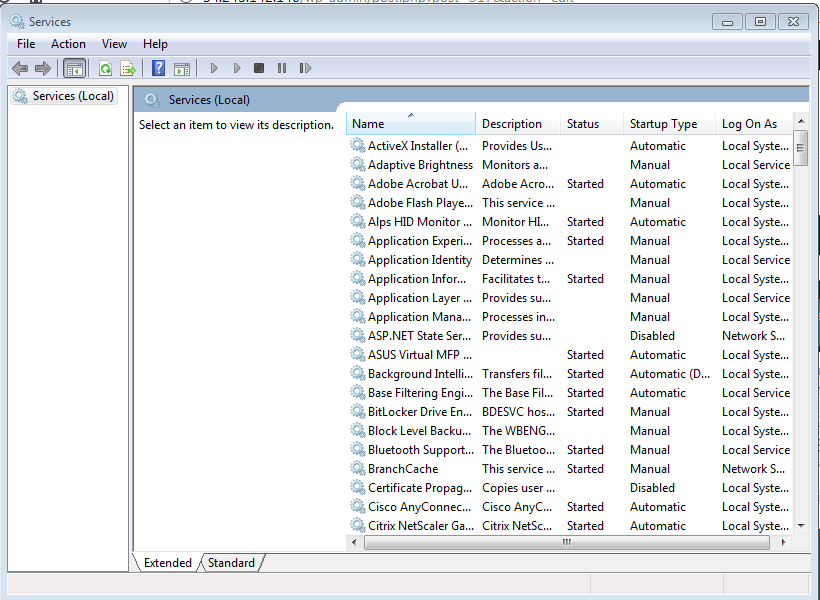
Deleting a Windows service manually requires administrator privileges and should be performed with caution.
Here’s a step-by-step guide:
Step 1 – Open Command Prompt as Admin
- Open the Command Prompt as an administrator.
- Press the Windows key + R to open the Run dialog.
- Type “cmd” or “cmd.exe” in the dialog box.
- Press Ctrl + Shift + Enter or click “OK” while holding down Ctrl + Shift. This keyboard shortcut launches Command Prompt as an administrator.
Step 2 – Stop the Service
- Type the following command to stop the service:
ShellScript
net stop <service name>- Replace
<service name>with the name of the service that you want to delete.
Step 3 – Delete the Service
- Type the following command to delete the service:
ShellScript
sc delete <service name>- Again, replace
<service name>it with the name of the service you want to delete.
- Press Enter to execute the command.
- If the service is running, you may need to reboot your computer before deleting it.
Note: Be careful when deleting services, as this can have unintended consequences on your system. Make sure you are certain you want to delete a service before proceeding
Leave a Reply