
OpenStack is a fantastic open-source cloud computing platform that allows you to create your own scalable infrastructure-as-as-service (IaaS) solution.
This is a guide on how to install the OpenStack virtual cloud platform on the CentOS7 Operating system. It will work on Red Hat (RHEL), SUSE and Ubuntu.
I will be using CentOS 7 core, which is the minimal installation of CentOS.
This guide will show you how to provision 3 OpenStack Hosts, and install and build an OpenStack private cloud. It will also show you the basics of using OpenStack and the initial configuration tasks needed to get it working.
In this guide, I will be using Hyper-V to create the host.
Quick Answer
- Create 3 virtual machines (controller, network, compute) with Ubuntu Server installed
- Configure network interfaces and update
/etc/hostson every node - Install OpenStack packages on each node using the distro packaged installer
- Configure core services in order: Keystone (auth), Glance (images), Nova (compute), Neutron (networking)
- Launch a test instance to verify the full deployment works end-to-end
Step 1 – Create 3 Virtual Hosts in your Hypervisor
As this isn’t a guide on how to use Hyper-V, I will assume you know how to create a VM in Hyper-V. It is unlikely you would be looking into OpenStack if you were unsure how to provision a VM.
My Hosts have the following Configuration
- Host1, 4vCPU, 8GB RAM
- Host2, 8vCPU, 8GB RAM
- Host3, 8vCPU, 8GB RAM
All hosts have 50GB SSD System drives, and host 2 and 3 have 500GB HDD storage each
This guide will focus on installing Host3 as the primary openstack node. In later blogs, I will add host 1 and host 2 to the OpenStack farm.
Step 2 – Install CentOS on your 3 servers
How to Install CentOS 7? Again, I will assume you already have experience of deploying your Operating System.
Step 3 – Preparing the Operating System
There are a number of changes that need to be made to prepare the hosts. You cannot simply install OpenStack, it will fail.
It is highly recommended to run a Yum update to ensure your server is patched to the very latest level
yum update -yStep 4 – Configure Network Manager
systemctl stop postfix firewalld NetworkManager
systemctl disable postfix firewalld NetworkManager
systemctl mask NetworkManager
yum remove postfix NetworkManager NetworkManager-libnm
Step 5 – Configure SELINUX
Next we need to configure SELINUX settings
navigate to the SELINUX= Section and change to disabled
setenforce 0Step 6 – Next install NTP
yum install ntpdate -yStep 7 – Add the Openstack Repo and install pre-reqs
Now add the repo for OpenStack
yum install https://www.rdoproject.org/repos/rdo-release.rpm -yNext Install Openstack-Rocky
yum install -y centos-release-openstack-rocky -yNow update Yum
yum -y updateStep 8 – Install and Configure PackStack
Next Prepare packstack – This does puppet, ssh connections -builds openstack
yum install openstack-packstack -yOnce completed you need to Generate an answer file
packstack --gen-answer-file=XXXXX-answer-file.conf(replace XXXXX with whatever you want to call your answer file)
Now we need to edit the answer file
You do this by
nano XXXXX-answer-file.confLocate the CONFIG_KEYSTONE_ADMIN_PW and change it to a password of your choice
Next choose your NTP server. I am using UK CONFIG_NTP_SERVERS
Next Edit the MARIADB configuration
Locate CONFIG_MARIADB_PW and create your own password
Step 9 – Configures SSHD
Next Permit root logins
nano /etc/ssh/sshd_configPermit root logins by uncommenting the hashtag
PermitRootLogin yes
Restart SSHD
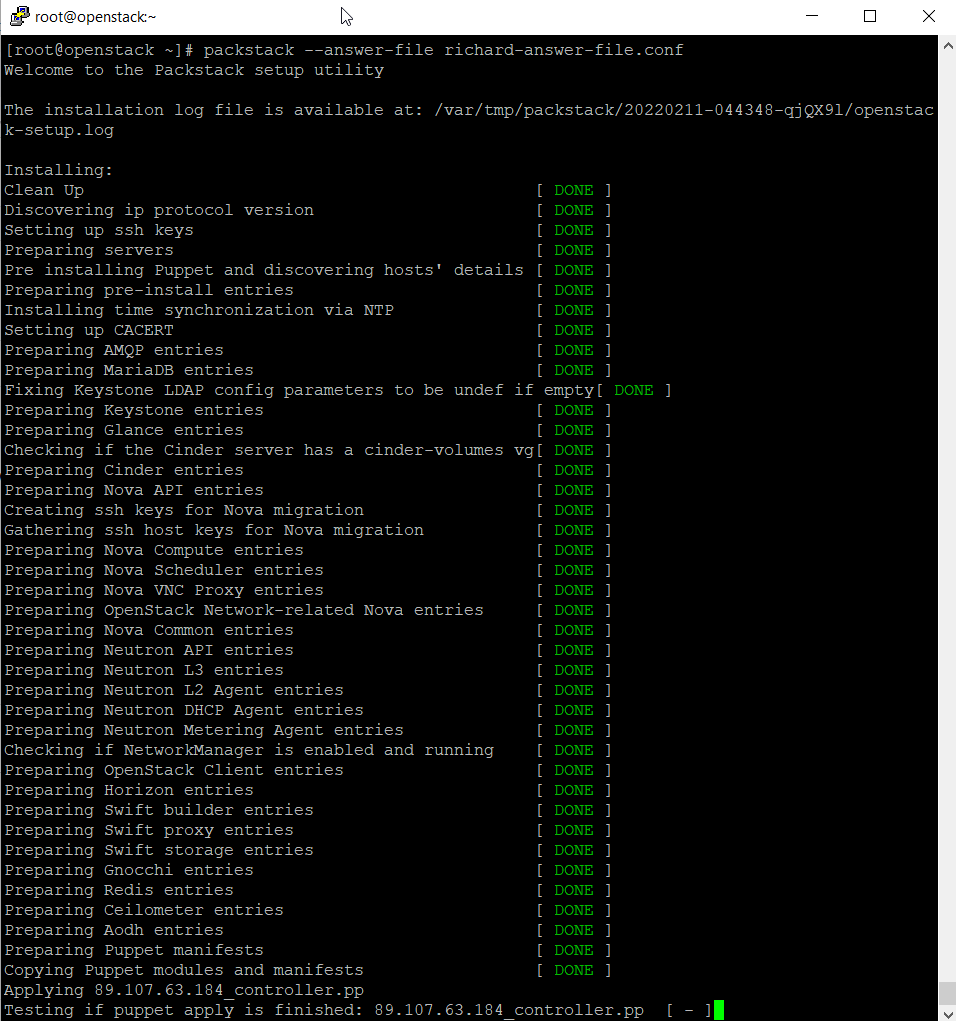
systemctl restart sshdStep 10 – Now use Packstack to build OpenStack
packstack --answer-file <xxxxx>-answer-file.confPuppet takes a long time to build Openstack.
OpenStack is a vast product with a huge number of options, and this blog will show you how to set up an OpenStack host, which is the first step needed to create your own Cloud solution.
All your OpenStack configuration files are stored in cat /root/keystonerc_admin
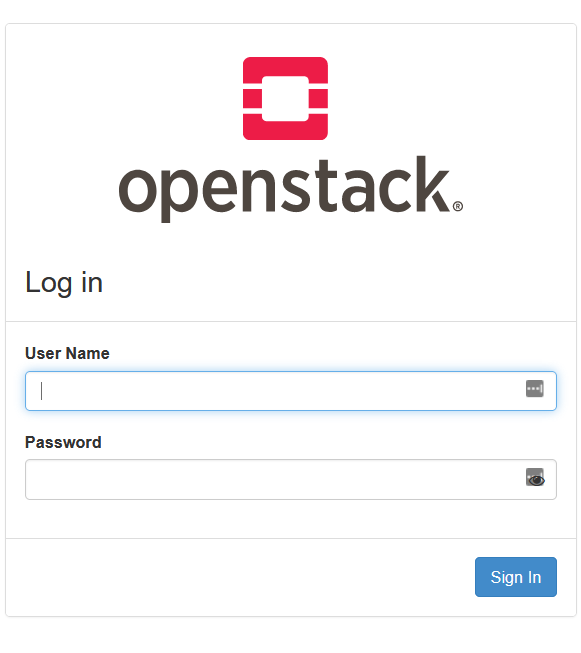
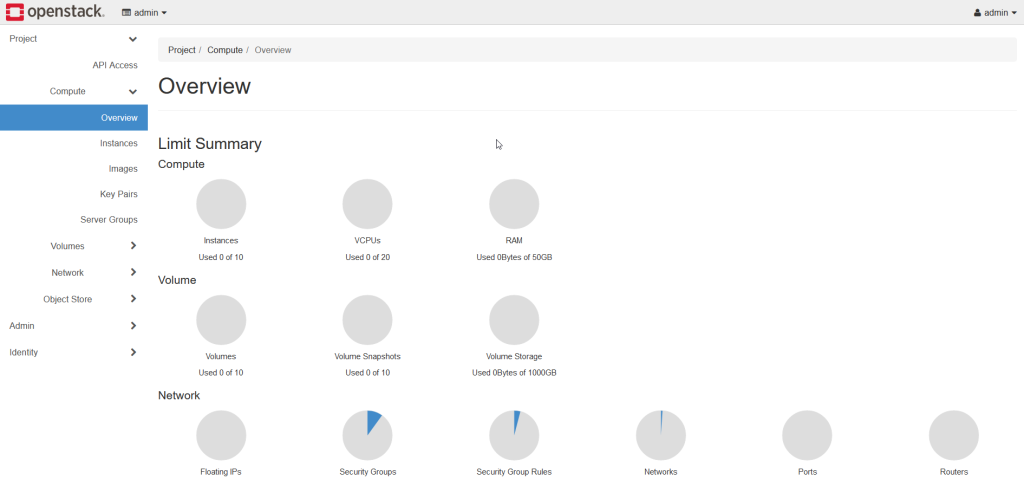
Follow the on-screen instructions to browse your OpenStack dashboard
Leave a Reply