
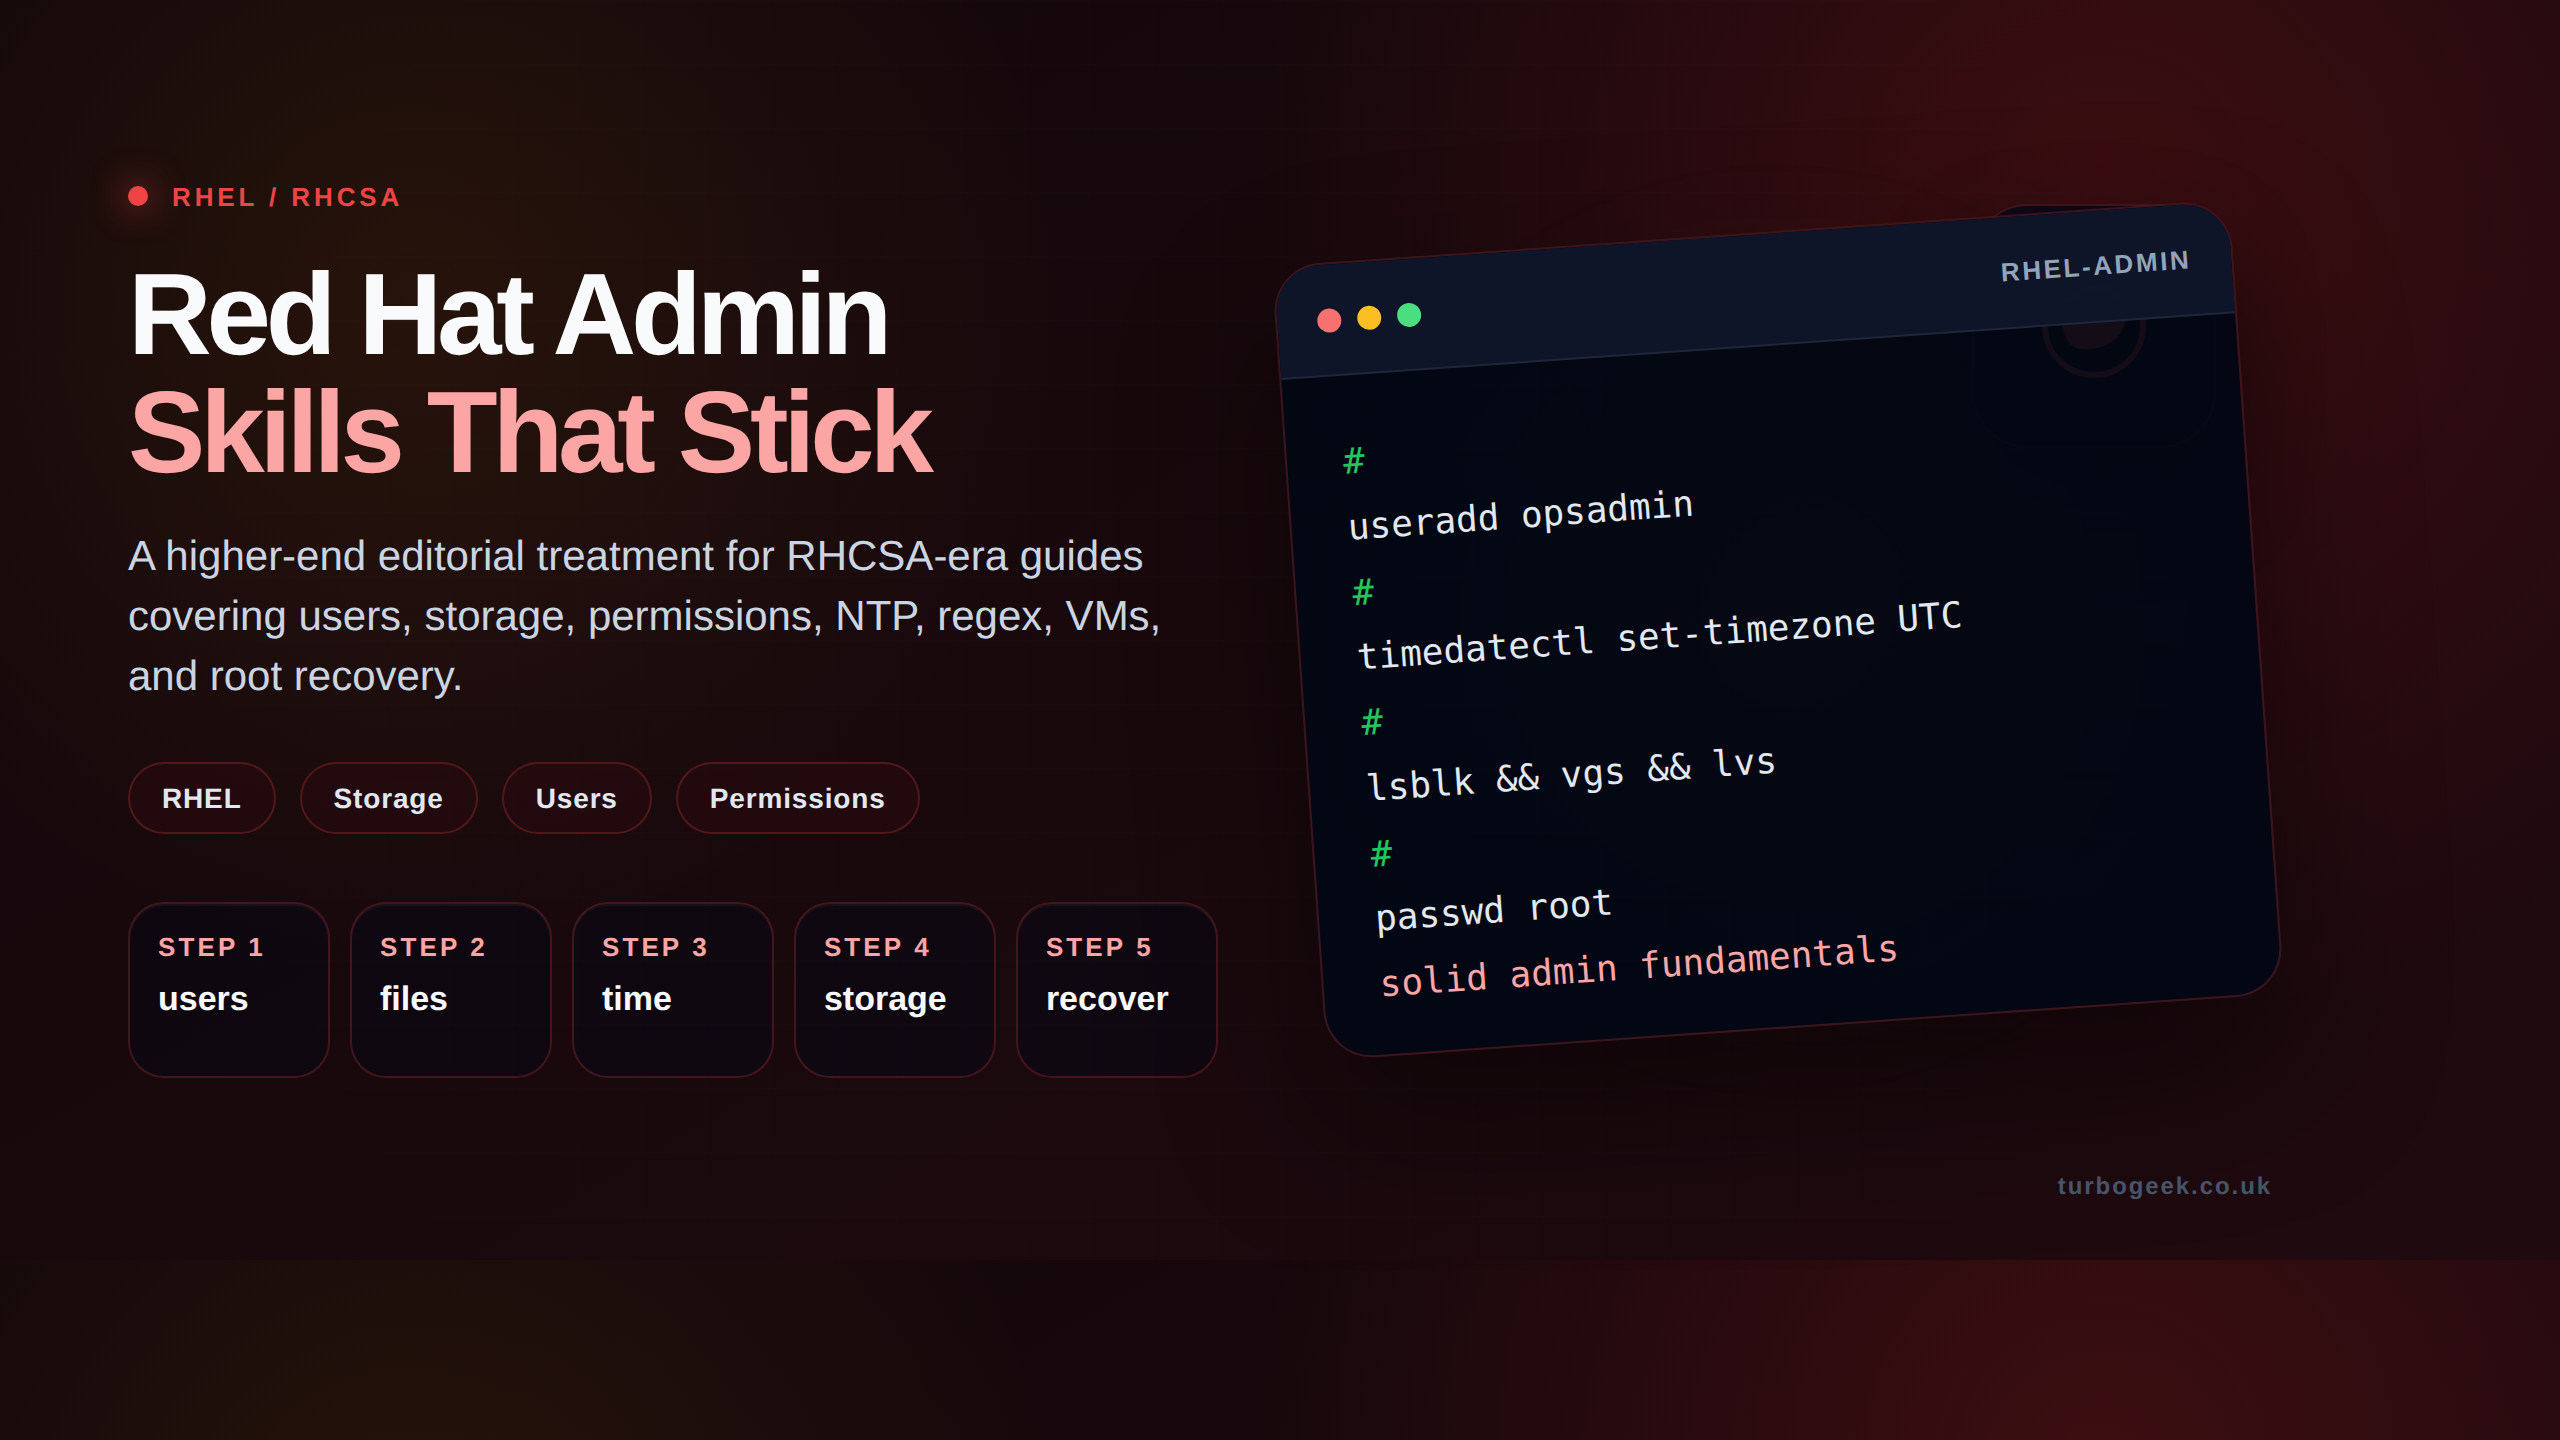
Migrating to a New Red Hat (RHEL) 7 Server
A common task for administrators is to upgrade the Linux operating system. Often, the safest and most effective method isn’t to update the existing system but to set up a new server and migrate all critical components.
Here’s a step-by-step guide to accomplish this:
Step 1 – Build a new Red Hat (RHEL) 7 server:
Start with a fresh installation of the Red Hat Operating System.
- Download the ISO image from the Red Hat subscription page: Red Hat Downloads.
- Install the operating system on your choice of physical or virtual server.
- License your server:
Register and attach it to an active license.
subscription-manager registerPatch the operating system to the latest available version with the command:
sudo yum update -yStep 2 – Rsync critical system files from the source server:
Begin by installing rsync:
yum install rsync -yNext, rsync the essential parts of the file system.
sudo rsync -av /home root@your_server_ip:/
sudo rsync -av /etc/cron* root@your_server_ip:/
sudo rsync -av /opt/ext root@your_server_ip:/
sudo rsync -av /etc/passwd root@your_server_ip:/
sudo rsync -av /etc/shadow root@your_server_ip:/
sudo rsync -av /root/certs root@your_server_ip:/
Step 3 – Install and Configure SAR for System Monitoring:
SAR (System Activity Reporter) is a system performance monitoring tool that collects and reports data about various system activities.
To install SAR:
yum install sysstatOnce installed, enable and start the service for continuous monitoring:
systemctl enable sysstat
systemctl start sysstat
You can then use the sar command to check various system metrics.
Step 4 – Additional Steps (Based on your Server’s Role and Configuration):
If your old server was hosting databases, web services, or other applications, you must replicate the same environment on the new server. This may involve:
- Restoring databases.
- Configuring web servers.
- Installing and configuring additional applications.
Test your new server extensively to ensure all data has been correctly transferred and all applications function as expected.
Update DNS or network configurations to redirect traffic from the old server to the new server.
Final Steps:
Once you’re confident that everything has been set up correctly on the new server and running as expected, you can decommission the old server. Keep backups and documentation if you need to revert any changes.
Migrating to a new server can be daunting, but following a structured process and testing extensively can ensure a smooth transition.
Migrating to a New Red Hat (RHEL) 7 Server: A Detailed Q&A
Q1: Why is it recommended to set up a new server instead of updating the existing system?
A1: Setting up a new server provides a clean environment, free from potential legacy issues or configuration anomalies. This method minimizes risks of incompatibilities during upgrades and allows administrators to test the new environment extensively before making it live, ensuring stability and performance.
Q2: What is the significance of the subscription-manager register command?
A2: The subscription-manager register command is used to register your RHEL system with the Red Hat Customer Portal. It’s an essential step to manage subscriptions and access Red Hat software, updates, and security patches.
Q3: Why use rsync for file migration?
A3: rsync is a powerful tool that efficiently transfers and synchronizes files between servers. It only sends the changes or differences, reducing the amount of data transferred. This makes it faster and less resource-intensive than many other file transfer methods. Moreover, it can preserve file permissions, links, and other attributes.
Q4: I noticed /opt/ext was mentioned twice in the rsync list. Is that an oversight?
A4: Yes, that seems to be an oversight in the procedure. It’s essential to review and ensure you aren’t duplicating efforts or potentially overwriting data unintentionally.
Q5: What’s the difference between yum install sar and yum install sysstat?
A5: The package sysstat contains utilities (including sar) to monitor system performance. The correct command to install sar on RHEL is yum install sysstat. The mention of yum install sar in the procedure was an error.
Q6: After migrating, how can I ensure that all data has been accurately transferred?
A6: You can:
- Use tools like
difformd5sumto compare files and directories between the old and new server. - Check application-specific logs and reports.
- Perform thorough testing – access databases, run applications, and use services to ensure everything functions as expected.
- Monitor the new server closely for any anomalies or issues during the initial days after the migration.
Q7: What about software and applications installed on the old server?
A7: If you have specific software or applications on the old server, you’ll need to install them on the new server. It’s also essential to consider configuration files and databases related to these applications. Ensure that any dependencies are met and configurations are correctly set up on the new server.
Q8: Should I keep the old server running after migrating?
A8: After you’ve thoroughly tested the new server and are confident about its functionality, it’s generally a good idea to decommission the old server to save resources. However, always maintain backups of the old server for a period, in case you need to revert or access any old data.
Q9: How long should I monitor the new server after migration?
A9: Intensive monitoring is advisable for at least a few days to a week after migration, depending on the server’s criticality and usage patterns. Continuous monitoring using tools like SAR and others should be an ongoing practice to maintain the health and performance of the server.
Q10: Are there any security considerations I should be aware of during this migration?
A10: Absolutely. Ensure secure methods (like SSH) for all data transfers. After setting up the new server, set strong authentication practices, review and update firewall rules, and apply any security patches available. Regularly scan the new server for vulnerabilities, especially during the initial setup phase.
Leave a Reply