

This is a Unix-focused guide to Terraform. It will work on Linux distributions and Mac OS X. During this video, I will be using a Mac or CentOS 7.
What is Terraform?
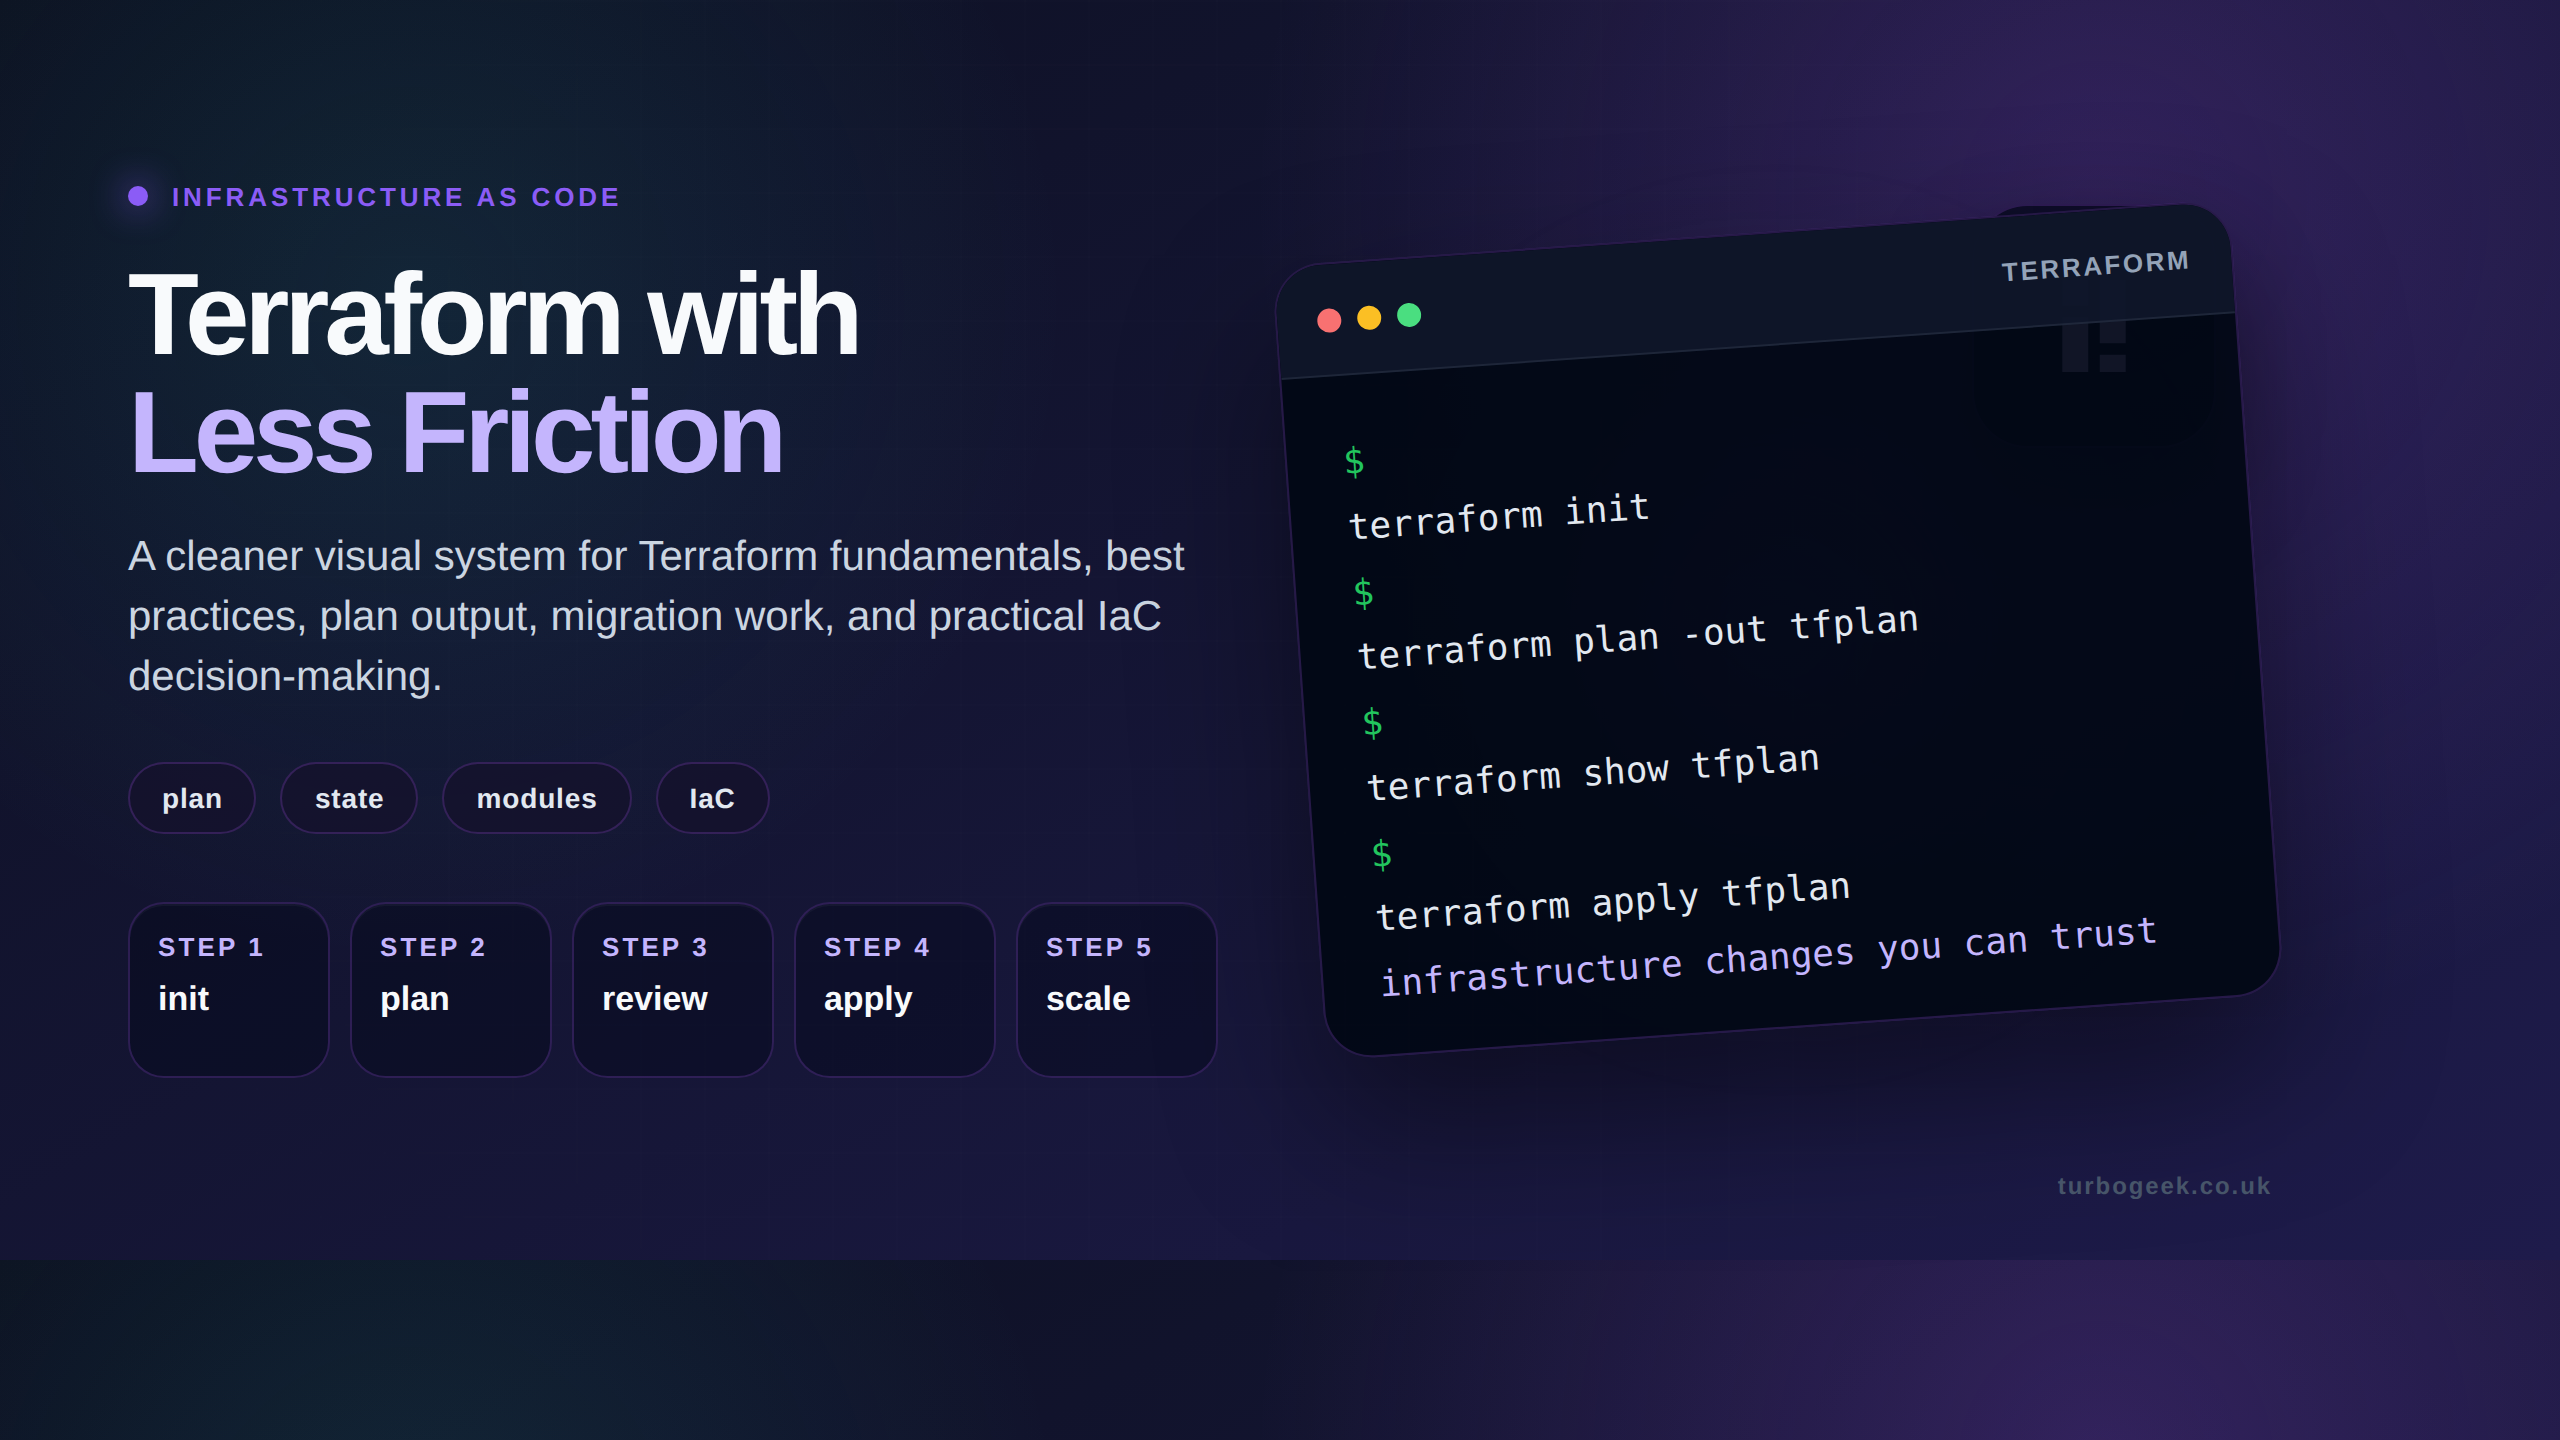
Terraform, an open-source infrastructure-as-code (IaC) tool developed by HashiCorp, empowers you to define, provision, and manage your cloud resources in a declarative manner. This guide provides a comprehensive walkthrough of using Terraform on Google Cloud Platform (GCP), complete with detailed examples and best practices.
In its simplest form, Terraform can be used to create server infrastructure on several different platforms automatically. It can also be integrated into Continuous Integration and Continuous Delivery (CICD).
Terraform enables you to codify your infrastructure using either HashiCorp Configuration Language (HCL) or JSON. This “infrastructure as code” approach offers several benefits:
- Automation: Eliminate manual configuration, reducing human error and saving time.
- Version Control: Track infrastructure changes like any other code, ensuring reproducibility and rollback capabilities.
- Modularity: Break down complex infrastructure into reusable modules, promoting consistency and maintainability.
- Collaboration: Share and collaborate on infrastructure configurations with your team
Terraform is a cloud-agnostic platform and is popular for the following cloud platforms :
- The Google Cloud Platform (GCP)
- Amazon Web Services (AWS)
- Microsoft Azure
- VMware
- Red Hat OpenStack
What is a Terraform Provider?
Providers are plugins that enable Terraform to interact with specific platforms and services (e.g., AWS, GCP, Azure). They expose resources and data sources for managing the infrastructure.
Terraform providers are now known as the Terraform Registry
For a full list of temporary providers, see:
What is the use of Terraform in DevOps?
It can also be used as a bulk configuration tool, similar to products like Ansible. It requires a Plan, Execution of the plan, and Applying to the infrastructure. There is minimal human interaction, and it is an incredibly powerful tool.
In this example, I will use Google Cloud Platform (GCP) and Github to implement Terraform infrastructure. GCP will be the cloud provider where I will build the infrastructure, and GitHub is a cloud-based code repository for storing revisions and versions of code.
Why Use Terraform on GCP?
GCP provides a robust and scalable platform for your applications. Terraform seamlessly integrates with GCP, allowing you to manage a wide range of resources, including:
- Compute Engine: Virtual machines (VMs), instance templates, and disks.
- Networking: Virtual Private Clouds (VPCs), subnets, firewalls, and load balancers.
- Storage: Cloud Storage buckets, files, and access control.
- Databases: Cloud SQL, Spanner, and Datastore.
- Kubernetes: Deploy and manage Kubernetes clusters with Google Kubernetes Engine (GKE).
Terraform: Google Cloud Platform (GCP)
Prerequisites and Tools
- Accounts:
- Active Google Cloud Platform (GCP) account.
- GitHub account (for code versioning).
- Tools:
- A text editor (e.g.,
vi,nano, VS Code). - Basic understanding of command-line operations.
- A text editor (e.g.,
Step 1 – Terraform Installation (CentOS/Ubuntu)
For CentOS 7:
Download Terraform:
sudo yum install -y yum-utils sudo yum-config-manager --add-repo https://rpm.releases.hashicorp.com/RHEL/hashicorp.repo
sudo yum -y install terraform
For Ubuntu:
Download Terraform:
curl -fsSL https://apt.releases.hashicorp.com/gpg | sudo apt-key add - sudo apt-add-repository "deb [arch=amd64] https://apt.releases.hashicorp.com $(lsb_release -cs) main"
sudo apt-get update && sudo apt-get install terraform
For MacOS
Use Brew to install on macOS
brew tap hashicorp/tap
brew install hashicorp/tap/terraform
How to set Terraform and connect it to GitHub
If you have not already got a GitHub account, sign up at https://github.com
Log into GitHub and create a new repository
The Next Steps are :
- Choose the name of your GitHub repo
- Choose public or private
- tick initialize this report and choose the Terraform .gitignore and Apache license 2.0
- Then click Create the repository
- Press the Create Repository button
- then, once created, click the clone repository and copy the GitHub URL
- Next, go back to our CentOS installation. I had to install the CentOS git applications and pre-req files (I was using CentOS core, which doesn’t include git by default)
yum install git -ynext, Clone the GitHub repo to the CentOS shell
git clone https://github.com/TurboBailey1980/Terraform-Turbogeek.gitYou are now synced to your GitHub repo, and you can read/write to your GitHub repo.
If you want to learn about GitHub, check out the GitHub website help files
How to configure Terraform on Linux (Mac / Ubuntu / Centos)

Linux is my preferred Operating System for installing Terraform. It is natively supported. In this example, I will be using Centos 7 Core (or Minimal installation)
Terraform also works on Windows 10 Desktop and Windows Server products. Click here for a guide on how to install it on Windows.
Download Terraform using curl
curl -O https://releases.hashicorp.com/terraform/0.11.10/terraform_0.11.10_linux_amd64.zipNext, unzip it to your /usr/bin directory (note I am doing this as root)
unzip terraform_0.11.10_linux_amd64.zip -d /usr/bin/(As I am using a CentOS7 core I needed to yum install unzip first.)
[root@Ansible-Terraform-Control tmp]# terraform -vNext, you need to create a working directory for Terraform and an empty Terraform config file.
This step is really important and will greatly help organize your projects once you start using Terraform
mkdir terraform-templates && cd terraform-templates
touch template.tf
terraform apply

Apply complete! Resources: 0 added, 0 changed, 0 destroyed.
You now have terraform installed on your Linux distribution and can execute the terraform command from any location as we have installed it directly to /usr/bin system $PATH
If you want to learn more about the core command lists above – check out this page on my site.
Configure Google Cloud Platform (GCP) to work with Terraform
Log in to the Google Cloud Platform and create a new project https://console.cloud.google.com
- Create an IAM Service Account for Terraform to use.
- Select IAM & Admin > Service Accounts > Create Service Account
- Enter a name for the service account
- Set the role as Service Account Admin
- Create a JSON key
- Check the key has been downloaded to your computer
- Copy the JSON file to the CentOS Server, for ease of use save it “below” your project folder
Now we can write the connections.tf file to “connect” to GCP
I prefer to use vi or nano, but you can use whatever text editor you prefer
vi connections.tfupdate the connections.tf with
provider "google" {
 credentials = "${file("../turbogeek-terraform-d64341070e0c.json")}"
 project = "turbogeek-terraform"
 region = "us-west1"
}
If you have other providers, such as AWS, Azure – you can add them here as well
Next, we test the settings are correct by running
terraform initTest create a resource on Google Cloud Platform (GCP)
For this test to work – make sure your terraform service account has the following permissions
- Compute Network Admin
- Service Account Admin
Next, we can test the automated creation of a resource within GCP. We will create a simple network name
resource "google_compute_network" "our_development_network" {
 name = "turbogeek"
 auto_create_subnetworks = true
}terraform plan
terraform applyThis will cause Terraform to reach out to GCP and see if the Turbogeek network already exists
Now, if you check GCP, you will see the automatically created resource
MAKE SURE YOU DELETE THE VPC NETWORK TO ENSURE YOU ARE NOT BILLED BY GOOGLE
Building Infrastructure with Terraform
Now, let’s create some GCP resources.
Example 1: Creating a VPC Network:
main.tf:
resource "google_compute_network" "main" {
name = "terraform-network"
auto_create_subnetworks = false
}
resource "google_compute_subnetwork" "main" {
name = "terraform-subnet"
ip_cidr_range = "10.128.0.0/20"
region = "us-central1"
network = google_compute_network.main.name
}
Run Terraform:
terraform plan # Preview the changes
terraform apply # Create the resources
Example 2: Provisioning a Virtual Machine:
main.tf:
Terraform
resource "google_compute_instance" "vm_instance" {
name = "terraform-vm"
machine_type = "e2-medium"
zone = "us-central1-a"
boot_disk {
initialize_params {
image = "debian-cloud/debian-9"
}
}
network_interface {
subnetwork = google_compute_subnetwork.main.name
}
}
Use code with caution.
Run Terraform:
terraform plan
terraform apply
Example 3: Storing Data in Cloud Storage:
main.tf:
Terraform
resource "google_storage_bucket" "data_bucket" {
name = "terraform-data-bucket"
location = "US"
force_destroy = true # Use with caution!
}Run Terraform:
terraform plan
terraform apply
Terraform Best Practices
- Use Variables: Define variables in
variables.tfto make your code reusable and adaptable to different environments. - Outputs: Use
outputs.tfto expose important information about your infrastructure (e.g., VM IP addresses). - Modules: Encapsulate reusable components into modules to improve code organization and maintainability.
- Remote State: Store your Terraform state remotely in Google Cloud Storage or Terraform Cloud for collaboration and disaster recovery.
This comprehensive guide provides a solid foundation for using Terraform on GCP. By adopting IaC principles, you can streamline your cloud infrastructure management, enhance collaboration, and increase the reliability of your deployments. Happy automating!
Leave a Reply