
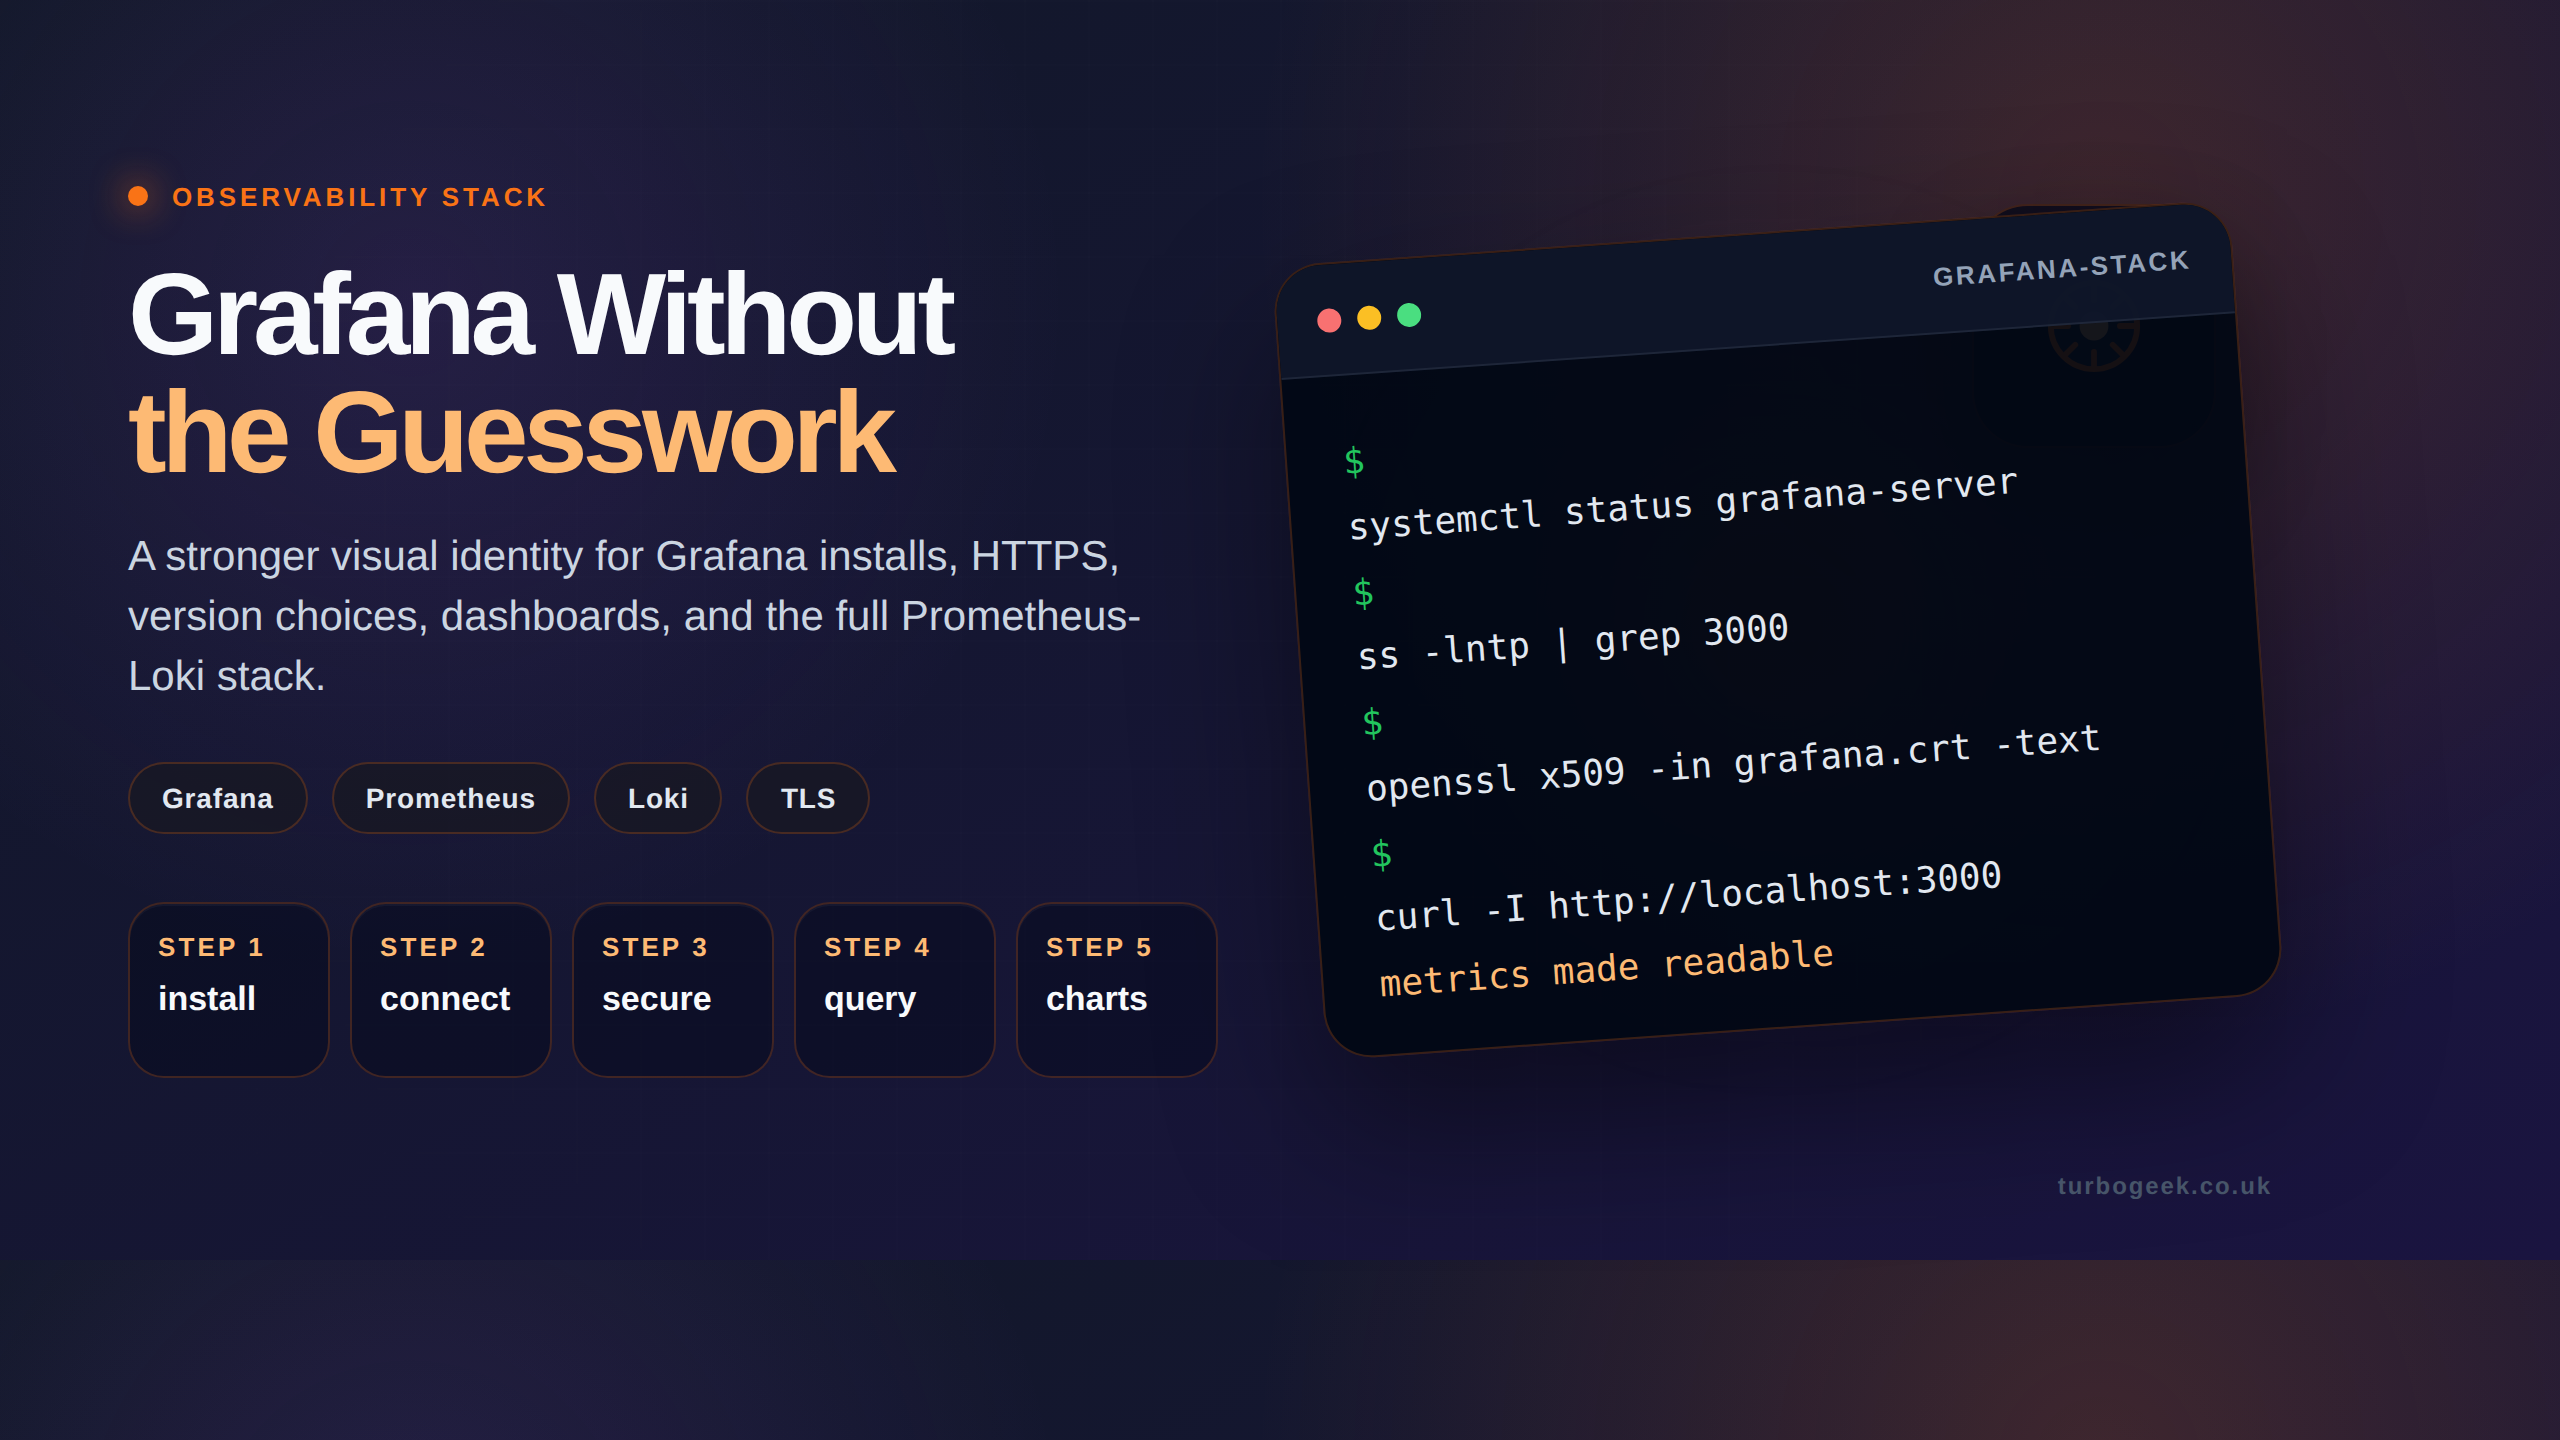
Key Takeaways (TL;DR)
- Why It Matters: Securing your Grafana instance with SSL (HTTPS) is essential to encrypt data, including login credentials and API keys, protecting them from interception.
- What You’ll Do: This guide walks you through creating a self-signed SSL certificate using OpenSSL commands on a Linux server (e.g., RedHat).
- The Process: You will generate a private key (
.key), a certificate signing request (.csr), and a self-signed certificate (.crt). - Configuration is Key: After creating the certificate, you must update the
grafana.iniconfiguration file to enable HTTPS and point Grafana to your new certificate and key files. - Browser Warning: Using a self-signed certificate will cause a one-time browser privacy warning, which is expected. For production systems, a certificate from a trusted Certificate Authority (CA) is recommended.
Quick Answer
- Generate a private key:
openssl genrsa -out grafana.key 2048 - Create a certificate signing request:
openssl req -new -key grafana.key -out grafana.csr - Self-sign the certificate:
openssl x509 -req -days 365 -in grafana.csr -signkey grafana.key -out grafana.crt - Copy both files to
/etc/grafana/and configureprotocol = https,cert_file,cert_keyingrafana.ini - Restart Grafana:
sudo systemctl restart grafana-server
Why Should You Secure Your Grafana Dashboard with HTTPS?
Grafana is a powerful tool for data visualization. However, if you run it over a standard HTTP connection, your login credentials, API keys, and visualized data are sent in plain text.
This exposes your sensitive information to potential interception and theft. By enabling SSL/TLS to use HTTPS, you create an encrypted connection between the user’s browser and the Grafana server. This encryption ensures data confidentiality, maintains data integrity, and protects against common security threats like man-in-the-middle attacks.
Who Is This Guide For?
This guide is designed for system administrators and developers who have basic experience with the Linux command line and are comfortable editing configuration files. No prior expertise in Grafana is required.
What is a Grafana SSL Certificate?
An SSL certificate is a digital file that enables encrypted communication. By default, the free, self-hosted community edition of Grafana does not have SSL configured, whereas the Grafana Cloud version does.
To enable SSL, you need to provide Grafana with a certificate and a private key and then edit its main configuration file, grafana.ini.
- SSL Certificate: A data file that cryptographically links your server’s details to a public key, verifying the server’s identity.
- Private Key: A separate secret file that is used to encrypt and decrypt the data.
You will need sudo or root access to modify the /etc/grafana/grafana.ini file and manage the certificate files.
How to Configure a Self-Signed SSL Certificate for Grafana (Step-by-Step)
This guide assumes your Grafana installation is located at /etc/grafana/. If your path is different, please adjust the commands accordingly. These steps were performed on a RedHat Enterprise Linux server.
Step 1: Create a Private Key
First, generate a 2048-bit RSA private key. This key is the foundation of your certificate.
openssl genrsa -out grafana.key 2048
This command creates a file named grafana.key in your current directory.
Step 2: Generate a Certificate Signing Request (CSR)
Next, create a Certificate Signing Request (CSR) using your new private key. The CSR contains information about your server that a Certificate Authority would use to issue a trusted certificate.
openssl req -new -key grafana.key -out grafana.csr
You will be prompted to enter information like your country, state, and organization name. For a self-signed certificate, these details are less critical.
Step 3: Create the Self-Signed Certificate
Now, use your private key and CSR to generate the self-signed certificate. This command creates a certificate (.crt file) that is valid for 365 days.
openssl x509 -req -days 365 -in grafana.csr -signkey grafana.key -out grafana.crtStep 4: Set Secure File Ownership and Permissions
It is crucial to secure your new key and certificate files. The grafana user needs to be able to read them, but they should be protected from other users.
# Change ownership to the grafana user and group
sudo chown grafana:grafana grafana.crt grafana.key

# Set permissions to read-only for the owner
sudo chmod 400 grafana.key grafana.crtStep 5: Move the Certificate and Key to the Grafana Directory
Move the newly created and secured files into the Grafana installation directory.
sudo mv grafana.crt grafana.key /etc/grafana/Step 6: Edit the Grafana Configuration File
Open the grafana.ini file to tell Grafana to use HTTPS and your new certificate.
sudo vim /etc/grafana/grafana.iniFind the [server] section and update the following four properties. Be sure to uncomment them by removing the leading ; if present.
Ini, TOML
# The full URL you'll use to access Grafana from your browser
root_url = https://your_grafana_domain_or_ip

# Set protocol to https
protocol = https

# Path to the certificate file
cert_file = /etc/grafana/grafana.crt

# Path to the private key file
cert_key = /etc/grafana/grafana.key
Save the changes and exit the editor. Now, restart the Grafana server to apply the new configuration.
sudo service grafana-server restartStep 7: Access Grafana via HTTPS
Open your web browser and navigate to the root_url you configured (e.g., https://your_grafana_domain_or_ip:3000).
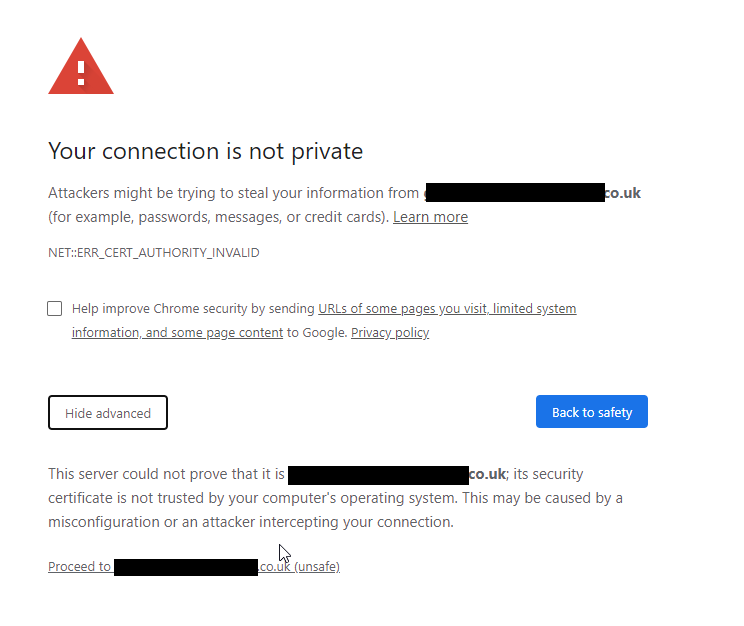
You will see a privacy warning because your browser doesn’t trust the “self-signed” certificate. This is normal. You must accept the risk to proceed. This prompt will only need to be accepted once per browser.
Frequently Asked Questions (FAQ)
1. Why should I secure my Grafana dashboard with SSL? Securing Grafana with SSL (HTTPS) encrypts all data transmitted between your browser and the server. This protects sensitive information, such as login credentials, data source configurations, and query results, from being intercepted.
2. What is a self-signed SSL certificate? A self-signed certificate is an SSL certificate that is signed by its own private key rather than by a trusted third-party Certificate Authority (CA). It provides encryption but will cause browsers to display a security warning.
3. Will I always see a browser warning with a self-signed certificate? Yes, browsers will show a warning because the certificate is not issued by a trusted CA. You must manually accept the exception to proceed. For public-facing or production environments, a certificate from a CA like Let’s Encrypt is recommended.
4. What are the key commands to create a Grafana SSL certificate? The three main OpenSSL commands are:
openssl genrsa -out grafana.key 2048(to create a private key)openssl req -new -key grafana.key -out grafana.csr(to create a CSR)openssl x509 -req -days 365 -in grafana.csr -signkey grafana.key -out grafana.crt(to create the self-signed certificate)
5. How do I configure Grafana to use my new SSL certificate? You need to edit the grafana.ini file, set protocol to https, define your root_url with https://, and provide the correct paths for cert_file and cert_key.
6. What should I do if Grafana fails to start after configuring SSL? First, check the Grafana server logs for errors. The most common issues are incorrect file paths in grafana.ini or improper file permissions on the .key and .crt files. Ensure the grafana user has read access to both files.
7. Can I use a free SSL certificate from Let’s Encrypt instead? Yes. Let’s Encrypt is a free, automated, and open Certificate Authority that provides trusted SSL certificates. This is a great alternative for production environments. [Cite credible source here: Link to Let’s Encrypt documentation].
8. How do I secure Grafana running in a Docker container? The process is similar. You can generate the certificate on the host machine and mount it into the container, or you can exec into the running container and generate the certificate inside it. You must also ensure the HTTPS port (usually 3000) is exposed.
Leave a Reply