

How to migrate a server to Google Cloud Platform (GCP) using CloudEndure
Update 08/23 – Note that CloudEndure is now at the end of its life and has been migrated to an AWS Service called AWS Application Migration. Full details can be found here. I will keep this procedure online for nostalgia.
Update 09/19 –Since I originally wrote this Article, AWS has bought CloudEndure. At present, this procedure is still valid for GCP customers, but there may come a day when GCP customers cannot use CloudEndure for Migrations
In this blog post, I will be migrating a Linux server from my home VM lab into GCP. CloudEndure will work with physical or virtual servers and is great for migrating individual servers in a controlled manner.
- Log into the GCP console.
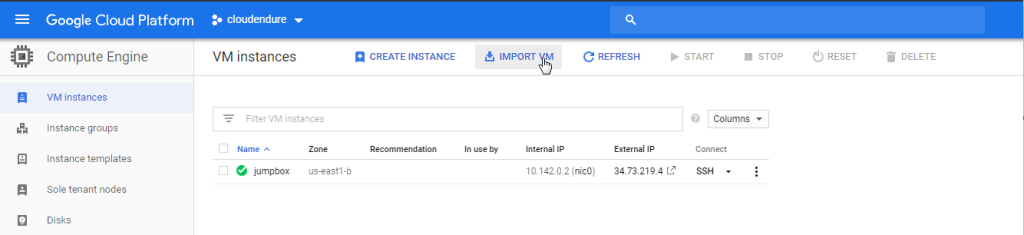
- Goto Compute Engine > VM Instances and click Import (you need to have atleast 1x VM running for the import button to show up)
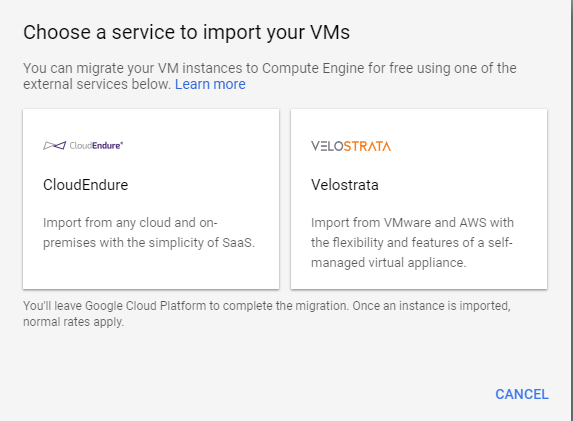
- Choose CloudEndure – this will open the CloudEndure SSO page, and log in with your GCP account
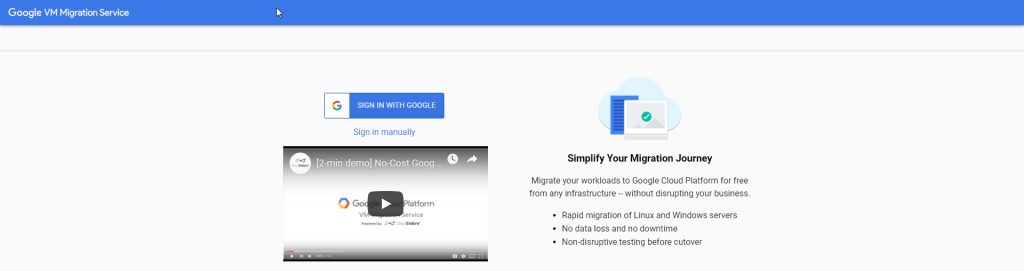
- After a short initial setup, you will be presented with the CloudEndure main console. If this is the very first time you have used this, it may take up to 10 minutes to become ready.
- Below you can see my token IDs and install commands to run on my local Linux machine (note I had censored my key below)
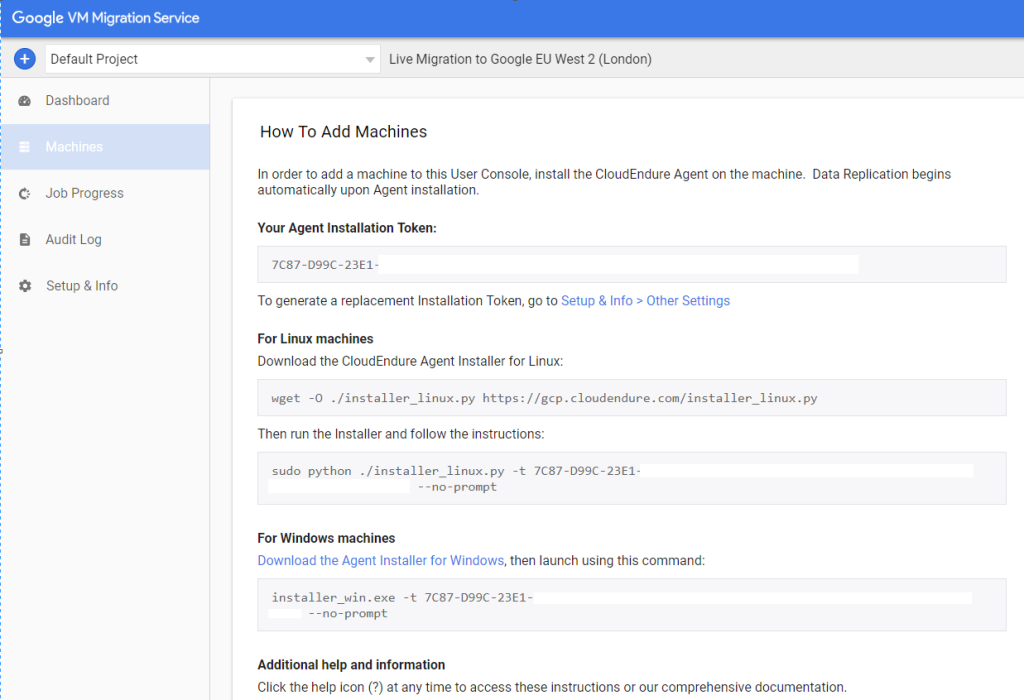
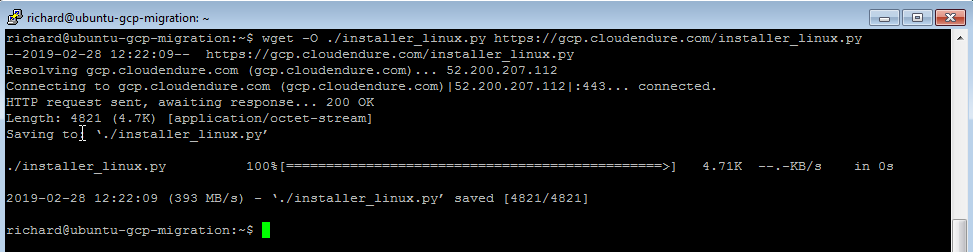
- From the physical server, download the latest CloudEndure agent using the command
wget -O ./installer_linux.py https://gcp.cloudendure.com/installer_linux.py- This will download the agent that will do the migration to the cloud.
- Next use the phython script to install the agent with the Token ID assigned to you.
- The process will take a few minutes to complete

- Next, switch back to the GCP console, and you will see the server.

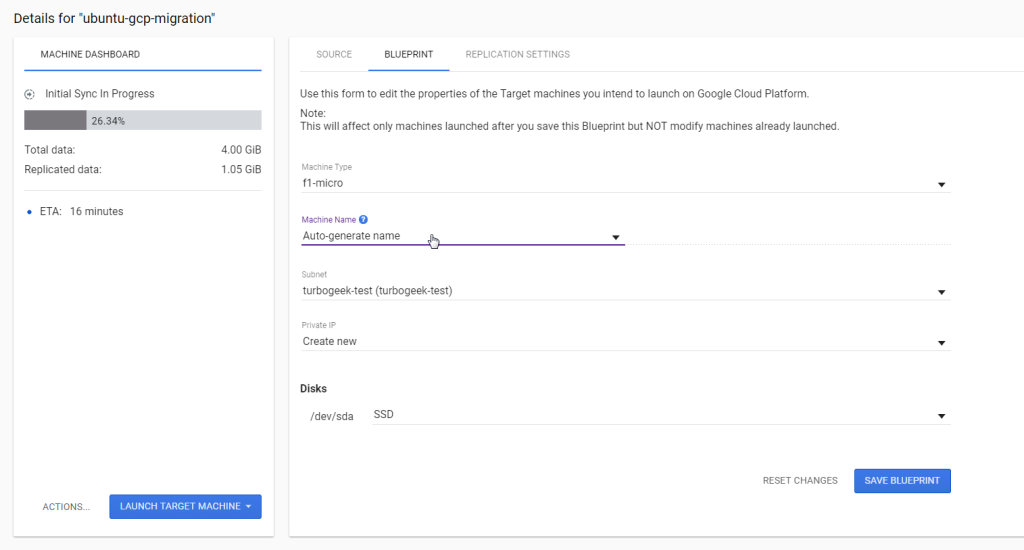
- Click on the server, and you can monitor the progress on the migration
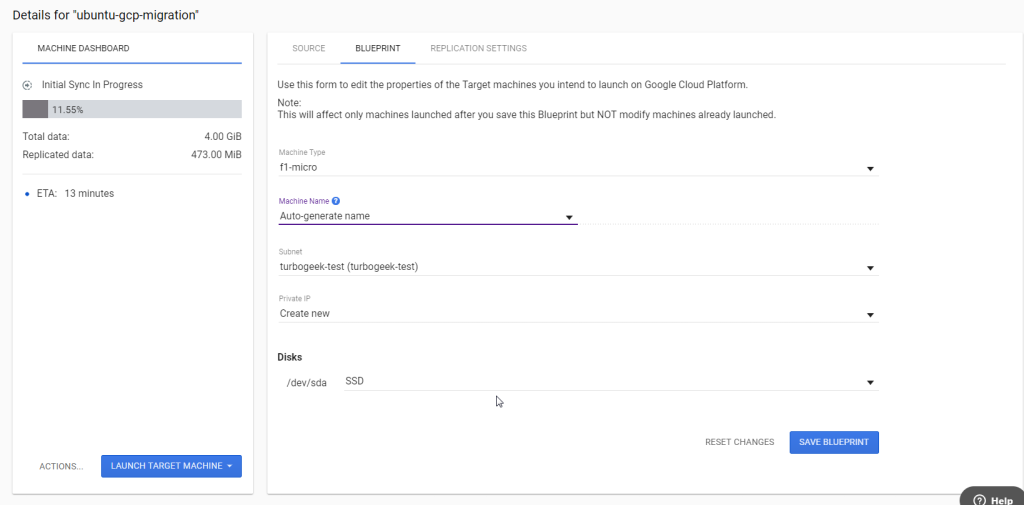
- Whilst it migrates, you can look at the options under “blueprint”, here you can set the server:
- IP address
- VPC network settings
- Server name
- Disk size if you want to resize the server
- Disk type if you want SSD or HDD
Now you have to wait for the migration to complete. This will depend on your network speed
- Once completed, you will see the following screen
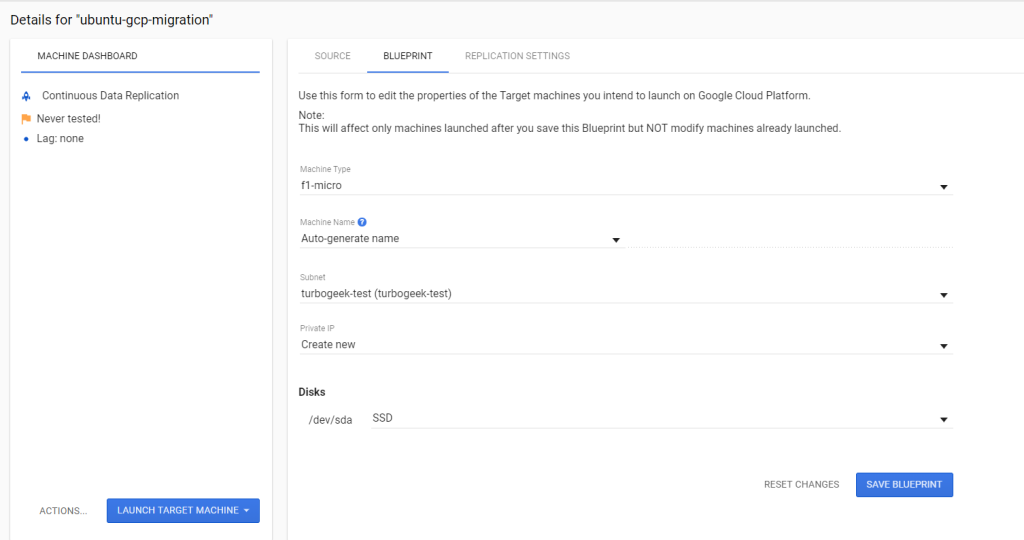
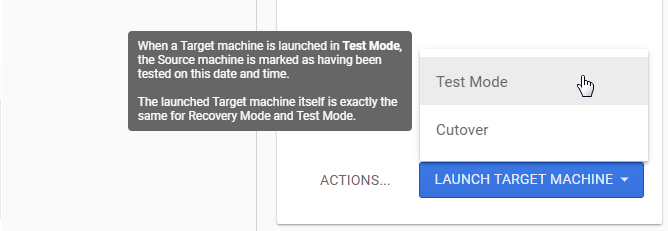
- Next, we need to test the server to ensure it boots and connects to GCP. This is done by clicking the button Launch Target Instance > Test Mode
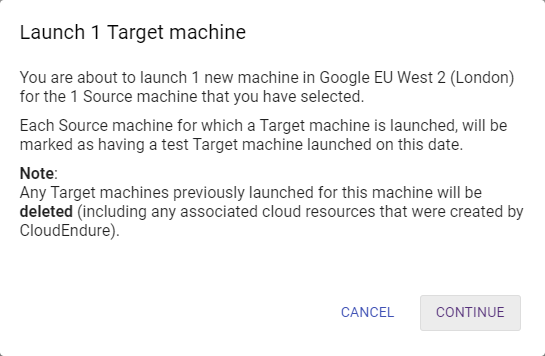
- After a few minutes, the instance will be available in your GCP VM instances.
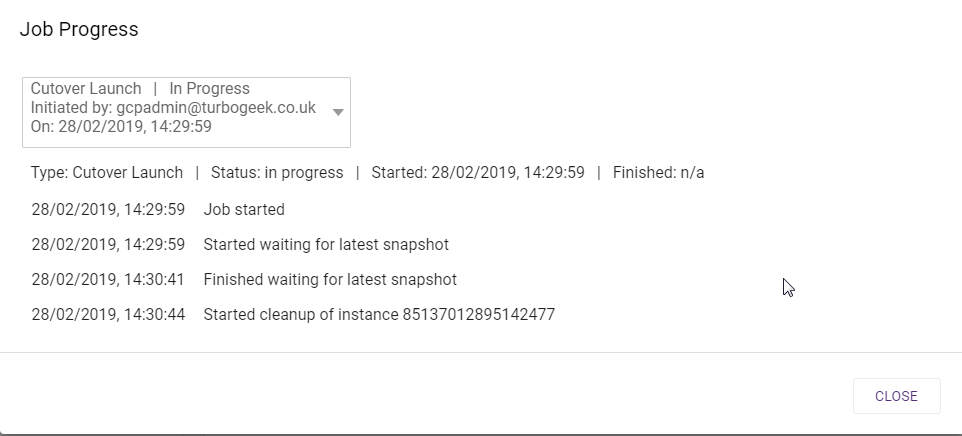
- You can monitor the job in the “job progress” tab

It takes a few minutes for this process to complete. Once done you will see the VM in the compute engine

Testing
Now we have to test the instance and ensure that the server is working. As this is a custom server, the Google Daemon which enables SSH console in the GCP web browser, will not work.
You can test the server with an SSH serial connection instead
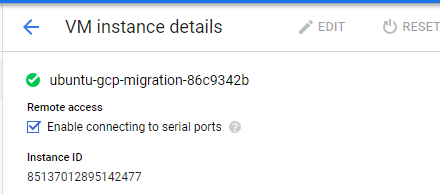
- To do this, click on the Virtual Machine > Edit and ticked the box for “Enable connecting to serial ports”
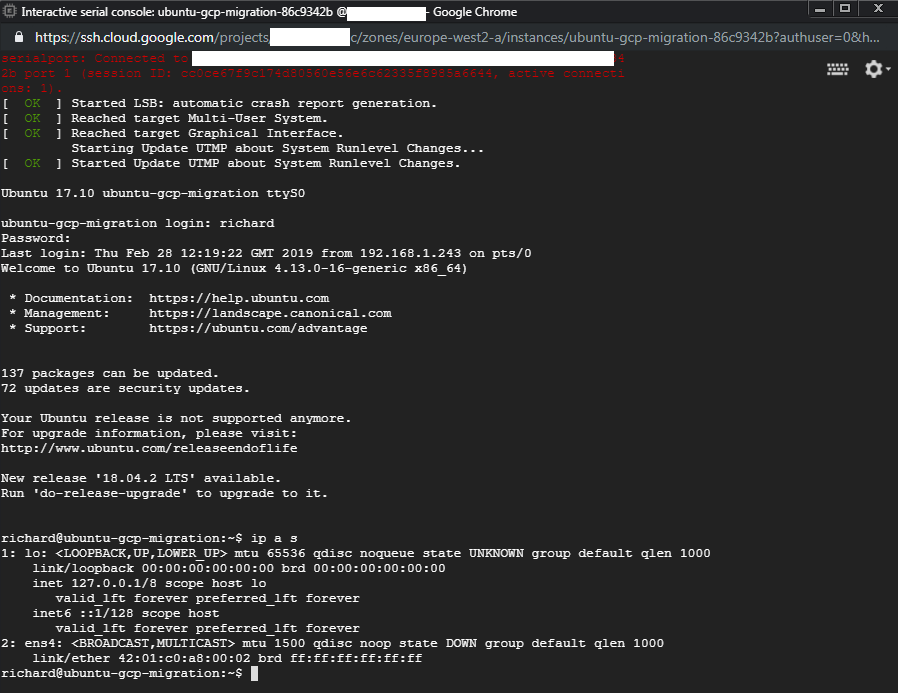
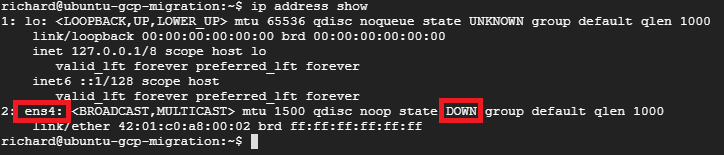
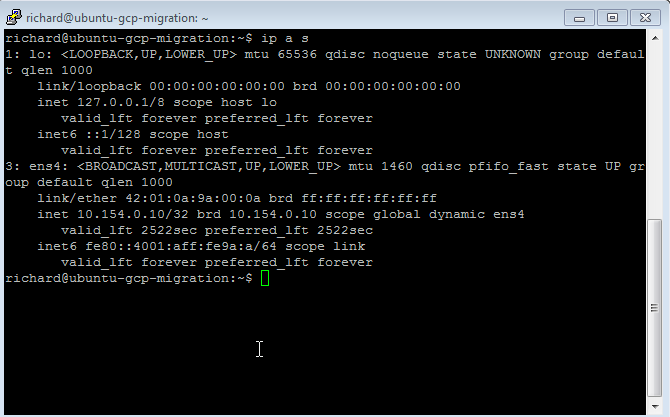
Conduct some testing to make sure the server is healthy; once you are happy, to can cut over the server into Production. In the example above, you can see that my NIC ENS4 is down. This is a common issue that happens when you migrate, and I will fix it after the cutover to production.
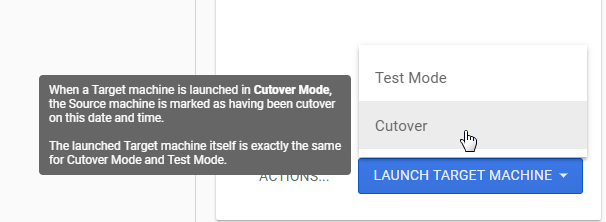
- Go back to the CloudEndure console and select Launch Target Machine > Cutover.
After a few minutes, your VM will be in Production
Fixing the network
Now to fix the network, I have re-enabled SSH over serial again (as above)
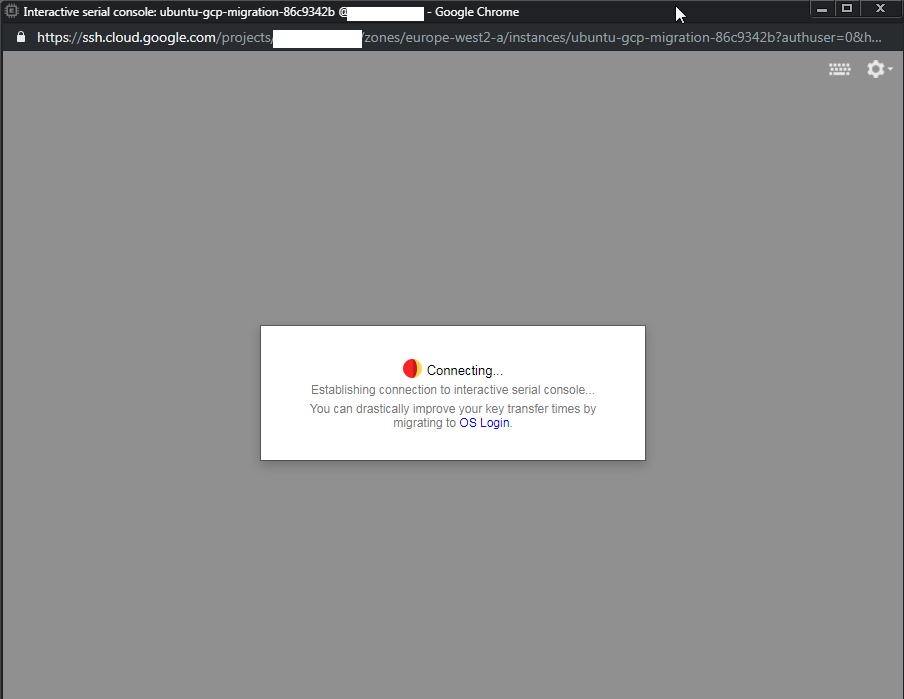
- SSH to the serial console and type
ip address show- Make a note of the adapter details for your production network. In this example it is ENS4
- To fix this type (note this OS is Ubuntu 17.04LTS)
sudo netplan generatesudo vi /etc/netplan/01-netcfg.yaml - Now edit the YAML file to match your NIC ID

sudo netplan applyip address show- You can now see your server NIC is UP, and it has an IP address.
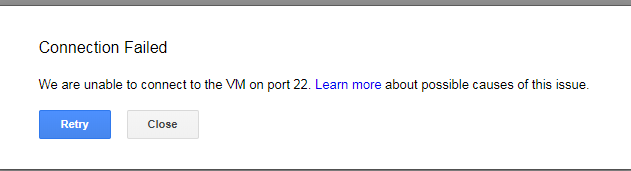
- Now you can connect to your VM using SSH to the external IP. If you have any issues
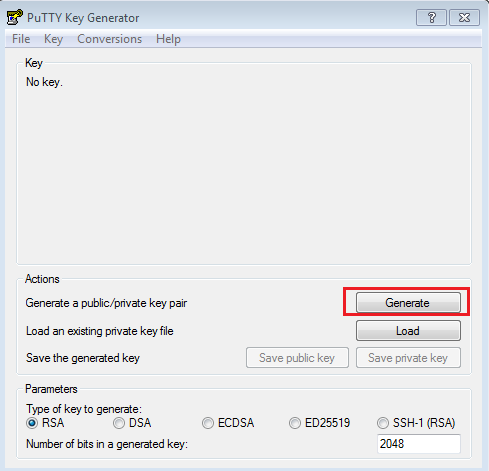
- Open the Putty Key Generator from the Putty folder on your start menu.
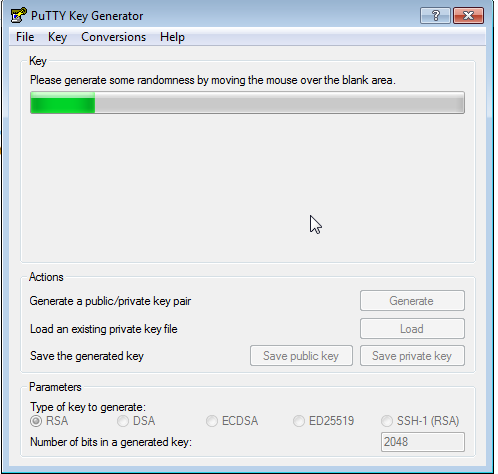
- Click generate and follow the on-screen prompt to wiggle the mouse to create randomness.
- Keep wiggling the mouse to generate the key
- Enter the Username and password you want to use in the Key Comment and Key Passphrase sections. In this example, I am using root, but you can use anything provided there is an associated account on the server.
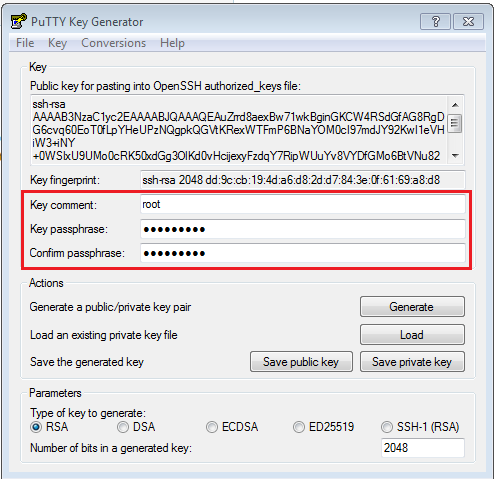
- Next copy the entire key box and click Save private key
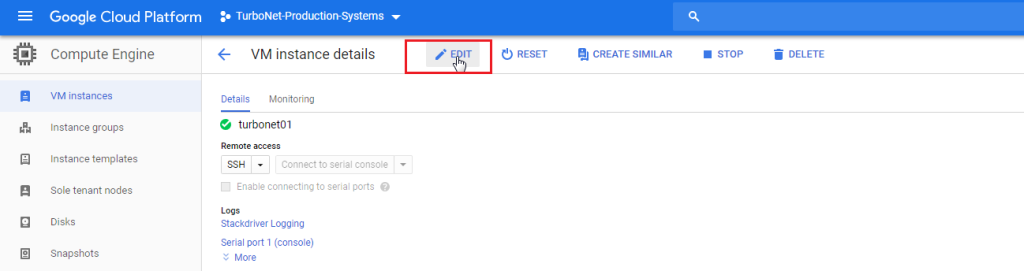
- Next Log into GCP and navigate to Compute Engine. Find the VM you want external SSH access to and click on it to see details.

- In the details page click edit
- Scroll down to the SSH Keys section, Click Add item and paste you key value and user name
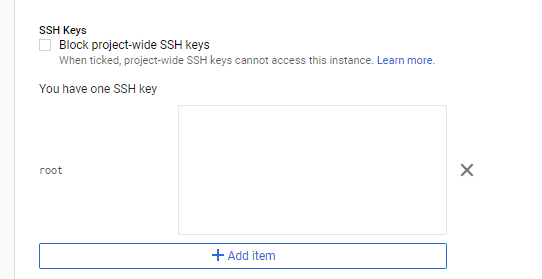
- Click save and make a note of the external IP of the server.
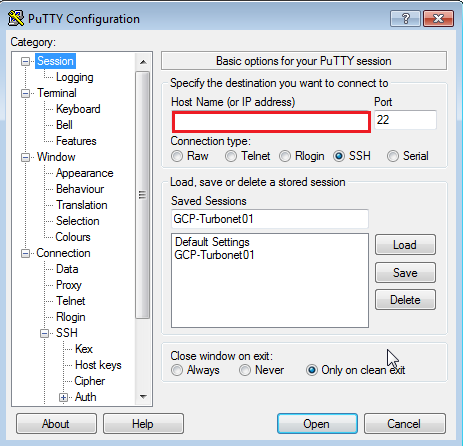
- Go back to Putty.
- Type the External IP of your server into the client
- On the left pane, scroll down to expand connection > SSH > Auth
- Click the browse button and locate the key file you saved earlier
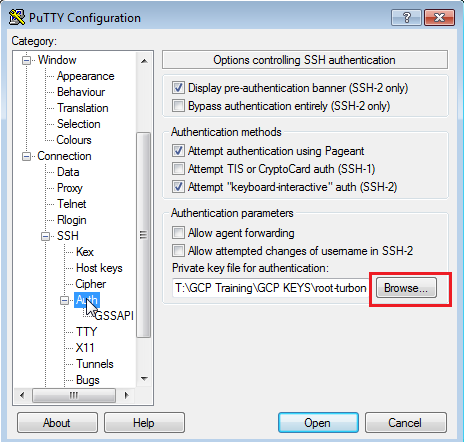
- Next click Open to SSH to you GCP Instance. Log in with the credentials you provided earlier.
Leave a Reply