
Deploy an Application using Kubernetes on GCP
How to create a Kubernetes cluster on the Google Cloud Platform, and the deploy an OwnCloud pod
This blog will focus on using the GCP webconsole to build, deploy and expose and application on the Google Kubernetes Engine (GKE). In this demo we will be installing an application called OwnCloud.
Step 1 – Log into the Google Cloud Platform
- Log into GCP and choose your project
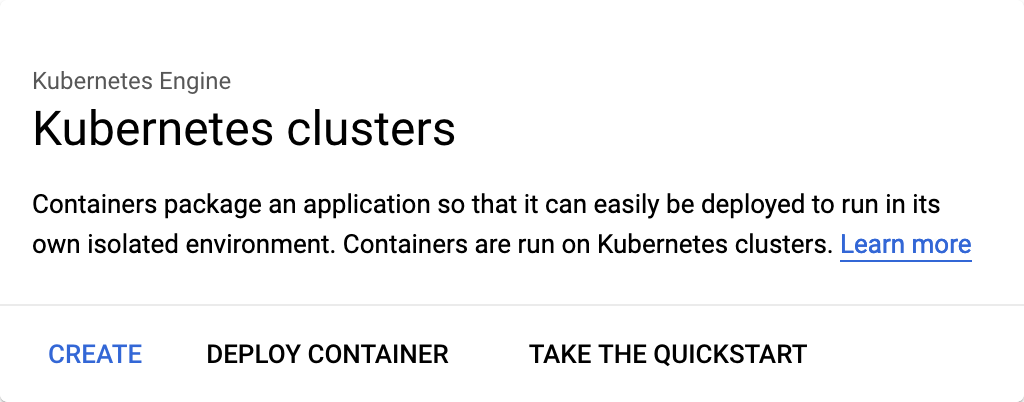
Step 2 – Create Cluster in K8s
Go to Kubernetes Engine > Clusters > Create Cluster
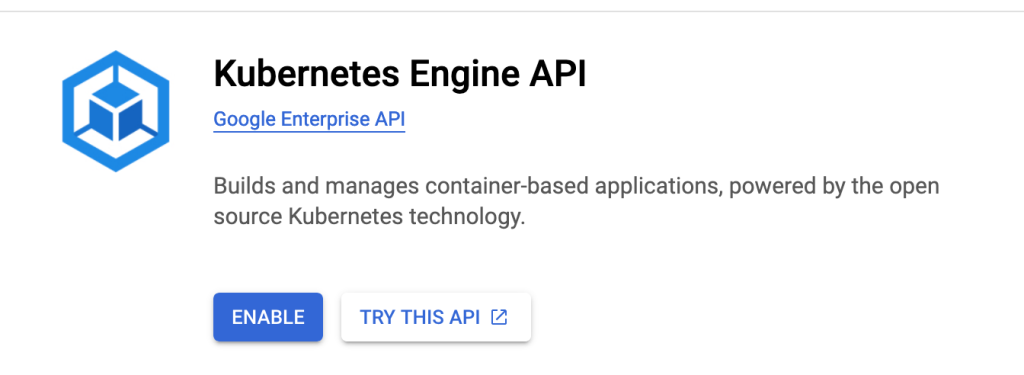
Note: If this is the first time you have used Kubernetes, you will be prompted to enable the K8S Engine API. This only takes a moment and is a mandatory requirement.
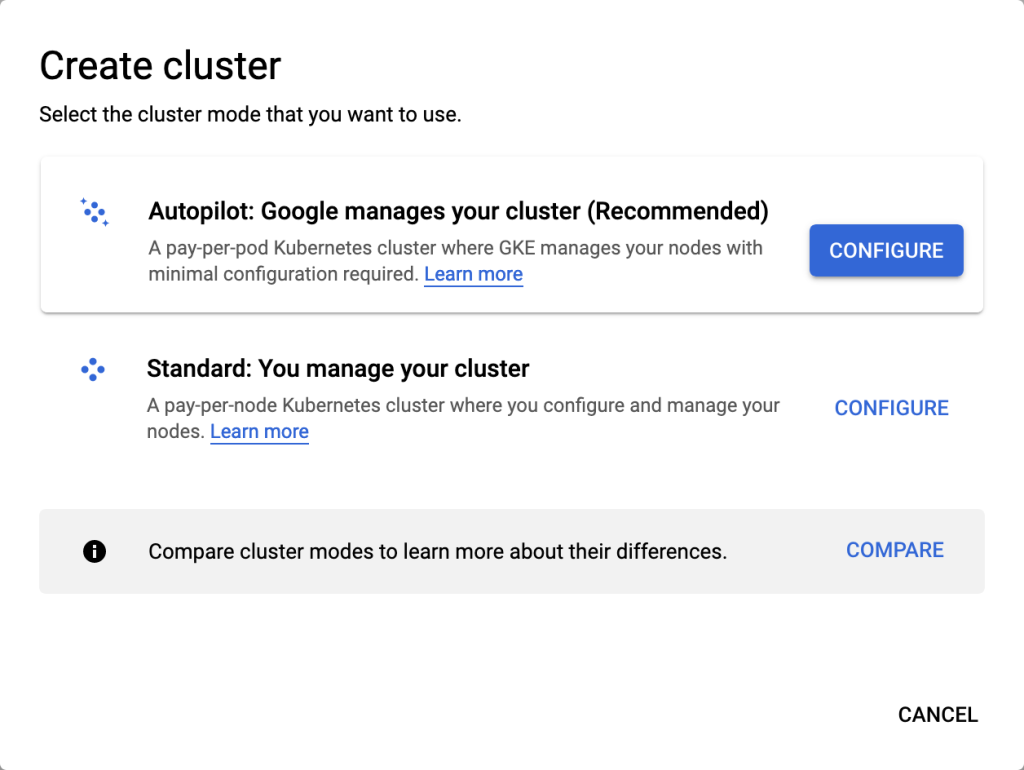
Step 3 – Choose Autopilot or Standard
You will then be given the option to use the GKE autopilot engine, or configure a cluster manually (standard). In this example, I will be using standard.
Step 4 – Complete Cluster Basics
Choose a name for your cluster and select regional or zonal for your GKE cluster location. Select your region and version of Kubernetes.
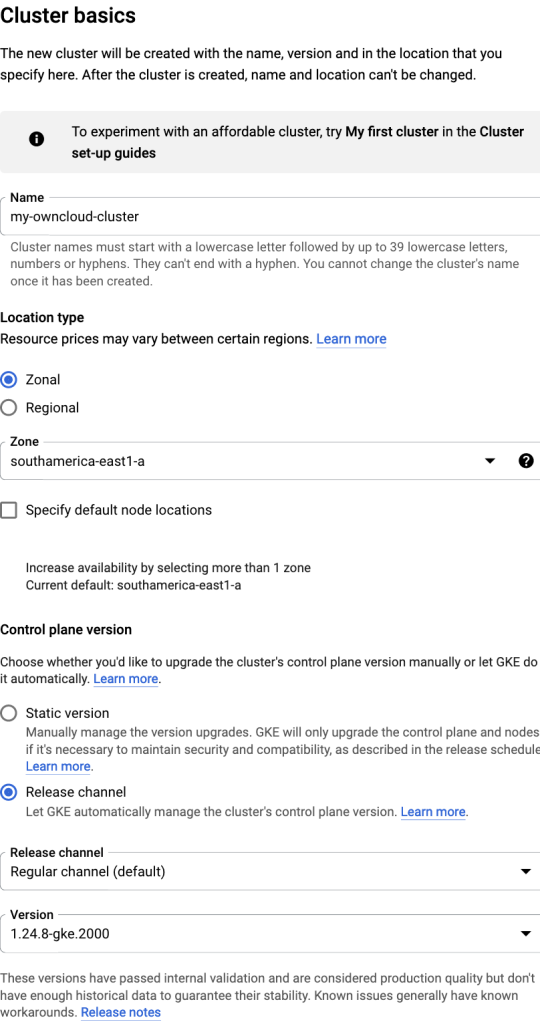
Then select CREATE

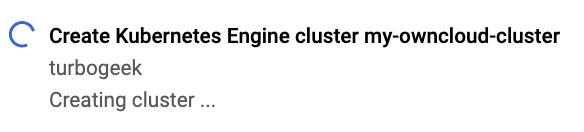
Step 5 – Wait for the Cluster to Build
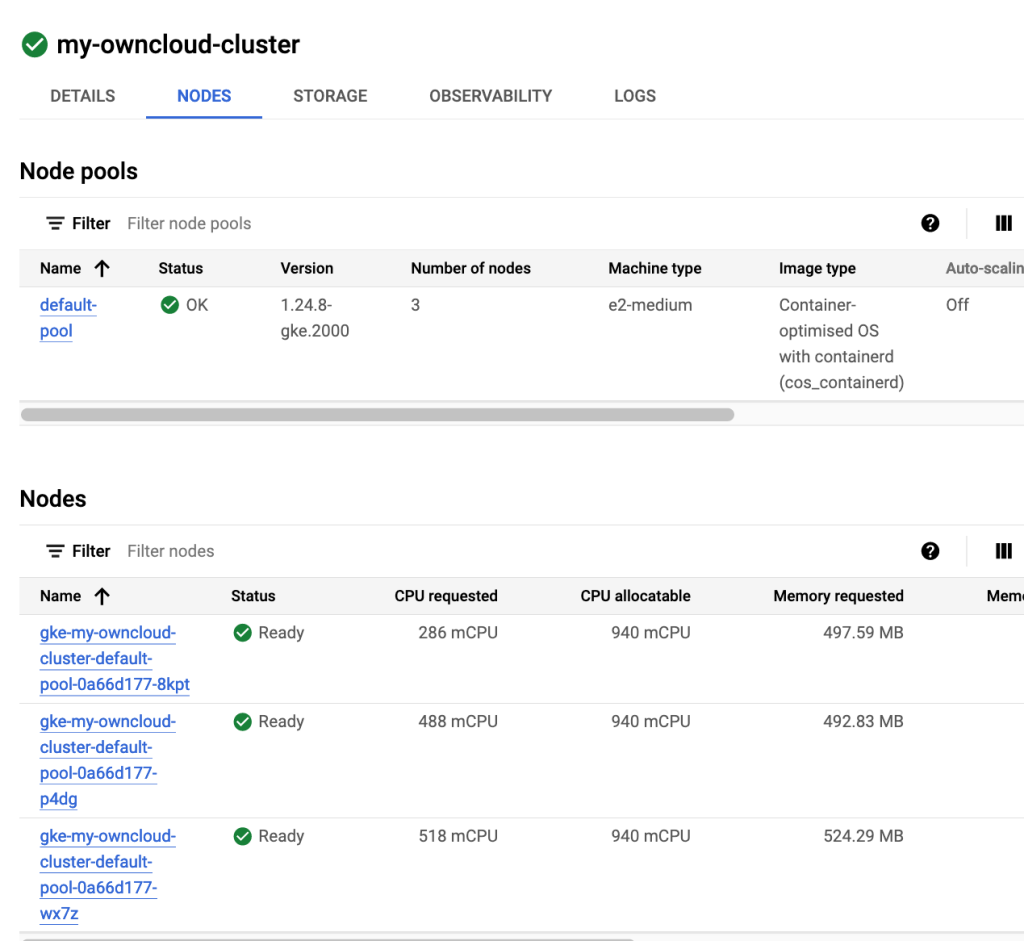
Step 6 – Configure Your K8s nodes
Upon completion you will see something similar to this:

Select the node pool section. This is the compute backend that will run your cluster. You will see the number of nodes created, and the machine type. You can also add GPU if required.
Click on the Edit button. Here you can enable auto-scaling, choose the minimum and maximum of cluster nodes. You can also choose the Operating system of your cluster.

Choose a name for the node pool.
In this example I will enable auto scaling and set 2 nodes as my minimum and 6 nodes as my maximum. I have also enabled pre-emptible nodes
The remaining options can be left as default and click save
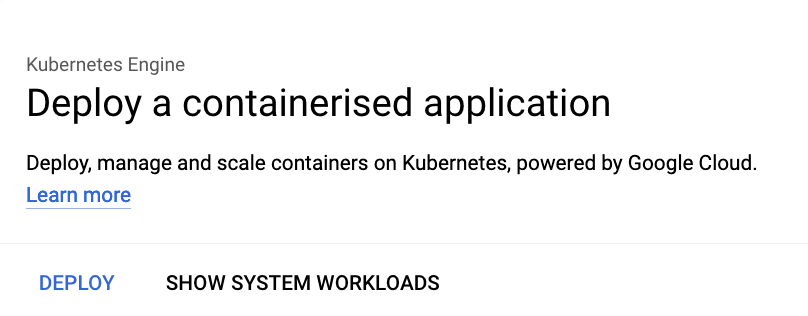
Step 7 – Add a Workload to your Cluster
Next we need to add a workload to make the cluster do something.
From the Kubernetes Engine select Workloads > Deploy
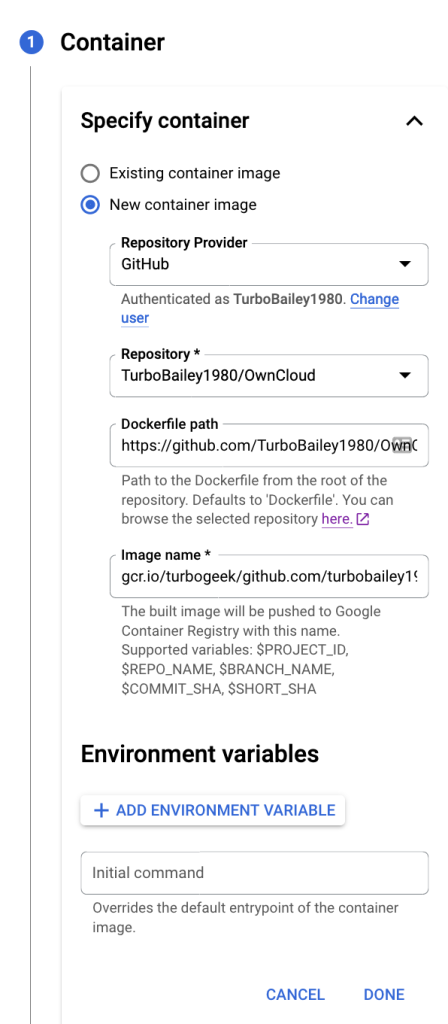
On the Specify Container Tab, select New Container Image
Note: You will need to enable the Cloud Build API and Cloud Source API (You will be prompted automatically if this is needed). You will also need access to Github to fork the OwnCloud Prokevct
- Sleect “New Container Image”
- Choose Github as the Repository Provider
- Choose the forked version of OwnCloud
- Slect the Dockerfile
- Add some Tags and then DONE
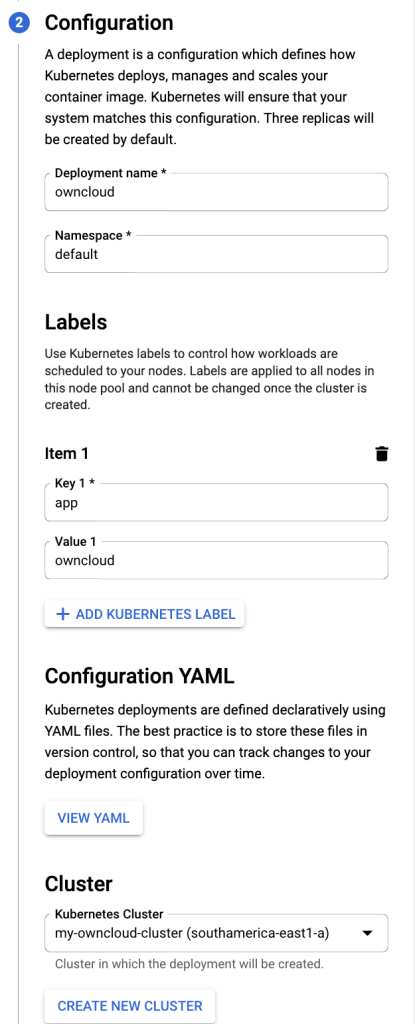
On the Configuration tab
- Give the workload a name
- Create a namespace (if required)
- Press CREATE NEW CLUSTER
The Deployment will now start. Please note OwnCloud will take up to 5 minutes to deploy
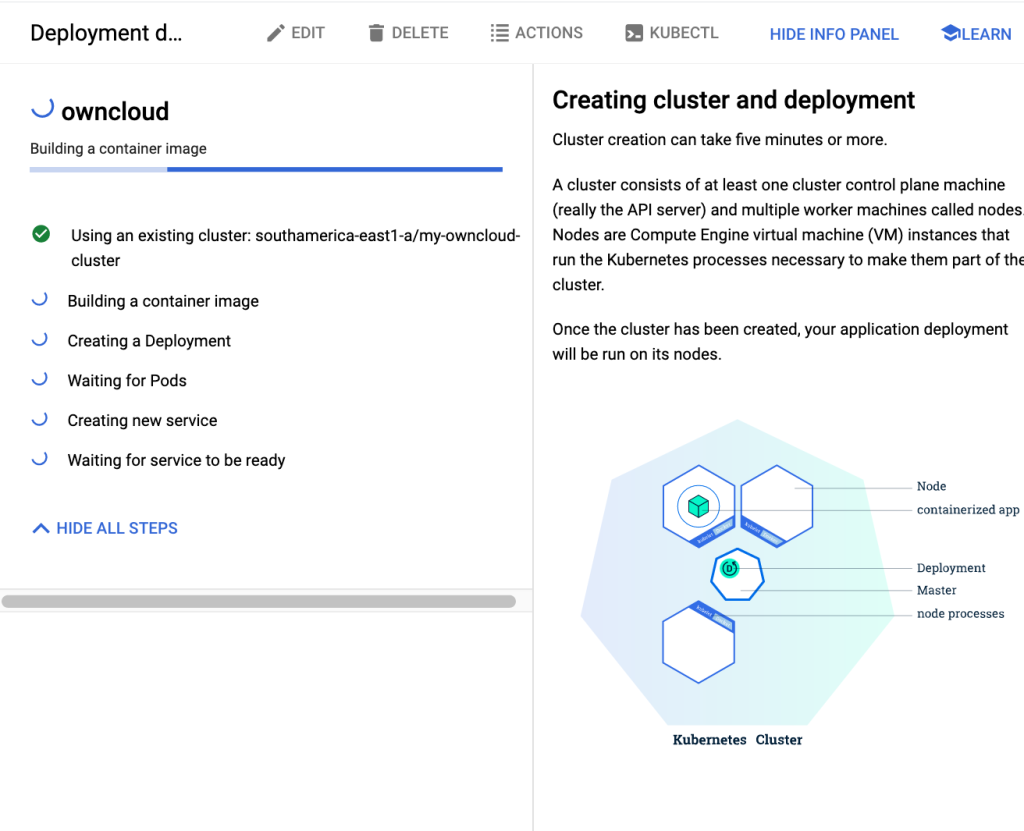
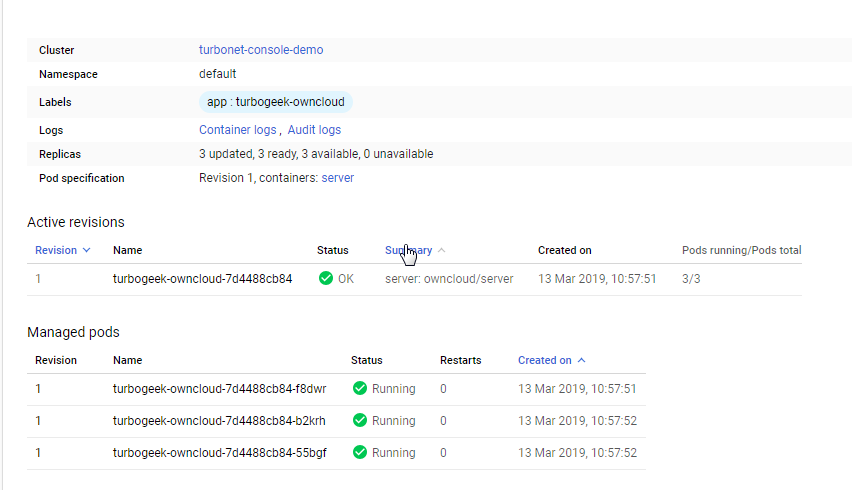
Goto the Workloads pane and you should see the deployment running.
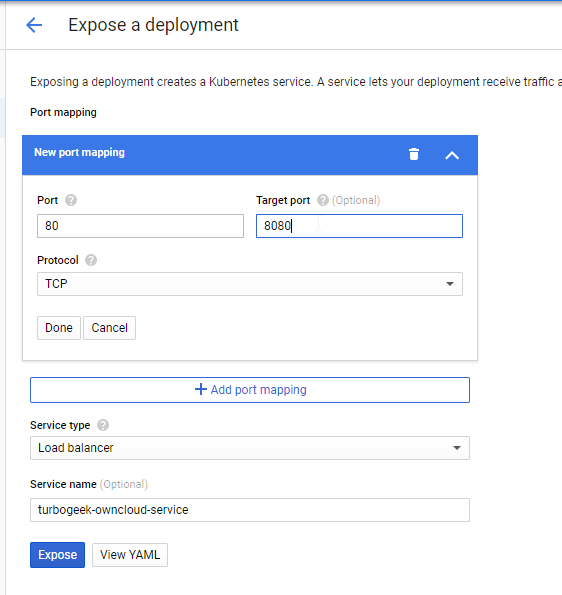
Now we need to expose the service to make it publicly available
You can click the Expose button at the top of the deployment page.

Type Port 80 and target port 8080 and click Expose
Click on the Services pane and you should see an endpoint IP address
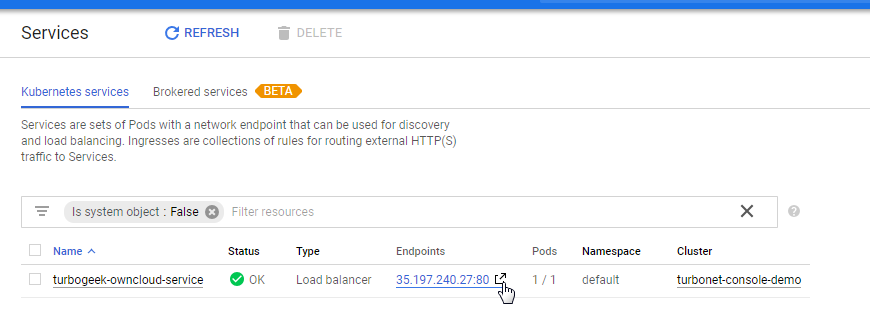
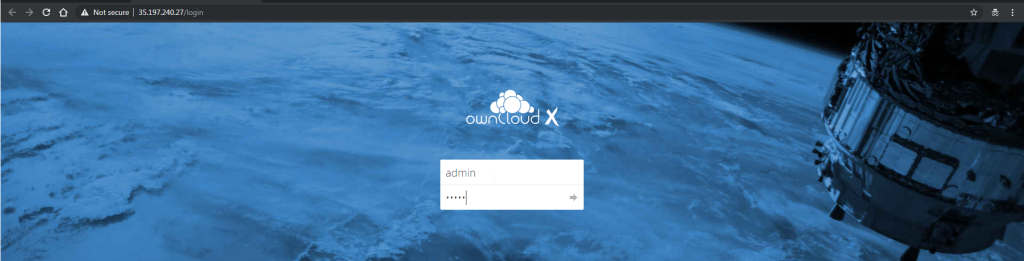
Copy the IP and port into your web browser and the OwnCloud page should open
If you a demoing this at the same time, make sure you delete your resources if not needed to avoid being charged by google.

Recent Comments