
Deployment Manager is an infrastructure deployment service that automates the creation and management of Google Cloud Platform (GCP) resources for you. The Cloud Deployment Manager is now on Version 2. If you are from an AWS background, GCP deployment manager is similar to CloudFormation, but a lot easier to use!
You can write flexible templates and configuration files and use them to create deployments that have a variety of GCP services, such as Cloud Storage, Compute Engine, and Cloud SQL, configured to work together.
Deployment Manager uses a system of templates to consistently deploy GCP resources. You create files to instruct the Deployment Manager.
The files are of three types:
- A configuration file drives the deployment; this is a YAML file.
- Template files that implement specific resources; are written in either Jinja 2.7.3 or Python 2.7.
- Schema files are a set of rules that a configuration file must meet to be allowed to use a particular template; you won’t use schema files in this lab.
The concept behind Deployment Manager is “infrastructure as code.” You can treat the templates like code, placing them under version control in a repository, and so forth.
You used commands to run Deployment Manager. However, the same functionality is also available through the API for even greater leverage.
Part 1 – Building an Instance from the Cloud Console
Step 1 – Enable the Cloyd Deployment Manager API
From the GCP console, navigate to the Cloud Deployment Manager V2 API page.
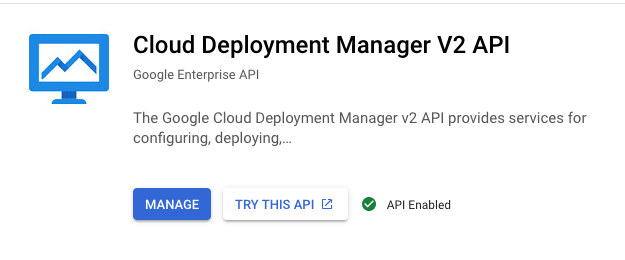
If you have not enabled the API, instead of the Manage button above, you will see an enable button
Step 2 – Open Cloud Shell to view available deployment resources
Open Cloud Shell from the GCP Console

In Cloud Shell, to list the types of GCP resources that you can control using Deployment Manager, run the following:
gcloud deployment-manager types list
or
gcloud deployment-manager types list | grep "v1" | sort
Note – Using “v1” will list only production-ready deployments. You will see lots of results from your search. Take a look at the type of resources available

GCP resources can be deployed directly from the Cloud Shell Terminal, this approach is ok for testing but should be avoided in production environments
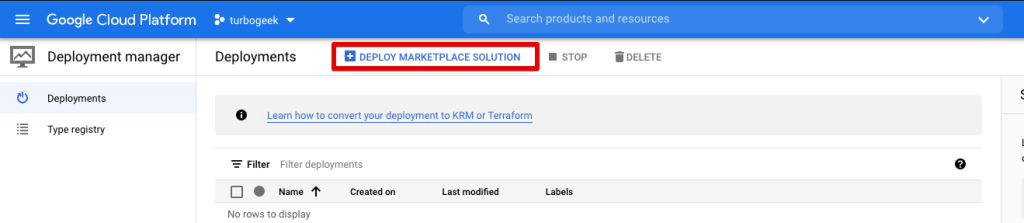
Step 3 – Deploy resources from the GCP Console
From the Deployment Manager console, click on “Deploy MarketPlace Solution”
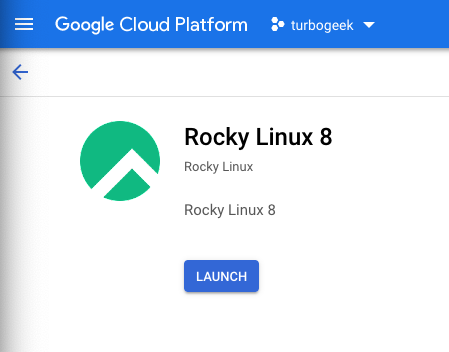
In the Marketplace, click search and look for an image you want, in this example, I am using Rocky Linux 8
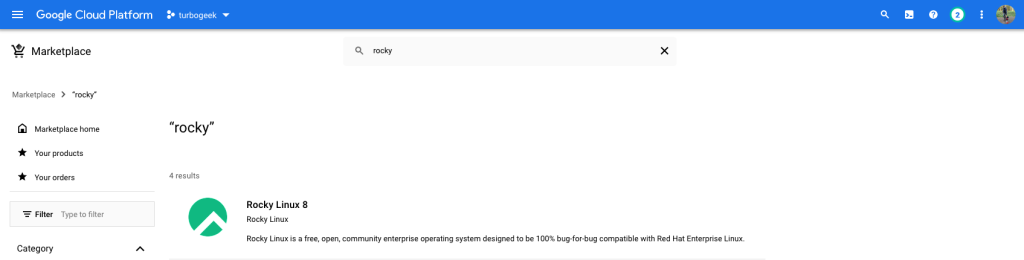
Click on Rocky Linux 8 and then Click Launch
After a few moments, GCP will spin up your instance.
Note: You may be prompted to enable the Compute Engine API if you have never deployed an instance to GCP before
Step 4 – Create an Instance
Next, you will be given a page to personalize your instance.
- Name: Give your server a name
- Labels: Give your server a tag
- Region and Zone: Choose the region and Zone to deploy too
- Machine Configuration: This is where you choose the size of your instance
- Boot Disk: select the size and speed of the disk you want to use
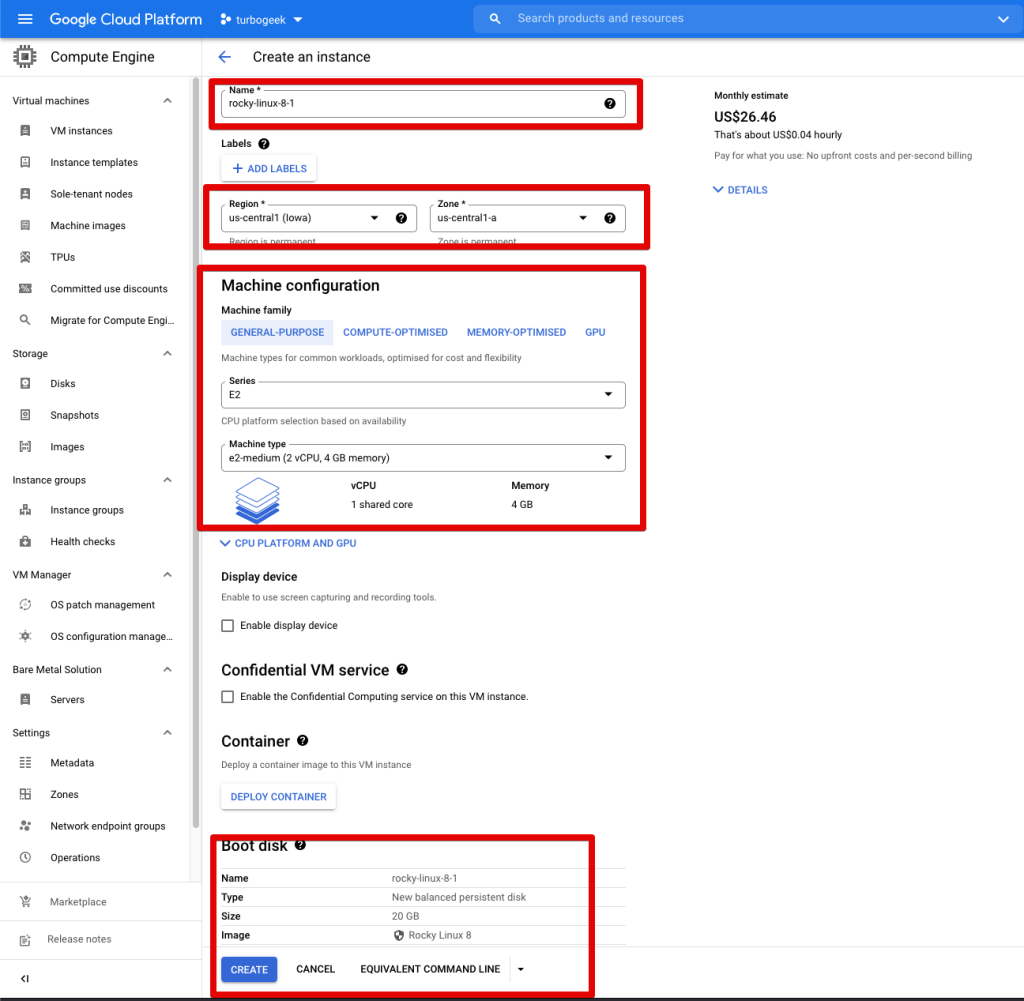
For this example, we can access the default values and click CREATE

The Google Compute Engine (GCE) will now build the instance
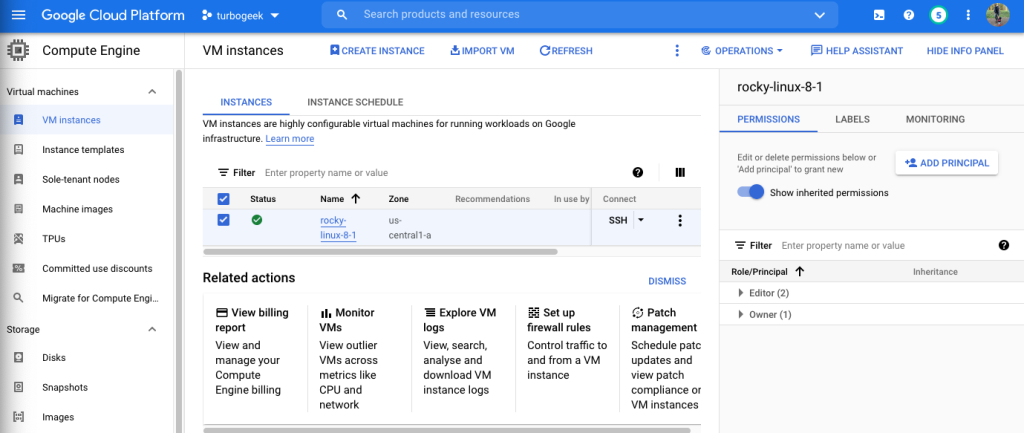
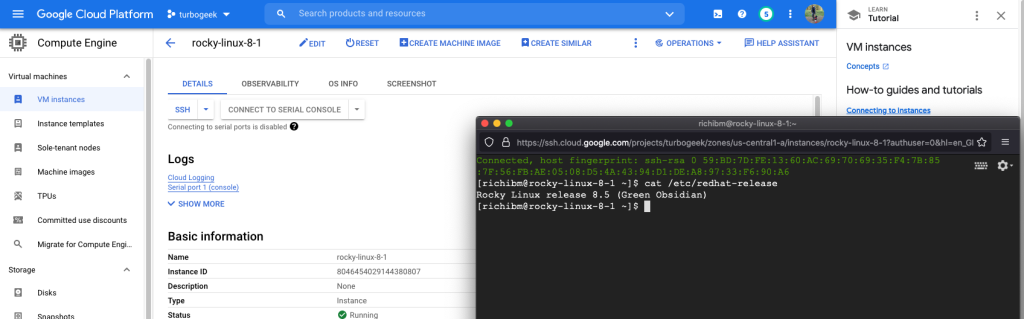
Step 5 – SSH to the Instance
Click on the server name, in this example it’s rocky-linux-8-1. Now click SSH, Google provides web browser-based SSH connections to resources, after a few moments you will be able to connect and manage the server
Part 2 – Build an Instance from GCP Cloud Shell
Using the GUI is fine for beginners, the next step is to use scripts to build a Google Cloud Storage (GCS) bucket from Cloud Shell.
Configuration files are collections of GCP resources that are created and managed together. Configuration files are written as YAML templates containing the definition of resources to be deployed. A single configuration file is used by the Deployment Manager to manage several resources.
Step 1 – Create a configuration file for your bucket
To make this process simple, I will be using an example code from Google’s GitHub repository.
Clone the GCP repo
git clone https://github.com/GoogleCloudPlatform/cloud-foundation-toolkitNavigate to the Deployment Manager folder and copy the example
cd cloud-foundation-toolkit/dm
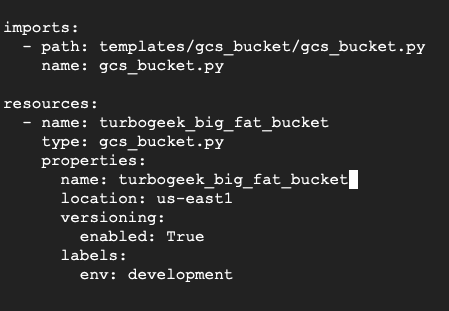
cp templates/gcs_bucket/examples/gcs_bucket.yaml my_gcs_bucket.yamlEdit the my_gsc_bucket.yaml file
nano my_gcsbucket.yamledit the values prefixed with “FIXME”
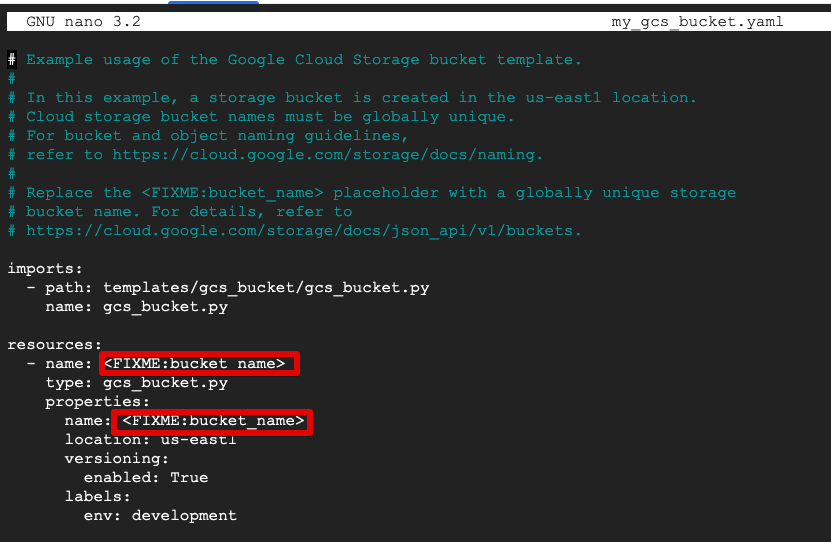
Note: The Bucket Name must be unique, and there are restrictions on the use of special characters
Step 2 – Deploy using Gcloud on Cloud Shell
gcloud deployment-manager deployments create mybucketdemo --config my_gcs_bucket.yamlYou may be prompted to authorize cloud shell to create this infrastructure. Click the authorize button and then follow the instructions

After a few moments, the bucket will be created.
richibm@cloudshell:~/cloud-foundation-toolkit/dm (turbogeek)$ gcloud deployment-manager deployments create mybucketdemo --config my_gcs_bucket.yaml
The fingerprint of the deployment is b'Mf6vYsLmsIJQR1Mw9nv38g=='
Waiting for create [operation-1644493198574-5d7a868efc4d4-a34a54e8-c228cd0d]…done.
Create operation operation-1644493198574-5d7a868efc4d4-a34a54e8-c228cd0d completed successfully.
NAME: turbogeek_big_fat_bucket
TYPE: gcp-types/storage-v1:buckets
STATE: COMPLETED
ERRORS: []
INTENT:
richibm@cloudshell:~/cloud-foundation-toolkit/dm (turbogeek)$
You can validate this by browsing to Google Cloud Storage

I highly recommend exploring the other examples of Google Deployment Manager API
https://github.com/GoogleCloudPlatform/deploymentmanager-samples
Best Practice for Deployment Manager
A huge configuration file can be difficult to manage. Templates are a way to break down configurations into composable units that can be separately updated and can be reused. Templates are included in the *.yaml configuration using import:.
Here are some of the benefits of Deployment Manager templates:
- Composability: Easily manage and maintain definitions.
- Reusability: Easily reuse definitions across deployments.
- Maintainability: Maintain consistent definitions in one place.
The Deployment Manager configuration and template files use two kinds of variables: template variables and environment variables.
Template variables are abstract properties that allow you to declare the value to be passed to the template in the *.yaml configuration file. You can change the value for each deployment in the *.yaml file without having to make changes to the underlying templates. Example: Passing zone as a template variable allows you to start a test deployment in a different zone from the production deployment.
Environment variables allow you to reuse templates in different projects and deployments. Instead of representing properties of resources, they represent more global properties such as a Project ID or the name of the deployment. Example: You want to start the same deployment in two projects: proj-east and proj-west. You could declare environment variables for the two Project IDs and then use these in the Deployment Manager configuration files.
For more information, see: https://docs.cloud.google.com/deployment-manager/docs
Leave a Reply