
TL;DR
- Bind qBittorrent to the VPN network interface, not to “Any interface”.
- Restart qBittorrent after selecting the VPN adapter so the binding is active.
- Prove the setup by disconnecting the VPN and confirming transfers stop.
Key Takeaways
- What is VPN Binding? Binding forces qBittorrent to only send and receive traffic through your VPN’s specific network interface.
- Why Do It? It acts as an application-specific kill switch. If your VPN disconnects, qBittorrent loses its connection entirely, preventing your real IP address from leaking.
- The Process: The method involves three main steps: 1) Find your active VPN interface name (e.g.,
tun0,Ethernet 3, orPUREVPN), 2) Select that exact interface in qBittorrent’s “Advanced” settings, and 3) Test the setup. - Don’t Forget to Test: The only way to know it’s working is to start a download, disconnect your VPN, and confirm that all torrent activity instantly drops to 0 KB/s.
Source check – May 10, 2026
- Checked against the official qBittorrent VPN binding wiki and options documentation for the Advanced network interface setting.
- Kept the verification step focused on a practical VPN disconnect test, because interface names can vary by VPN provider and operating system.
- Search Console target query:
binding qbittorrent to your vpn interface, with supporting intent around IP leak prevention.
| Topic | When | Command or source |
|---|---|---|
| Find interface | Before changing qBittorrent | Get-NetAdapter or ip link |
| Bind qBittorrent | Tools > Options > Advanced | qBittorrent VPN binding wiki |
| Check options | When settings names change | qBittorrent options wiki |
Start here: If you are new to VPN hardening, bind the client first, then test with the disconnect check in this guide. For broader privacy basics, read the security guides after you have confirmed qBittorrent stops when the VPN interface disappears.
What is qBittorrent VPN binding?
VPN binding is a security configuration that forces qBittorrent to communicate exclusively through a specific network adapter created by your VPN. Unlike a standard kill switch, which attempts to stop traffic after a drop is detected, binding ensures that qBittorrent doesn’t even “see” your regular internet connection. If the VPN tunnel closes, the network interface qBittorrent is looking for disappears, causing all transfers to stop instantly and preventing your real IP from leaking to the swarm.
Why should you bind qBittorrent instead of using a Kill Switch?
Binding is superior because it eliminates the “detection gap” found in software kill switches. A traditional kill switch relies on the VPN client noticing a disconnection and then signaling the OS to block traffic—a process that can take several seconds, during which your real IP is exposed. By binding the interface in qBittorrent, you create a hard dependency: no VPN interface, no data transfer. It is the single most effective way to maintain anonymity on P2P networks.
Follow these steps to increase your privacy and security when downloading and sharing files on P2P sites, preventing accidental qBittorrent IP leaks.
What Do You Need Before You Start?
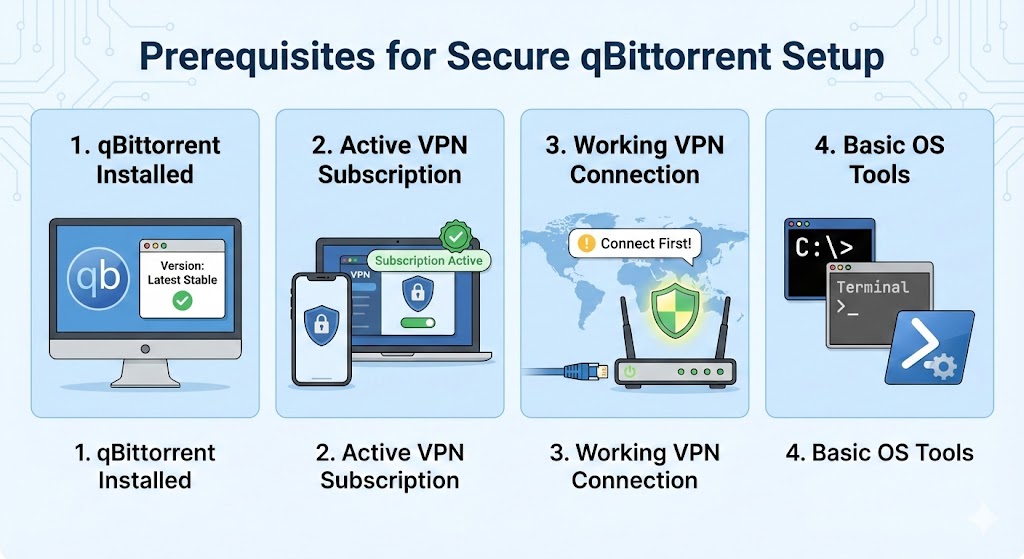
Before you bind qBittorrent to your VPN, make sure you have:
- qBittorrent installed
Use the latest stable version for the best compatibility and security updates. - An active VPN subscription
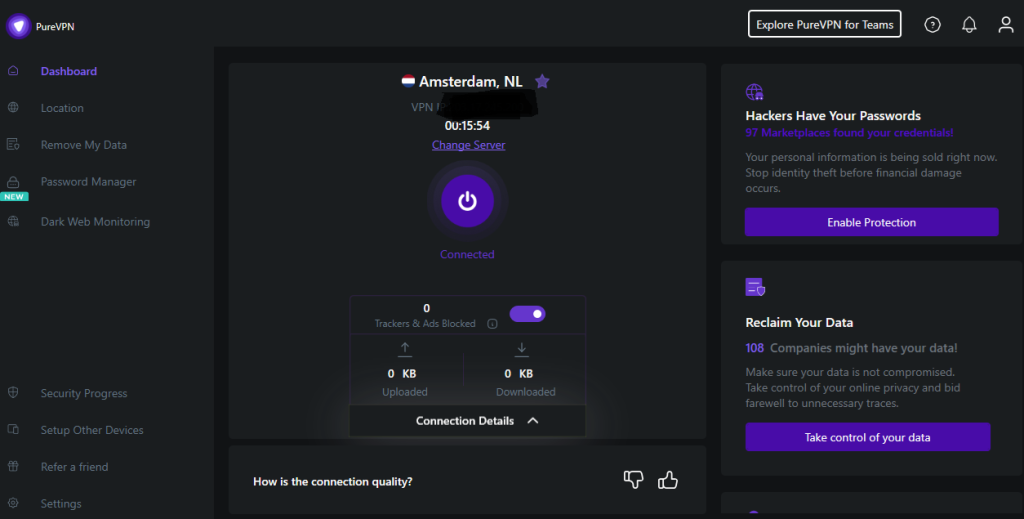
Your VPN client should already be installed, configured, and able to connect. - A working VPN connection
Always connect the VPN first before trying to identify its interface or adjusting qBittorrent’s network settings. - Basic familiarity with your OS tools
You’ll use tools like PowerShell/Command Prompt (Windows), Terminal (macOS), or a shell (Linux) to list network interfaces.
Step 1: Identify VPN Network Interface
Important: Always connect to your VPN before attempting to identify its network interface.
The first thing to do is work out what your VPN interface is called. When you connect to the VPN, your computer binds either your physical or wifi connection to the virtual socket typically called VPNxxxxx
On Windows
- Connect to your VPN.
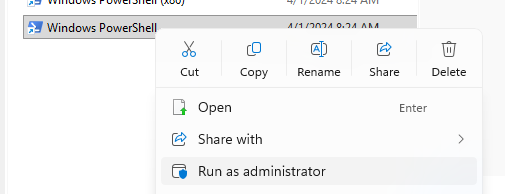
- Open PowerShell as an administrator for the most detailed output.
- In PowerShell, type the following command and press Enter
Get-NetAdapter -IncludeHidden | Select-Object Name, InterfaceDescription, Status | sortYou will see output similar to the following:
Name                                  InterfaceDescription                       Status
----                                  --------------------                       ------
Ethernet (Kernel Debugger)            Microsoft Kernel Debug Network Adapter     Not Present
Teredo Tunneling Pseudo-Interface                                                Not Present
6to4 Adapter                                                                     Not Present
Microsoft IP-HTTPS Platform Interface                                            Not Present
Local Area Connection* 10             Microsoft Wi-Fi Direct Virtual Adapter #2  Disconnected
Local Area Connection* 1              Microsoft Wi-Fi Direct Virtual Adapter     Disconnected
Wi-Fi                                 Intel(R) Wi-Fi 6E AX210 160MHz             Up
Local Area Connection                 TAP-Windows Adapter V9                     Disconnected
PUREVPN Realtek Gaming 2.5GbE Family Controller #2 UpAlternatively, in Command Prompt, use:
ipconfig /allIdentify the VPN adapter:
- Look for an adapter whose Status is “Up” (when the VPN is connected).
- Look for the
InterfaceDescriptionorName
- The Name of the Interface varies from Computer to Computer. You can see from the example above my one is called PUREVPN.
On macOS,
VPN clients often create utun interfaces, or a named service that corresponds to the VPN connection.

- Connect to your VPN.
Confirm it is active in your VPN menu bar icon or app. - Open Terminal.
Go to Applications → Utilities → Terminal. - List network interfaces:
ifconfig - Locate the VPN adapter.
Look for:- Interfaces such as
utun0,utun1, etc., that appear only when your VPN is connected; or - An interface whose IP, netmask, or description aligns with your VPN.
- Interfaces such as
Some VPN apps also expose the interface name in their advanced settings. Make note of whichever interface you confirm as the tunnel used by your VPN.
ifconfigOn Linux
- Connect to your VPN.
- Open a Terminal.
- Use the
ip addr showcommand (more modern) orifconfig(ifip addr showis not available or you prefer it).
ip addr showIdentify the VPN adapter: In my scenario, PUREVPN was the name of the VPN interface.
Step 2: How do I configure the binding in qBittorrent?
Once you’ve identified your VPN’s network interface name, you can configure qBittorrent.
Accessing Advanced Settings
- Open qBittorrent.
- Go to Tools > Options… (or qBittorrent > Preferences… on macOS).
- In the Options window, navigate to the Advanced section
- You might see a warning: “Changing advanced settings can be harmful. Are you sure you want to continue?” Click “I Agree” or “Yes” if such a warning appears.
Binding to the Network Interface
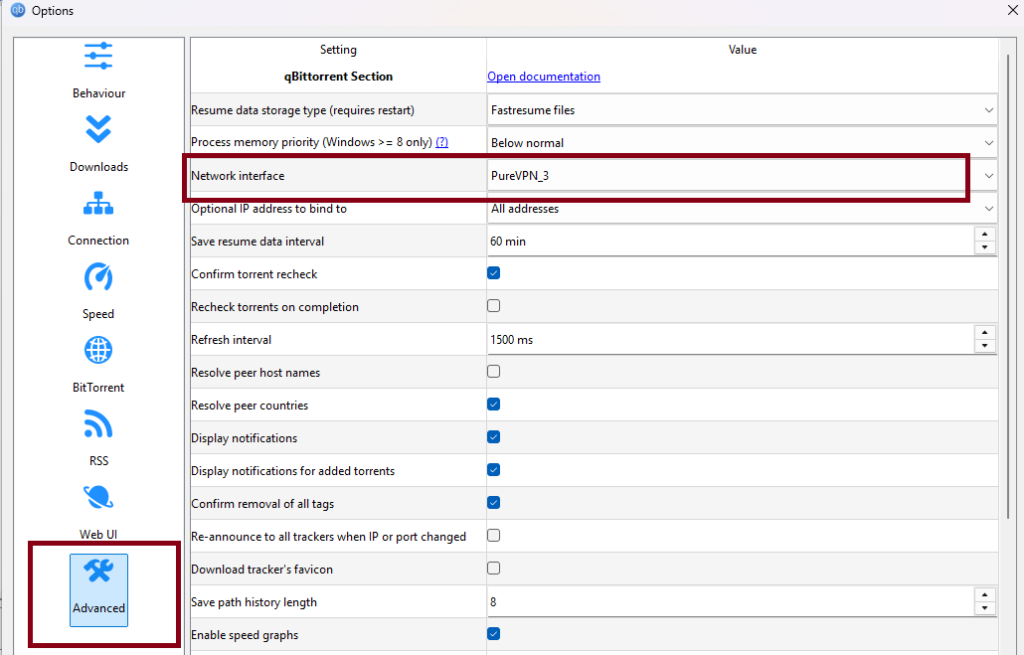
- In the Advanced settings pane, find the option labeled “Network Interface”.
- Click the dropdown menu next to “Network Interface.”
- From the list, select the VPN network interface name you identified in Step 1 (e.g.,
tun0,Ethernet 3,utun2).
Important: If your VPN interface is not listed, ensure your VPN is connected before opening qBittorrent or this options dialog. You might need to restart qBittorrent after connecting to the VPN for the interface to appear in the list.
- Optionally, below “Network Interface,” you may see “Optional IP address to bind to.” In most cases, leaving this as “All IPv4 addresses” or “All addresses” (depending on your qBittorrent version) is sufficient once the correct interface is selected. Selecting the specific IP address of the VPN interface is also possible if you want to be more granular, but selecting the interface itself usually achieves the desired binding.
- Click “Apply” to save the changes, and then click “OK” to close the Options window.
Restart qBittorrent (Recommended)
Although some settings apply immediately, it’s good practice to restart qBittorrent to ensure the network binding takes full effect. Close qBittorrent completely and then reopen it.
Step 3: How do I test if the VPN binding is working?
After configuring the binding, you MUST test it to ensure it’s working correctly.
The Disconnection Test
This is the most reliable way to confirm the binding is working as intended:
- Ensure your VPN is connected.
- Ensure qBittorrent is configured to bind to its interface.
- Start a well-seeded torrent download in qBittorrent.
- Observe that it’s actively downloading/uploading.
- While the torrent is active, disconnect your VPN connection.
- Immediately observe qBittorrent. All transfer activity (download and upload speeds should drop to 0 KB/s or stall completely) should stop. If traffic continues, the binding is not working correctly.
- Reconnect your VPN. Torrent activity should resume automatically after a short while, or you might need to manually pause and then resume the torrents.
If the traffic stops when the VPN disconnects and resumes when it reconnects, your binding is working correctly!
Troubleshooting Common qBittorrent VPN Binding Issues
Run into a snag? Here are some common problems and how to fix them:
Managing Dynamic Interface Names
A common hurdle in 2026 is the use of Dynamic Interface Names. Some modern VPN protocols, particularly WireGuard, may generate a new interface name (like utun3 then utun4) every time you reconnect.
To solve this, check if your VPN provider offers a “Persistent TUN” or “Stable Adapter” setting in its advanced options.
VPN interface not listed in qBittorrent:
- Is your VPN connected? It must be active before you open qBittorrent.
- Try restarting qBittorrent: Close it completely and reopen it after ensuring the VPN connection is established.
- Dynamic interface names: Some VPNs, or certain configurations, might create dynamic interface names that change. If this is the case, binding can be challenging. Check if your VPN software offers an option for a persistent or static interface name, or if it consistently uses the same name (e.g., always
tun0for OpenVPN connections). - Are you looking at the correct list? Double-check the interface name you identified in Step 1 against the list in qBittorrent. Typos matter!
No internet connection in qBittorrent after binding (speeds are 0 KB/s even with VPN on STALLED):
- Selected the wrong interface? Double-check that you selected the correct VPN network interface in qBittorrent’s settings. Accidentally choosing your Ethernet or Wi-Fi adapter will block traffic when the VPN is supposed to be the one used.
- VPN working? Verify that your VPN connection itself is working and has internet access by testing with a web browser.
- Firewall blocking? Ensure your firewall (Windows Defender Firewall, or third-party software) isn’t blocking qBittorrent or the specific VPN interface.
All traffic stops (as expected when VPN disconnects) but doesn’t resume after VPN reconnects:
- Manual resume: Try manually pausing and then resuming the torrents in qBittorrent.
- Check qBittorrent logs: Go to View > Execution Log in qBittorrent for any error messages that might offer clues.
- VPN fully reconnected? Ensure your VPN has successfully reconnected and obtained a valid IP address.
qBittorrent still leaks IP (verified by an IP checking torrent):
- Re-verify ALL steps: Carefully go back through this guide, especially the identification of the correct VPN network interface (Step 1) and its precise selection in qBittorrent (Step 2).
- Other proxy settings? Ensure no other proxy settings (e.g., SOCKS5) are configured within qBittorrent’s Connection settings unless you fully understand how they interact with interface binding. Generally, interface binding should take precedence and is more secure for this purpose.
- “Anonymous Mode” is not a substitute: Don’t confuse qBittorrent’s “Anonymous Mode” with the security of interface binding (see below).
- Interfering VPN features? This is rare, but check if your VPN software has any specific features (like split tunneling configured incorrectly) that might interfere with how applications bind to its interface.
Preventing IPv6 Leaks
Even with an interface bind, IPv6 leaks can occasionally bypass client settings if your OS prioritizes IPv6 traffic over the VPN’s IPv4 tunnel. In the qBittorrent “Advanced” menu, ensure that “Optional IP address to bind to” is not set to an IPv6 address unless your VPN explicitly supports it. For maximum security, most power users choose to disable IPv6 system-wide to ensure no packets ever leave the encrypted tunnel. This “Double-Bind” strategy ensures that even if a tracker tries to ping your IPv6 address, there is no path for the data to travel.
For instructions on how to disable IPv6 check out our How to disable IPv6 Guide
Authoritative sources
References: qBittorrent option explanations and qBittorrent downloads.
qBittorrent Wrap Up
Binding qBittorrent to your VPN’s network interface is a critical step for any privacy-conscious user. It provides a safeguard against IP leaks that could occur on your unencrypted connection, ensuring that your torrent traffic is strictly and exclusively routed through the secure VPN tunnel.
By carefully following the steps to identify your VPN interface and correctly configure qBittorrent, you effectively create an application-specific kill switch. This forces qBittorrent to halt all activity if the VPN becomes unavailable, preventing your real IP from being exposed.
Always remember to perform the disconnection test to confirm your qBittorrent VPN setup is working as expected. Taking this extra precaution significantly enhances your online anonymity and security, allowing you to use qBittorrent with greater peace of mind. Happy—and safe—sharing!
Leave a Reply