
How to Install and Configure the SecurID Agent for SSH on Linux
This guide provides a step-by-step procedure for protecting SSH access on a modern Linux server with SecurID multi-factor authentication (MFA).
A lot has changed since I wrote the original article in 2019.
Getting Started with RSA SecurID
Before you can protect a server, you need to have an RSA SecurID environment in place. Unlike services aimed at individuals, RSA SecurID is an enterprise-grade solution. The process generally involves contacting RSA directly to purchase a plan that fits your organization’s needs.

The typical steps to get started are:
- Contact RSA Sales:
Engage with an RSA sales representative or a certified partner to discuss your requirements, such as the number of users you need to protect and the types of applications you want to secure. - Purchase a Plan:
You’ll subscribe to an RSA SecurID Access plan. This plan gives you access to the core software and licenses for your users. - Deploy the Authentication Manager:
This is the brain of the operation. You’ll deploy the RSA Authentication Manager, which can be a virtual appliance on your own network (on-premise) or hosted in the cloud, depending on your purchased plan. This server handles authentication requests, manages users, and logs all activity.
Supported Operating Systems
This guide is intended for modern 64-bit Linux distributions using systemd and PAM, including:
- Red Hat Enterprise Linux (RHEL) 8.x / 9.x
- CentOS Stream 8 / 9
- Rocky Linux / AlmaLinux 8.x / 9.x
- SUSE Linux Enterprise Server (SLES) 15
What You Need for a Deployment
A complete RSA SecurID setup consists of three main components:
- RSA Authentication Manager: As mentioned, this is the central server. It validates the passcodes entered by users and is where you, as an administrator, will manage authentication agents, users, and policies.
- Authentication Agents: This is software you install on the machines or services you want to protect. In the context of this guide, the SecurID PAM Agent is the authentication agent for your Linux server. RSA provides different agents for VPNs, web servers, and other resources.
- Authenticators: These are the devices or apps your users will have to generate their one-time passcodes (OTPs) or approve logins. This is the “something you have” factor in MFA.
Choosing Your Authenticator: Hardware vs. Software
RSA offers several authenticator options, but the most common choice is between a physical hardware token and a software-based app on a smartphone.
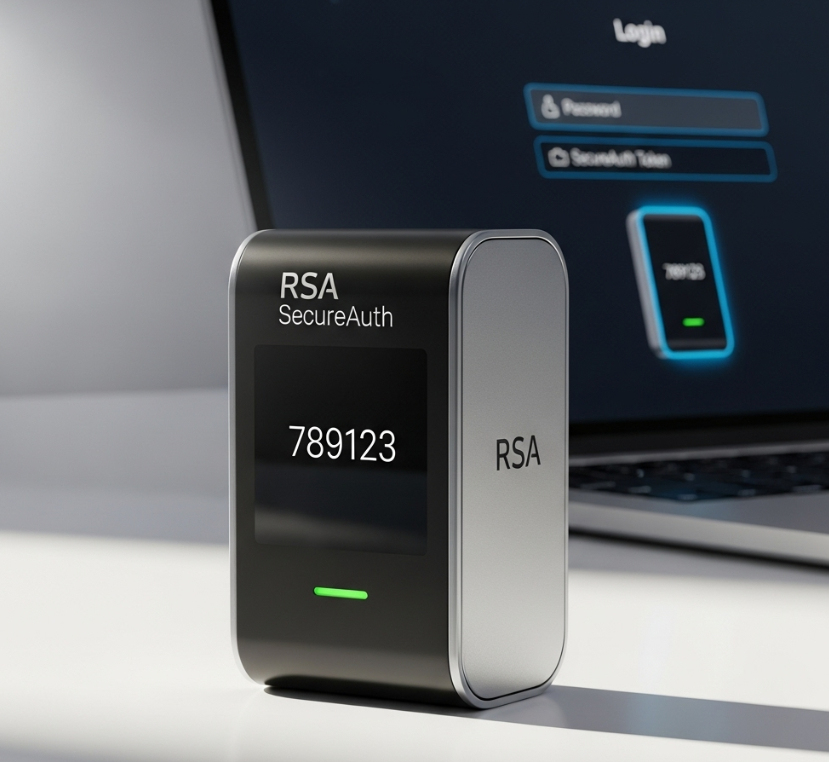
Hardware Tokens
A hardware token is a small, physical device, often attached to a keychain.
- How it Works: The token’s screen displays a new, randomly generated number (the “tokencode”) every 60 seconds. Users combine their secret PIN with this tokencode to create their passcode (PIN + Tokencode).
- Pros:
- Highly Secure: Because they are not connected to a network, they are immune to online attacks like phishing or malware on a user’s computer or phone.
- Durable & Simple: They are built for one purpose, have a long battery life (years), and are extremely easy for users to operate.
- Cons:
- Physical Logistics: They must be physically distributed to users.
- Can Be Lost: Users can lose or misplace them, requiring a replacement process.
Software Authenticators (The RSA Authenticate App)
A software authenticator is an application installed on a user’s smartphone (iOS or Android). This is the more modern and flexible approach.
- How it Works: The app offers multiple ways to authenticate:
- Push Notifications: The most convenient method. When a user tries to log in, a notification is sent to their phone. They simply tap “Approve” (often with a biometric check like Face ID or fingerprint) to complete the login. No code typing is needed.
- One-Time Passcode (OTP): The app can also function like a hardware token, displaying a tokencode that the user can type in manually. This is useful when the phone doesn’t have an internet connection.
- Pros:
- Convenience: Most people carry their smartphone at all times, so there’s no extra device to manage.
- Flexible Methods: Supports both seamless push notifications and traditional OTPs.
- Easy Provisioning: Administrators can send users a link to enroll their device, eliminating the need for physical shipping.
- Cons:
- Device Dependent: Relies on the user’s phone being charged, available, and secure.
- Requires Connectivity: Push notifications require the phone to have an internet connection (though the OTP method works offline).
Step 1: Prerequisites
Once you have understood how to go about onboarding RSA, its important to understand the required pre-requisites.
- Administrative Access:
You must haverootorsudoprivileges on the target Linux server. - Firewall Rules:
Ensure the firewall on the Linux server allows outbound traffic on UDP port 5500 to your SecurID Authentication Manager primary and replica server(s). - User Account:
The test user must have a standard user account on the Linux server. - Keep a Root Session Open:
Throughout this process, keep an active, privileged SSH session open. A misconfiguration in PAM or SSH can lock you out of the server. This session is your recovery tool.
Step 2: Configure the SecurID Authentication Manager
Log into the SecurID Security Console and perform the following actions:
- Add Authentication Agent:
Navigate to Access > Authentication Agents > Add New.
Add the Linux server as a new agent, assigning its hostname and IP address. - Generate Configuration File:
Navigate to Access > Authentication Agents > Generate Configuration File.
Download theAM_Config.zipfile. - Extract Configuration:
Unzip theAM_Config.zipfile. You will need thesdconf.recfile inside.
Step 3: Prepare the Linux Server
- Transfer Files:
Transfer thesdconf.recfile and the appropriate SecurID PAM Agent installer package (e.g.,PAM-Agent_v8.2.x.x.x.tar) to a temporary directory on the Linux server, such as/tmp. Usescpor another secure method. - Create Directory:
Create the required directory for the SecurID agent configuration files.
sudo mkdir -p /var/ace- Place Configuration File: Copy the
sdconf.recfile into the directory you just created.
sudo cp /tmp/sdconf.rec /var/ace/Step 4: Install the SecurID PAM Agent
- Navigate to Installer:
Change to the directory where you uploaded the agent package.cd /tmp - Extract the Agent:
Extract the contents of the tarball.

tar xvf PAM-Agent_v8.2.x.x.x.tar- Run the Installer: Navigate into the newly created directory and run the installation script with
sudo
cd PAM-Agent_v8.2.x.x.x
[PAM-Agent_v8.2.x.x.x]$ sudo ./install_pam.sh- Follow the Prompts:
- Accept the license agreement.
- When prompted for the operation mode, choose 0 (RSA Authentication Manager with the UDP Protocol).
- Accept the default locations for the configuration file (
/var/ace) and the installation directory (/opt/rsa/pam).
The script will confirm a successful installation.
Step 5: Configure PAM and SSH
- Configure PAM Stack: Edit the SSH PAM configuration file.
sudo vi /etc/pam.d/sshd - Add the following line as the very first line in the file, before any other
authentries:auth requisite pam_securid.so- Note: Using
requisiteensures that if the SecurID authentication fails, the login process stops immediately. Do not remove or comment out existingauthlines likepam_unix.so, as they may be used for password authentication (the second factor) or for local users excluded from MFA.
- Note: Using
- Configure SSH Daemon: Edit the SSH daemon configuration file.
sudo vi /etc/ssh/sshd_config- Ensure the following parameters are set to
yes. They are often the default, but it is critical to verify them.
ChallengeResponseAuthentication yes
UsePAM yes- CRITICAL: Do NOT set
UsePrivilegeSeparation no. This is an insecure and deprecated practice. - Leave
PasswordAuthentication yesunless your security policy explicitly forbids password authentication entirely.ChallengeResponseAuthenticationwill handle the MFA prompt. - Restart the SSH Service:
Apply the changes by restarting the SSH daemon.
sudo systemctl restart sshd.serviceStep 6: Test the Configuration
- Run the Agent Test Utility:
Use theacetestutility to verify that the agent can communicate with the Authentication Manager.
/opt/rsa/pam/bin/64bit/acetest- Enter your
USERNAMEwhen prompted. - Enter your
PASSCODE(PIN + Tokencode) when prompted. - You should receive an
Authentication Successfulmessage. - Perform a Live SSH Test:
- DO NOT close your existing SSH session.Open a new terminal window and attempt to SSH into the server. You should be prompted for your username and passcode.
login as: myuser Enter
USERNAME: myuser
Enter PASSCODE:
Access granted
Last login: Mon Jul 14 22:15:40 2025 from ... [myuser@host ~]$
Step 7: (Optional) Configure MFA Exclusions
For service accounts or administrative users that must bypass MFA, you can manage them via a dedicated group.
- Create an Exemption Group
sudo groupadd securid_exempt- Add a User to the Group:
sudo usermod -a -G securid_exempt root [user@host ~]$ sudo usermod -a -G securid_exempt svc_ansible- Update Agent Configuration: Edit the
/etc/sd_pam.conffile to use group-based exclusion
sudo vi /etc/sd_pam.conf - Add or modify the following lines:
ENABLE_GROUP_SUPPORT=1 INCL_EXCL_GROUPS=0
LIST_OF_GROUPS=securid_exempt
PAM_IGNORE_SUPPORT_FOR_USERS=1 - This configuration tells the SecurID agent to bypass MFA for any user belonging to the
securid_exemptgroup.

Recent Comments