
How to do a Bare Metal Restore (BMR) on Arcserve backup and restore for Windows and Linux Servers
This procedure is a step-by-step guide for creating a Windows or Linux server (bare metal recovery) from an Arcserve backup. The backup is assumed to be available on the Arcserve backup server or that you have tape media available locally and that it has already been loaded.
Arcserve presents the backups as shared resources on a shared network drive. In my environment, it’s the R:\UPS View folder on Arcserve01.lan. The Bare Metal Recovery boot disks prepare a virtual or physical machine for the recovery process. Network connectivity must be configured so that the IP address, subnet, gateway, DNS details, and any routes are available.
This procedure is broken up into 3 stages
- Learn how to create a BMR Bootkit; this is essential for restoring physical servers
- Learn the Restore Process on Windows-based servers
- Learn the Restore Process on Linux-based servers
The process to restore a Windows and Linux server is exactly the same. I will demonstrate the Windows Procedure here, but the process is the same for any flavour of Linux.
In this comprehensive guide, we’ll break down the entire BMR process, demystifying this essential tool for both Windows and Linux environments. No prior Arcserve experience? No problem. We’ll start from scratch, teaching you how to create a BMR boot kit, configure network settings, and execute a full recovery.
Part 1: Create an Arcserve Bare Metal Restore Bootkit
If you do not have a copy of the BMR boot media already, then it will need to be prepped on the primary Arcserver instance
Step 1 – Log Onto the Prmary Arcserver instance
- Log onto the primary Arcserver as the local administrator
- From the taskbar, right-click on the Arcserve agent > Advanced > Create Boot Kit

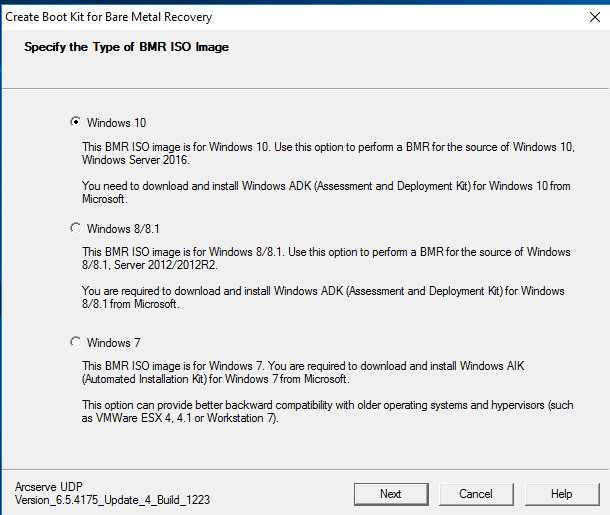
Step 2 – Configure the Arcserve Bootkit
- Choose the Option “Windows 10” – this is for a boot disk that works on Windows Server 2008 and greater.
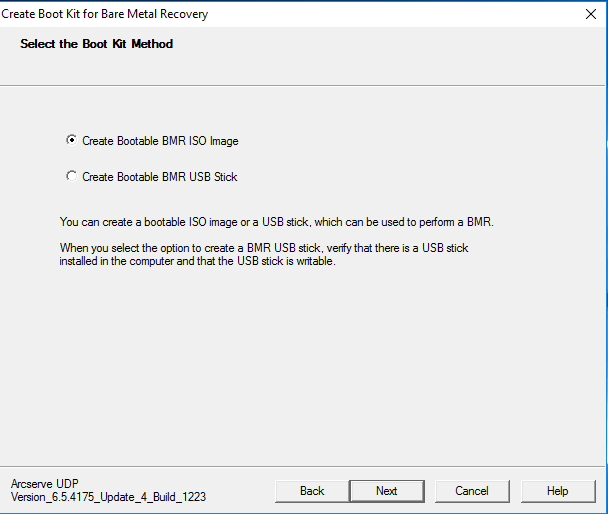
- Next, select “Create Bootable BMR ISO Image”
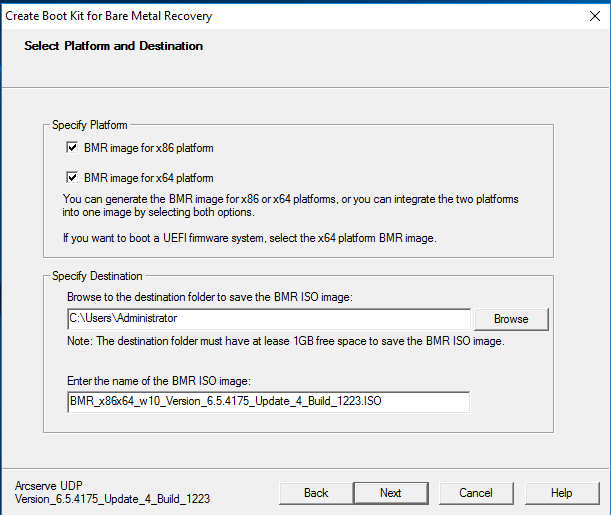
- Customize the installation to match the configuration of the server you need to restore; if you are not sure, set as below
- Next, choose your language
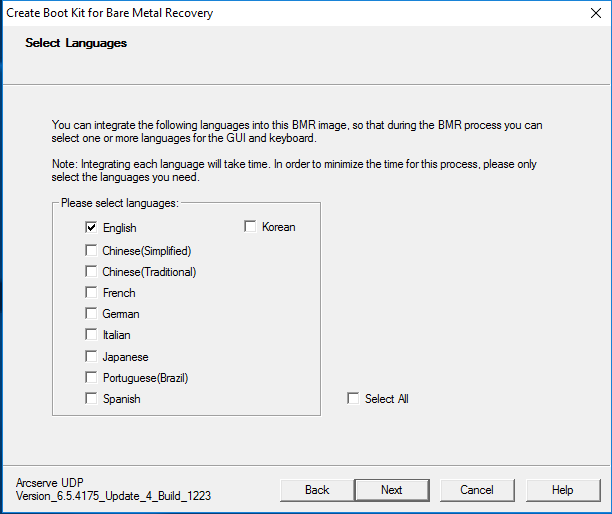
- You can skip the “specify drivers” page as this is only relevant for HBA or certain PCI express drivers. Simply press CREATE

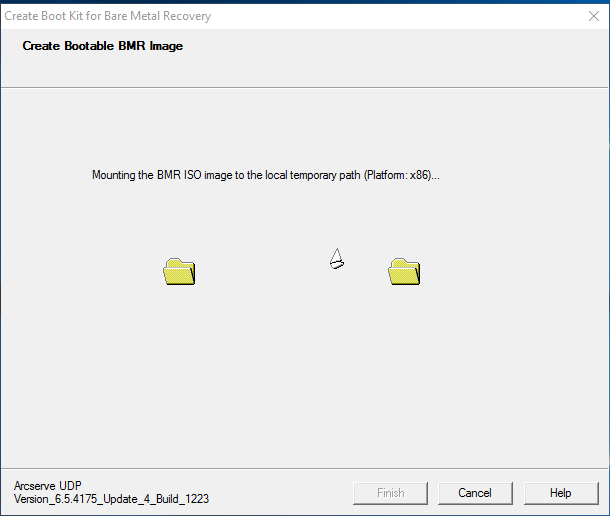
Step 3 – Wait for the BMR to create
- The BMR will now be created.
- It will create an ISO image in the location you have chosen.
- You can Burn the image to a disk or mount the ISO in the desired location
(This will take several minutes)
- Finally, copy the ISO image to your Server shared drive or copy it to USB.
Part 2: Perform a Windows Server Bare Metal Recovery in Arcserve
In this example, I will be recovering a backup using BMR to a virtual machine hosted on VMWare on an ESXi 6.5 hypervisor. The process is identical apart from booting the BMR. For virtual machines, you need to upload the BMR to the vCenter Datastore, for physical you need to burn the ISO to disk or bootable USB.
Step 1 – Upload the ISO image
- Upload the ISO Image to the vCenter Datastore.
Step 2 – Create and Configure a Virtual Machine
Important: If you are using VMWare, make sure that the server you build here matches the server you are restoring. For Example, if the server you want to restore has 200GB Hard Disk. Ensure this virtual machine has atleast 200GB HD as well. I would always recommend adding 10% to disk sizing.
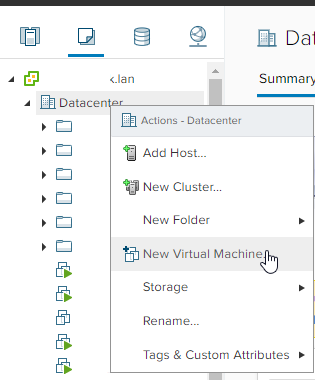
- Create a new virtual machine with the base specifications of the original server. Ensure you have enough hard disks assigned.
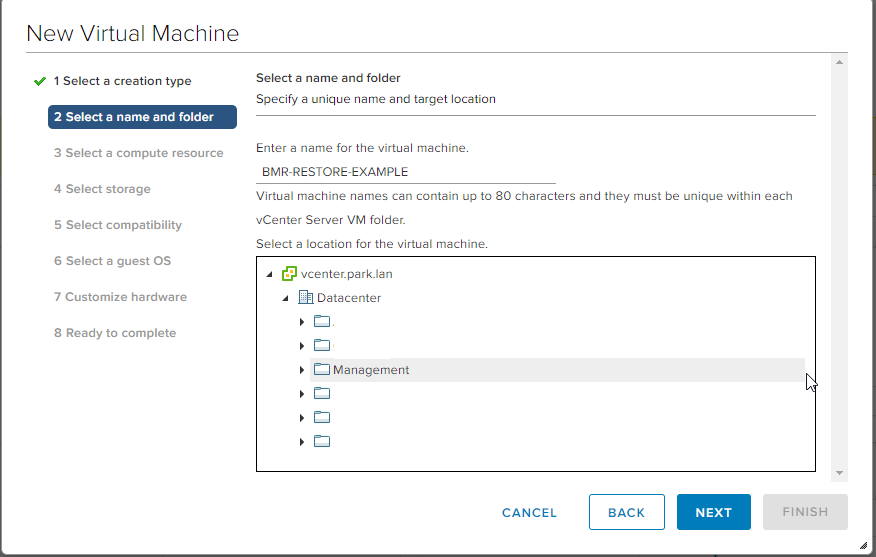
- Right Click on Datacenter > New Virtual Machine
- Select “Create a new virtual machine” on the first splash screen
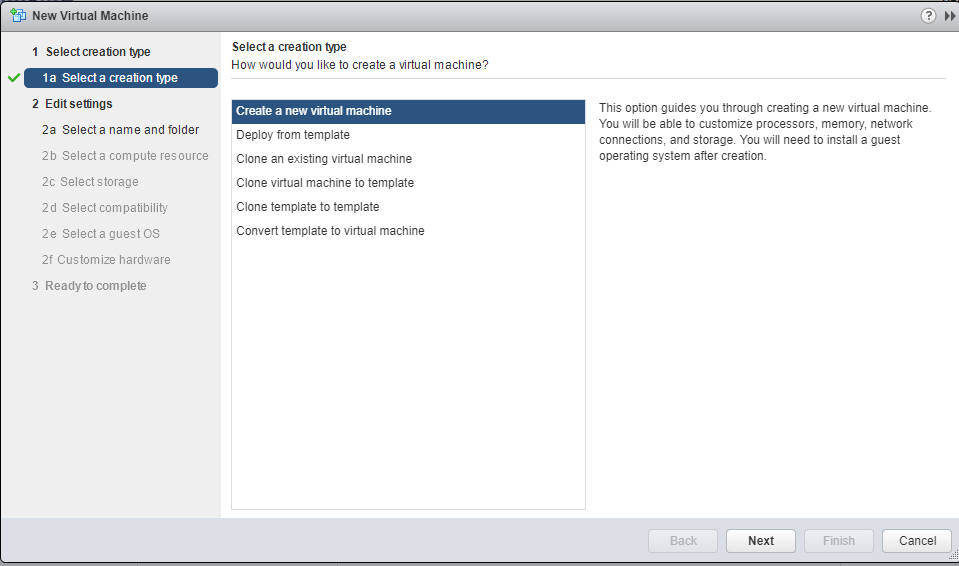
- Give the server a name, and choose a logical folder to locate the VM.
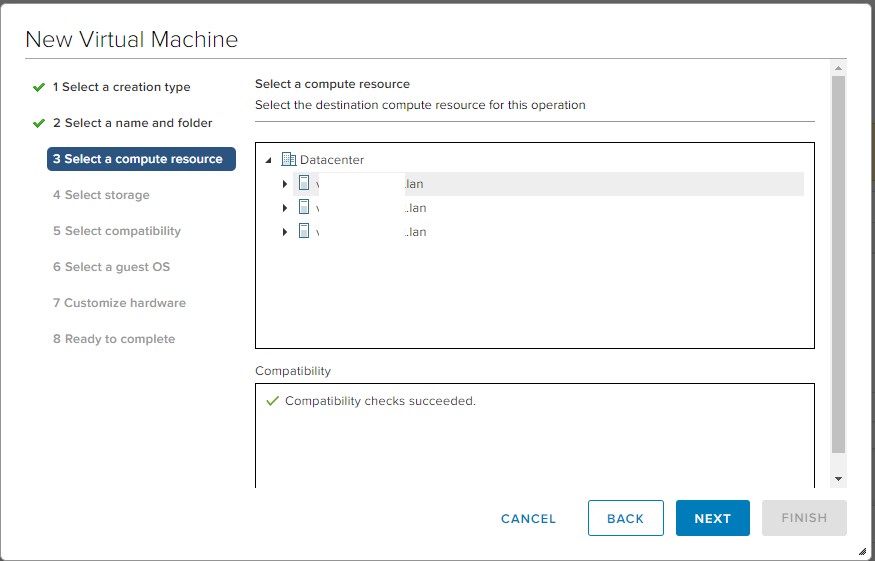
- Next, Choose a host
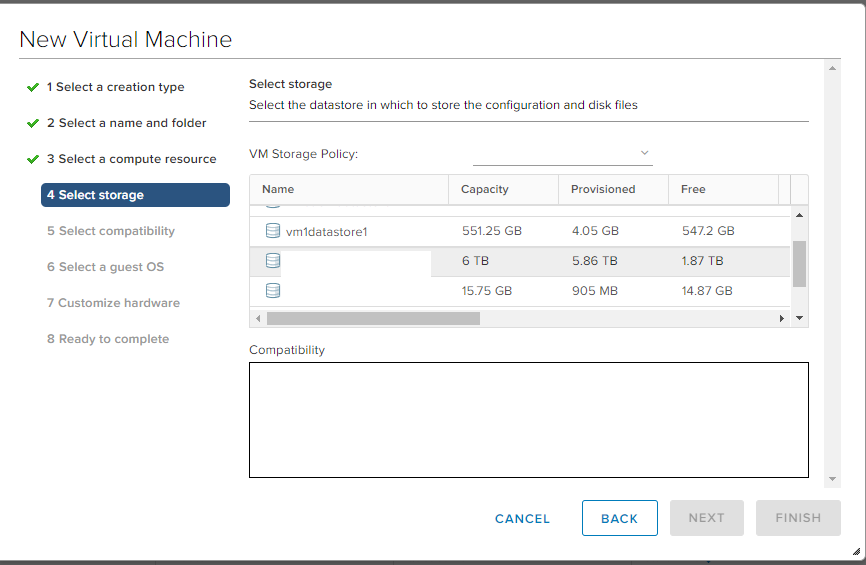
- Choose the storage location of “VMware Syncrep Tegile.” (In my example, I am using a SAN-attached device)
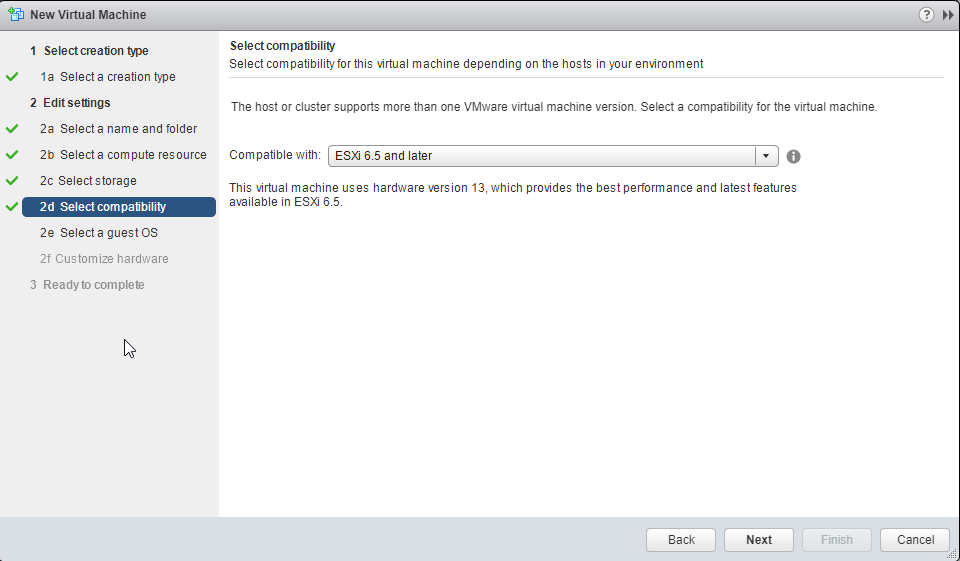
- Select ESXi 6.5 or later for compatibility mode
- Select the appropriate Operating System – In this example, I am choosing Windows and Microsoft Windows Server 2008 R2 (64bit)

- On the customized hardware screen. Ensure the Server Specs match the original host hardware (if known).
- Take particular care allocating enough hard disk. As a guide, choose the original size plus 10%.
- Ensure you choose the correct network; in this example, it is Core-40
- Mount the BMR ISO uploaded early and ensure it is connected
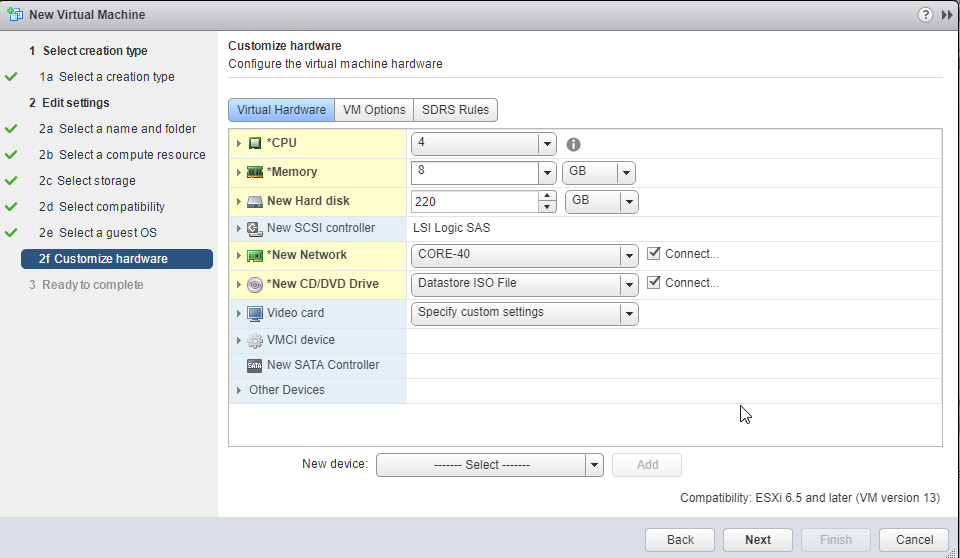
- Click finish to build the VM
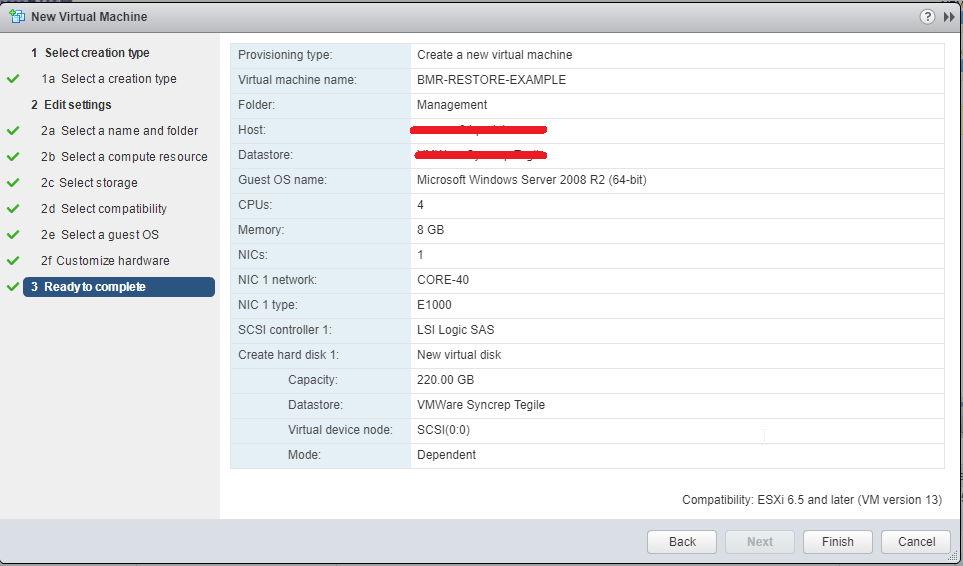
- IMPORTANT – Ensure the new VM is connected to the VLAN of the original server. In this example Core-40. Also, ensure the BMR ISO image is mounted
Step 3 – Start the Virtual Machine with the BMR Mounted
- Boot the VM and the BMR ISO will start

- On the Arcserve BMR screen, choose a keyboard layout and select Next. You will need to use TAB completion as the Mouse doesn’t work
- Choose your language and select the next button
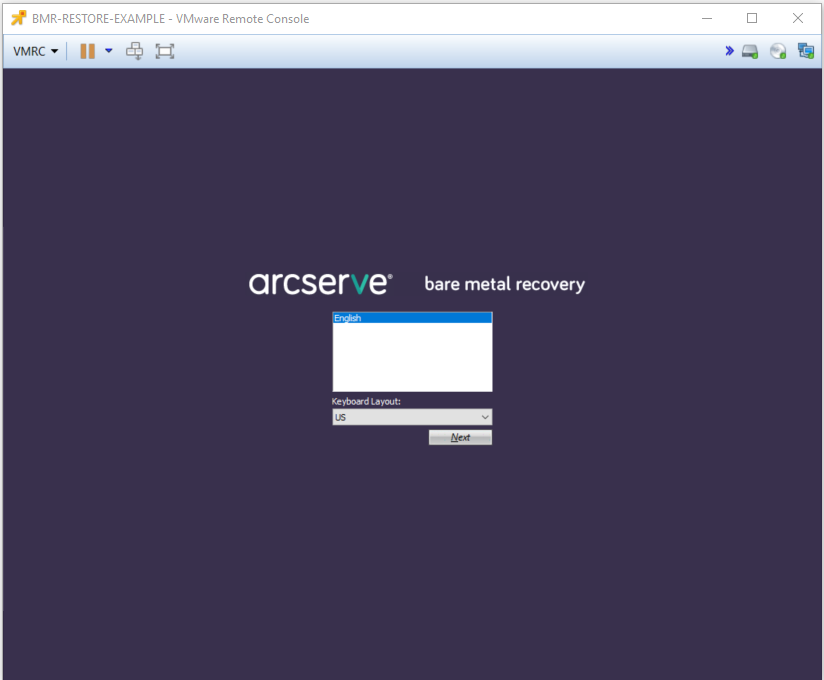
- Wait for BMR to boot

Step 4 – Once Booted, Start the Recovery Process
- Select “Restore from an ArcServe Unified Data Protection backup”
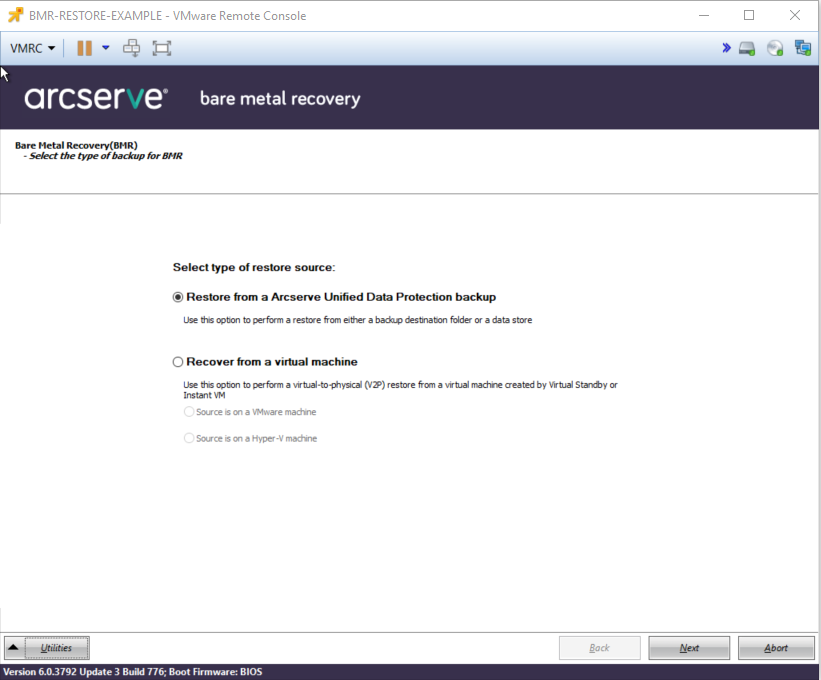
- Navigate to “Utilities” and select “Configure Network”
- Set the IP, Subnet, gateway, and DNS servers and click APPLY > OK
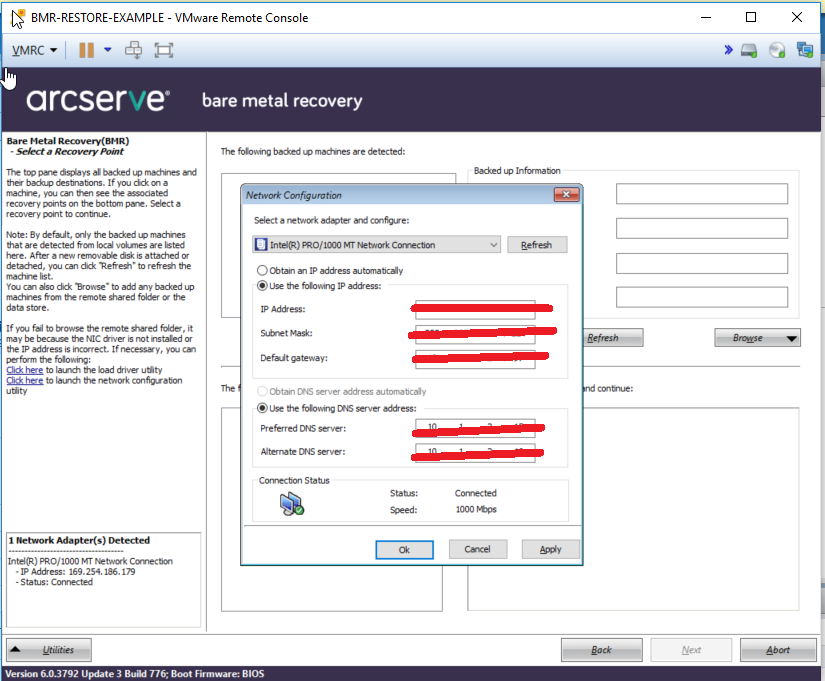
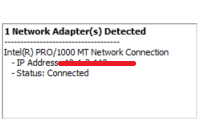
- You will see the network status change to CONNECTED with the new IP
Step 5 – Attach the Virtual Machine to the Primary Arcserve instance
- If you navigate to “Utilities” again and go to Run and type CMD, you can test ping the ArcServer
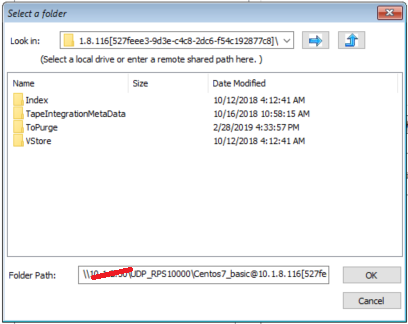
- Next, Navigate to “Browse” and select “Browse from Network”
- Input the IP address and shared drive of your restore point.
VERY IMPORTANT – You will be prompted for the ArcServer username and Password. Note that the keyboard entry in VMWare has a bug where # is displayed as a / press SHIFT 3 to get a # if your password contains one
- Select OK, and the BMR agent will automatically detect the privileges
Step 6 – Start the Restore
If the credentials are correct, you will see the server you need to restore. If this is blank, simply use the browse button to find the backup you need.

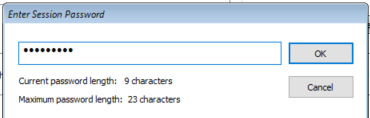
- Click NEXT – Enter your session Password
Important: VMware keyboard input may display # as /. If your password includes #, press SHIFT + 3 to enter it correctly.
- Choose EXPRESS MODE

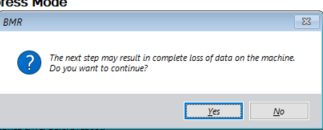
- Click Next and accept the warning message
- On the next screen, Click OK
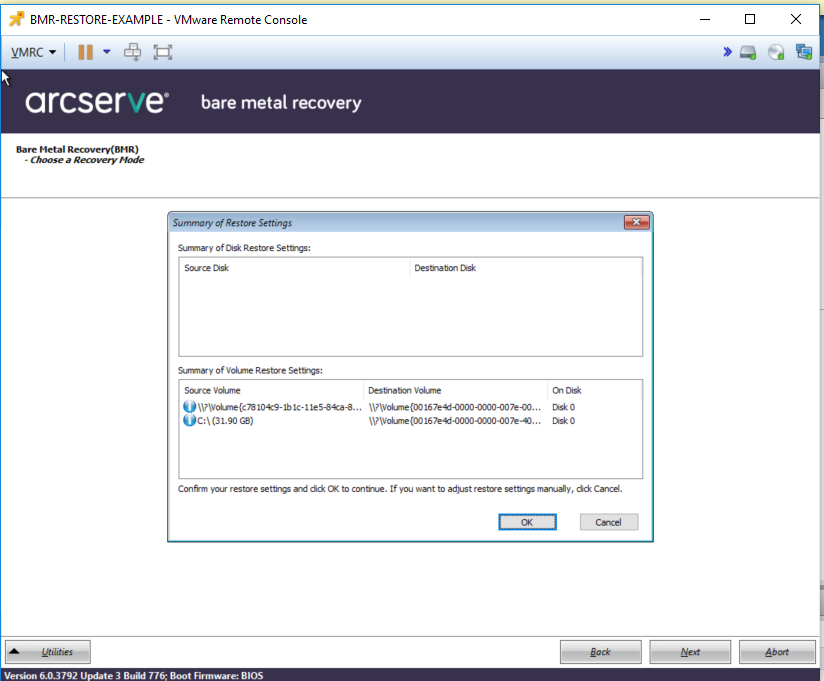
- The BMR restore will now proceed
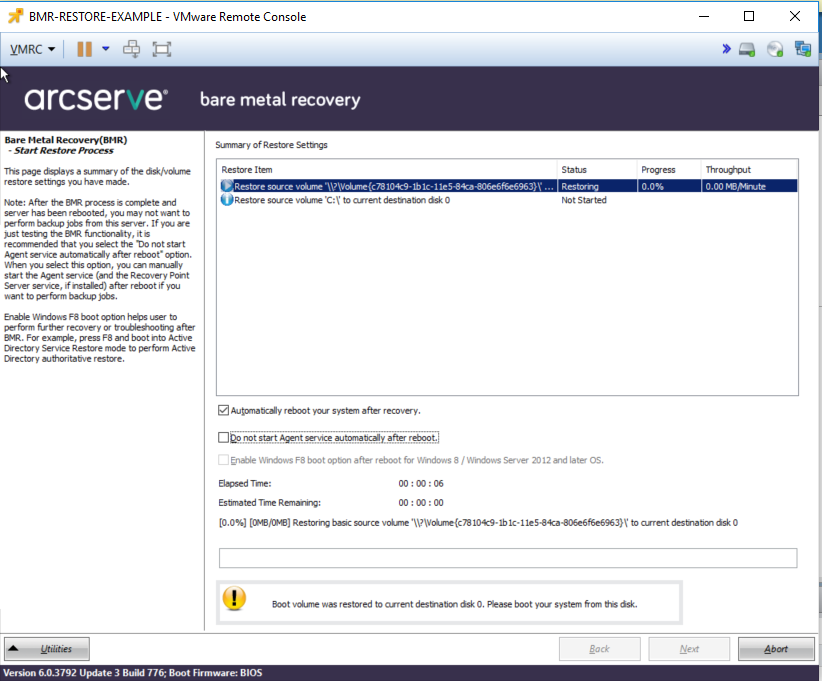
- The Restore will now be complete, and the server will reboot upon complete
Thanks for taking the time to read this article. if you have any questions or feedback, please write in the comment section below.
Leave a Reply