
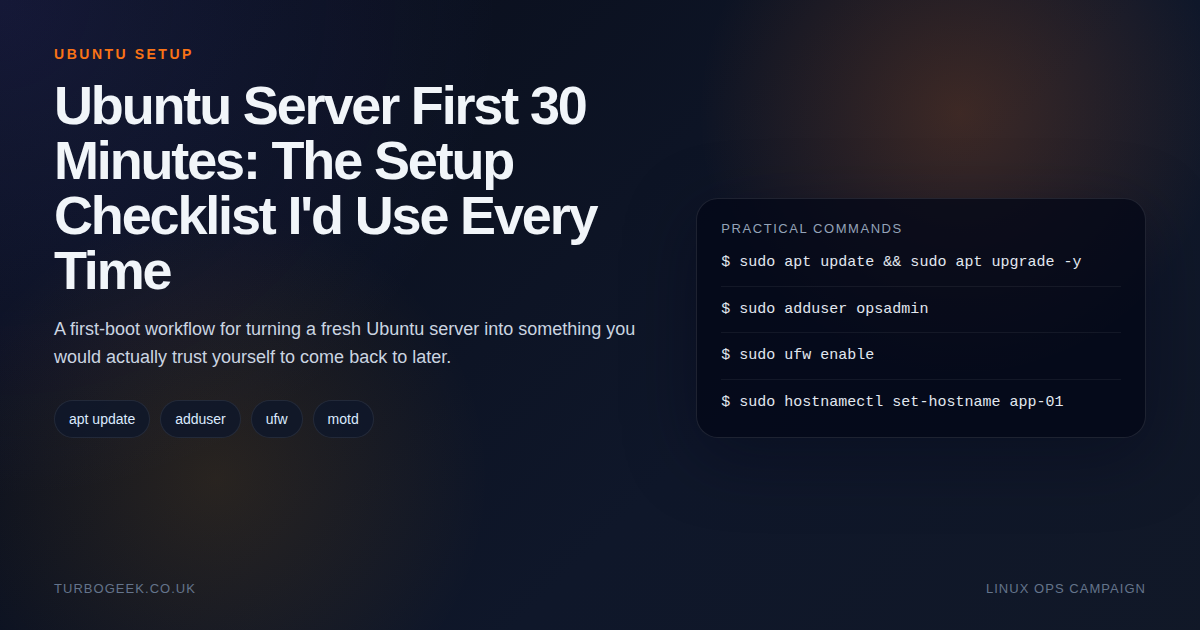
TL;DR – first 30 minutes on Ubuntu Server
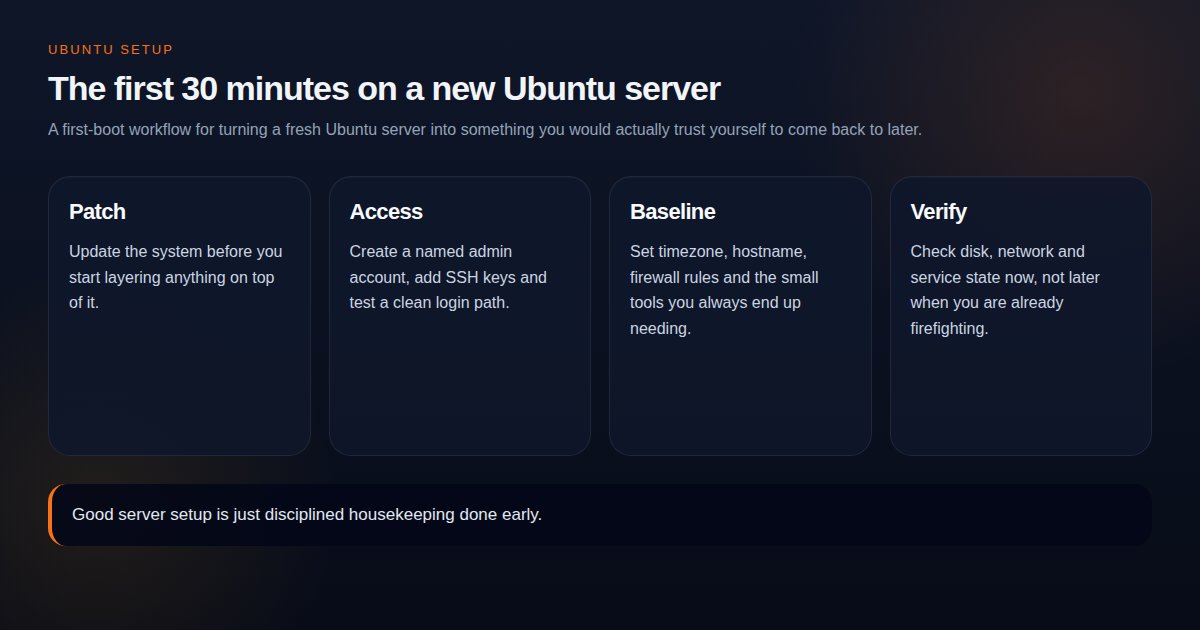
- Patch first: Update the box before you start adding your own complexity to it.
- Create proper access: Named admin user, SSH keys, and a verified login path beat rushing straight into application setup.
- Baseline the box: Hostname, timezone, firewall and a few small tools save time later.
- Verify now: Check disk, network and service state while the system is still simple.
Start here: If this server will be remotely managed, pair this checklist with Linux SSH Hardening Checklist and Ubuntu Remote Access: SSH vs XRDP vs VNC
| Topic | When | Command |
|---|---|---|
| Update packages | Immediately after first boot | sudo apt update && sudo apt upgrade -y |
| Create admin user | Before disabling bad habits | sudo adduser opsadmin |
| Enable firewall | After you know required ports | sudo ufw enable |
| Check disk and time | Before workload install | df -h and timedatectl |
A fresh Ubuntu server is at its easiest to understand in the first half hour. That is exactly why the first half hour matters. If you do the housekeeping early, the box stays easier to trust and easier to recover later.
Patch before you personalise
sudo apt update
sudo apt upgrade -y
sudo rebootI do not like building on top of an unpatched baseline unless there is a very specific reason not to. It keeps the first-boot assumptions honest and reduces the chance that later behaviour is tied to outdated packages rather than your actual configuration.
Create proper admin access
sudo adduser opsadmin
sudo usermod -aG sudo opsadmin
sudo mkdir -p /home/opsadmin/.ssh
sudo chmod 700 /home/opsadmin/.sshNamed accounts, SSH keys and one clean admin path beat temporary shortcuts. If the box is going to stay around, treating access properly from minute one removes a lot of future cleanup work.
Baseline the box
sudo hostnamectl set-hostname app-01
timedatectl
sudo ufw allow OpenSSH
sudo ufw enableThis is also the stage where I install a few tools that nearly always earn their keep: `curl`, `vim` or `nano` depending on the box, and whatever monitoring or shell helpers the environment expects.
Verify storage, network and the small quality-of-life wins
df -h
ip addr
systemctl --failed
sudo ss -tulpnYou do not need a long acceptance test for a new Ubuntu server, but you do need to prove the basics are what you think they are. Disk layout, addresses, failed services and listening sockets are the fast checks that catch bad assumptions early. If you want the dedicated disk-capacity walkthrough after this first-pass check, use How to Check Disk Space in Linux.
If you want the quality-of-life touch that makes shell access friendlier on long-lived hosts, How to Create a Custom Linux MOTD is the next stop.
The full first-30-minutes script
Here is the actual script I run after a fresh Ubuntu Server install. Replace ADMIN_USER and PUBKEY with your real values before running. It is intentionally readable rather than clever — every step is the same one I would run by hand if the box were misbehaving.
#!/usr/bin/env bash
# Ubuntu Server first 30 minutes — run as root or via sudo on a fresh box.
# Replace ADMIN_USER and PUBKEY before running.

set -euo pipefail
IFS=$'\n\t'

ADMIN_USER="opsadmin"
PUBKEY="ssh-ed25519 AAAA... your key here"

# 1. Patch
apt-get update
DEBIAN_FRONTEND=noninteractive apt-get upgrade -y
apt-get install -y unattended-upgrades curl vim ufw fail2ban htop ca-certificates

# 2. Auto-security-updates
dpkg-reconfigure -plow unattended-upgrades

# 3. Admin user with sudo + SSH key
if ! id "${ADMIN_USER}" &>/dev/null; then
    adduser --disabled-password --gecos "" "${ADMIN_USER}"
fi
usermod -aG sudo "${ADMIN_USER}"
install -d -m 700 -o "${ADMIN_USER}" -g "${ADMIN_USER}" "/home/${ADMIN_USER}/.ssh"
echo "${PUBKEY}" > "/home/${ADMIN_USER}/.ssh/authorized_keys"
chown "${ADMIN_USER}:${ADMIN_USER}" "/home/${ADMIN_USER}/.ssh/authorized_keys"
chmod 600 "/home/${ADMIN_USER}/.ssh/authorized_keys"

# 4. Firewall — open SSH FIRST, then enable
ufw allow OpenSSH
ufw --force enable

# 5. Hostname and time
timedatectl set-timezone Europe/London   # adjust for your locale
# hostnamectl set-hostname web-01        # uncomment and edit

# 6. Verify
echo "--- Disk ---";    df -h
echo "--- Time ---";    timedatectl
echo "--- Listening ---"; ss -tlnp
echo "--- Failed services ---"; systemctl --failed
echo "--- SSH access ---"; getent passwd "${ADMIN_USER}"

echo "Done. Open a NEW terminal and verify SSH works as ${ADMIN_USER} before logging out."Run order matters: patches first, admin user before any firewall changes, and ufw allow OpenSSH before ufw enable so you do not lock yourself out. After this script finishes, open a brand-new terminal and SSH in as the new admin user before closing the original session.
The checklist I would sign off before moving on
- Packages updated and reboot completed if needed.
- Named admin user created and tested.
- SSH access working the way I intend to use it.
- Firewall enabled with only the required ports.
- Hostname, time and basic network state verified.
- Disk space and failed services checked before workload install.
Leave a Reply