
TL;DR
- Three solid open-source choices: Navidrome, Jellyfin, Plex — each with a streaming app for phones.
- Storage matters: lossless library on SSD or fast HDD with ZFS/Btrfs is the right starting setup.
- Tag your library with MusicBrainz Picard before importing — bad tags become listen-time pain.
- Don’t share your server publicly; legal grey area on most music depending on jurisdiction.
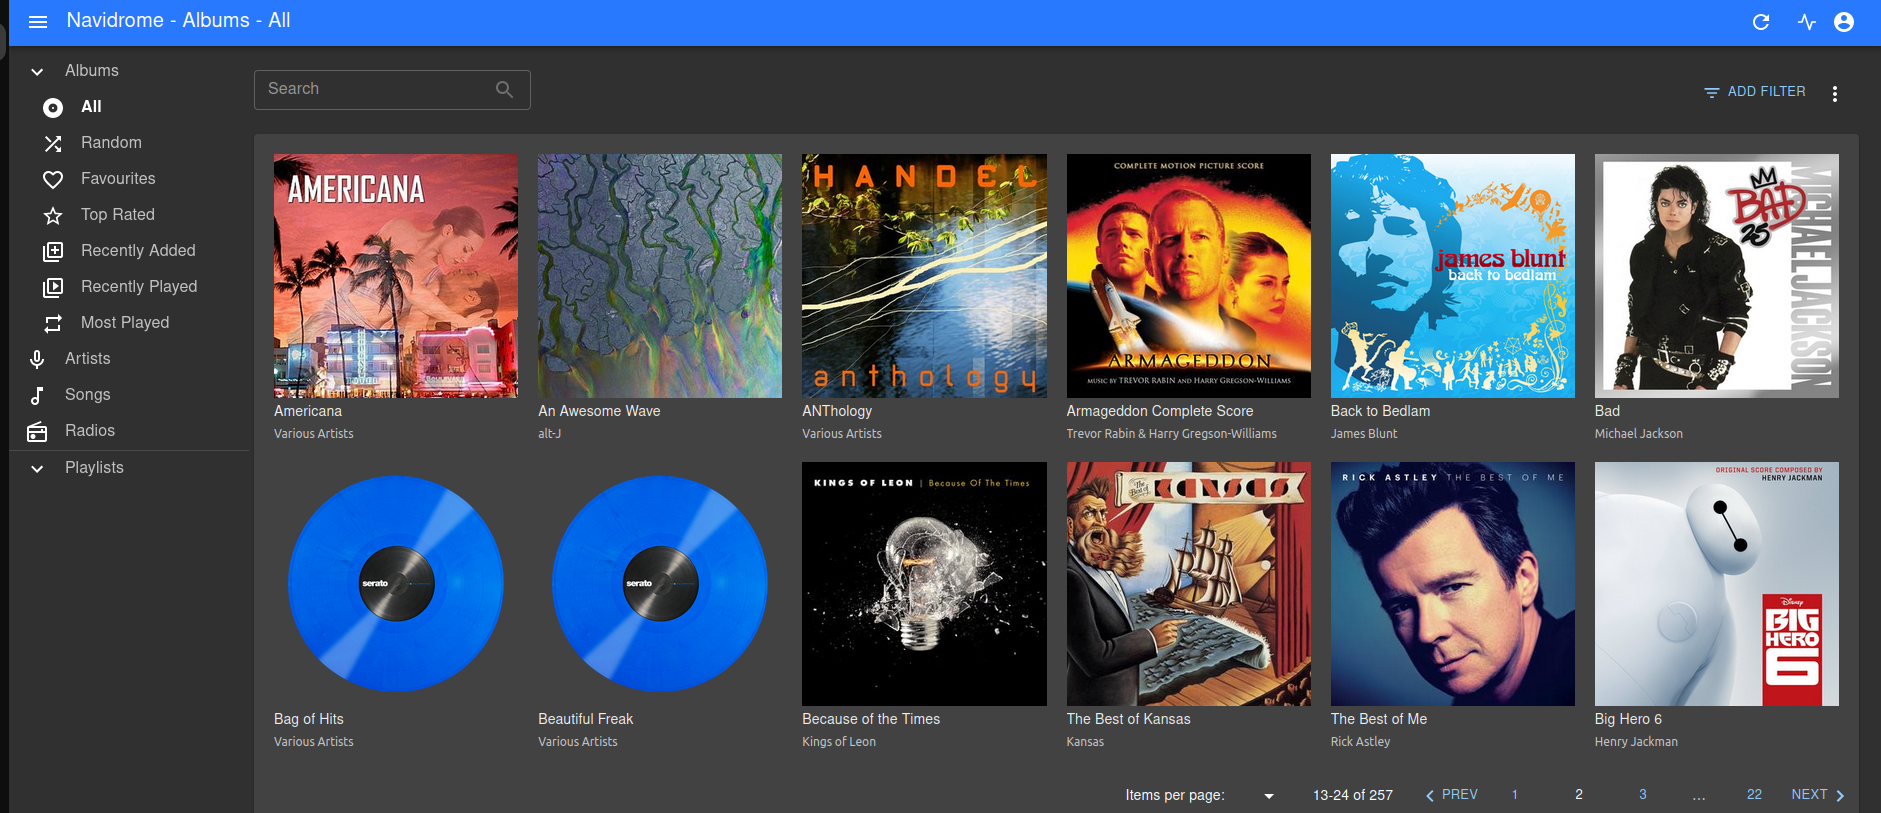
Navidrome is a lightweight, open-source music server that indexes music you control and streams it to browsers and Subsonic/OpenSubsonic-compatible applications. This guide deploys Navidrome on Debian 13 using Docker Compose and protects the public service with automatic HTTPS from Caddy.
The tested design exposes only HTTPS to listeners. Navidrome runs as a non-root user, its music library is mounted read-only, and its database is backed up automatically.
What you will build
The completed deployment contains:
- A Debian 13 server.
- Docker Engine and the Docker Compose plugin.
- Navidrome 0.63.2.
- Caddy 2.11.4 as the HTTPS reverse proxy.
- A read-only music directory at
/srv/music. - Persistent Navidrome data and database backups.
- No publicly exposed Portainer, Navidrome, or Beets administration ports.
The version pins in this article were current on July 27, 2026. Review release notes and test newer versions before changing them. Navidrome 0.63 changed sharing to enabled by default, so this configuration explicitly disables it.
Prerequisites
You need:
- A fresh Debian 13 server.
- A non-root administrator account with
sudo. - SSH public-key access.
- Music files that you are entitled to store and stream.
- A domain such as
music.example.com. - A DNS A record, and an AAAA record only when IPv6 works correctly.
- TCP ports 80 and 443 open to the server.
- Enough storage for the music library, application data, backups, and future growth.
Debian 13 is the current stable Debian release. Do not start a new deployment on Debian 11, whose LTS support ends on August 31, 2026.
At the cloud-provider firewall:
- Allow TCP 22 only from trusted administration IP addresses.
- Allow public TCP 80 and 443.
- Optionally allow UDP 443 for HTTP/3.
- Do not allow public access to 4533, 8337, 9000, or 9443.
Do not rely solely on UFW to restrict Docker-published ports. Docker documents that published container ports can bypass UFW and firewalld rules.
Quick Answer
- Provision a Linux VPS (Debian or Ubuntu recommended) and SSH in as root
- Install Docker and deploy Navidrome (or Jellyfin) using Docker Compose
- Mount your music library folder to the container’s media directory
- Access the web UI (default port 4533 for Navidrome) and create your admin account
- Configure your favorite music player or app to connect via the Subsonic API
Deploy a Cloud Music Server Running Debian 11
You can choose any cloud provider you want, or if you prefer, you can host locally. For this example, I will be deploying my server on Atlantic.Net. I think they are a great provider. You get a fast server with SSD and lots of storage for not a lot of money.
To create an Atlantic.Net account, you can follow these steps:
- Go to the Atlantic.Net website at https://www.atlantic.net/ and click on the “Sign Up” button in the top right corner of the page.
- On the sign-up page, fill in your information, including your name, email address, and password. You will also need to select a security question and provide an answer.
- Review the terms and conditions and privacy policy, and then click on the “Create Account” button to submit your registration.
- Once you have submitted your registration, you will receive an email from Atlantic.Net with a link to activate your account. Click on the link in the email to activate your account.
- Once your account is activated, you can log in to the Atlantic.Net Cloud Control Panel to create and manage your cloud servers and other services.
You may need to provide additional information, such as your billing information and verification documents, to complete your registration and start using Atlantic.Net services.
Need a Cloud Server?
Log in to your Atlantic.Net Account
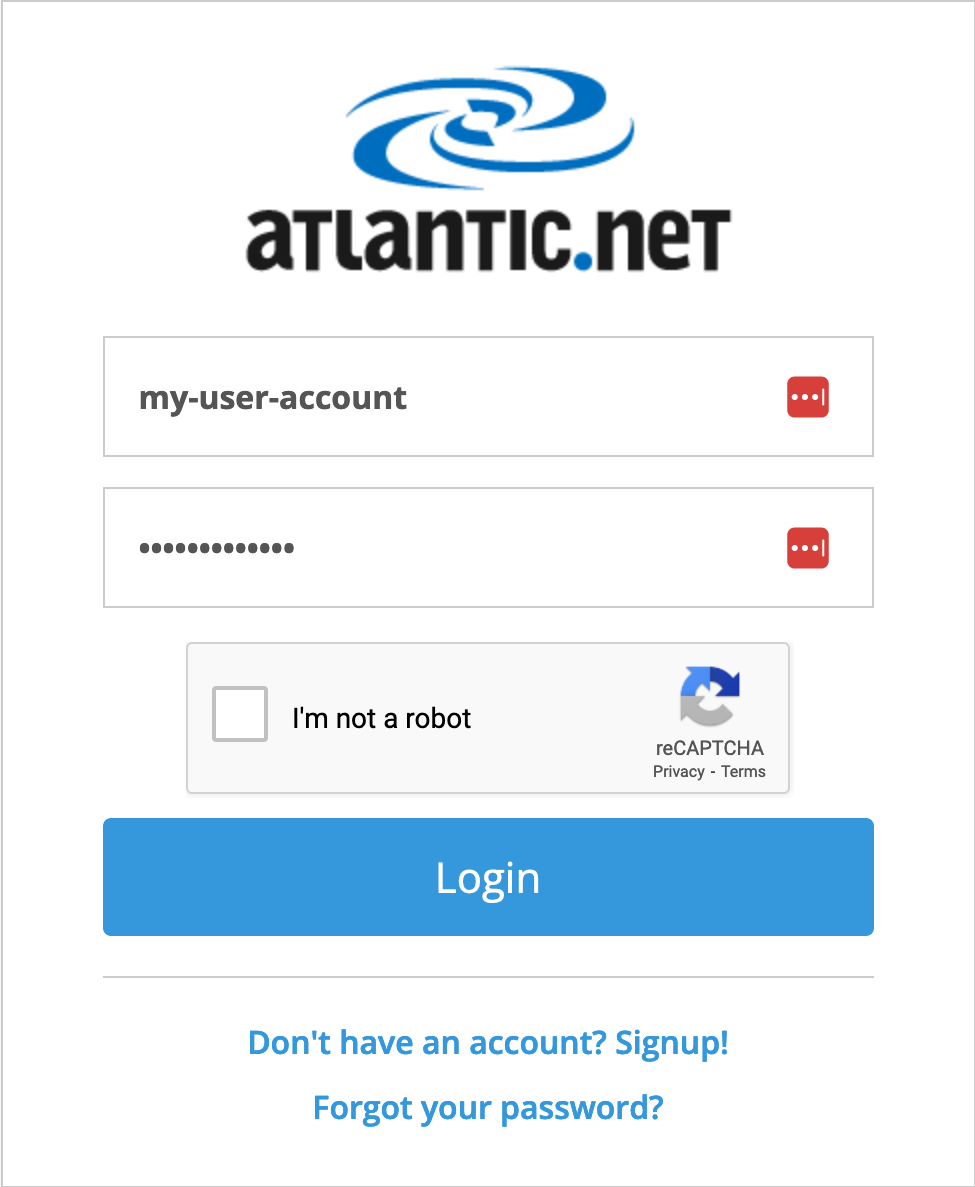
Click the following link to be directed to the Login page. Fill in your details to log in.
Create a Debian Instance on Atlantic.Net for your Music Server
Now it’s time to build it; in this example, we will install Ubuntu 22.04 LTS 64bit
- Click on the “Add Server” button to create a new cloud server.
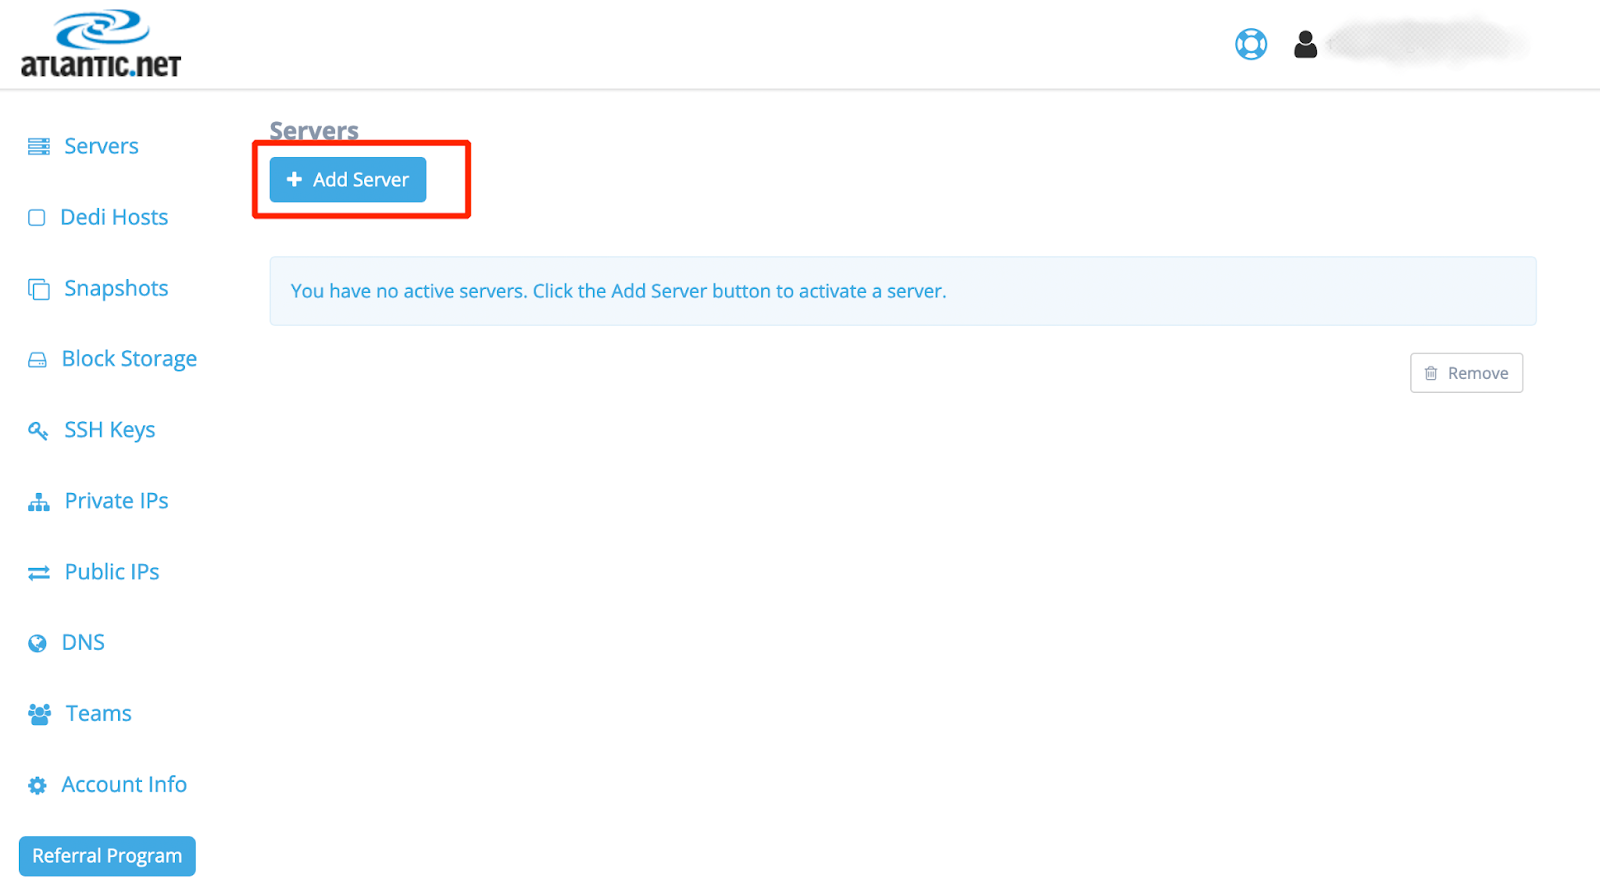
- On the “Add a Server” page, type a name for your server.
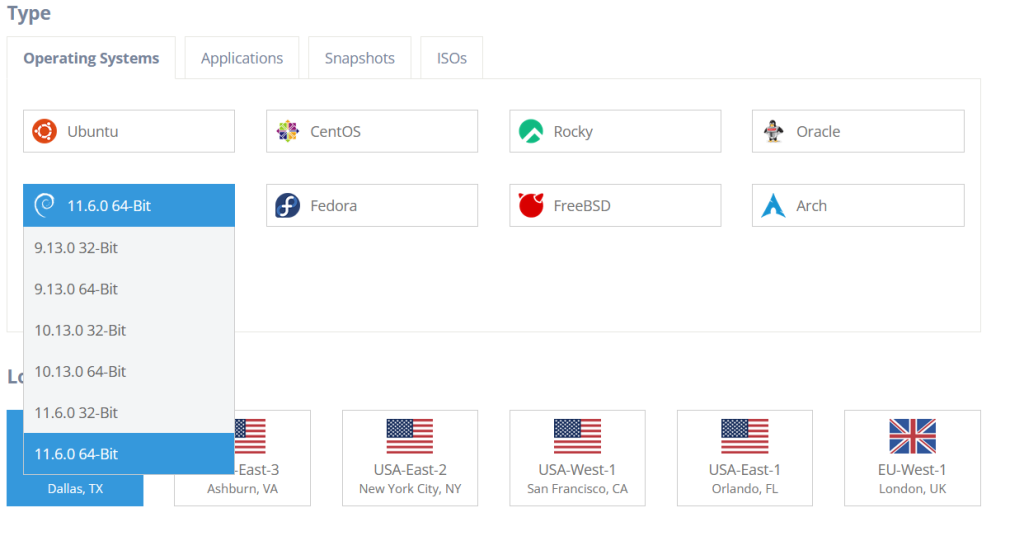
- Scroll down to find the Ubuntu operating system and click the “Debian” button to see the versions. We installed 11.6.0 64-bit; select it and continue.
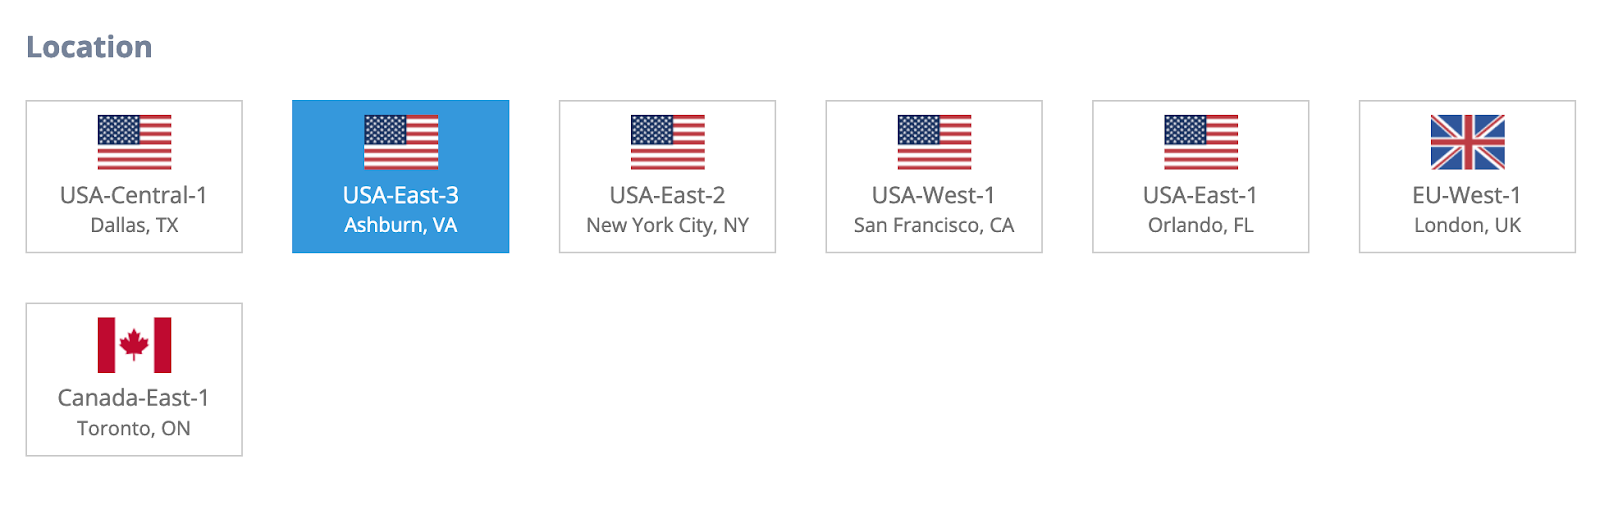
- Choose the region that you want to use for your Ubuntu instance. In this example, we will use USA-East-3 (Ashburn, VA).
- Choose the payment term: on-demand, one year, or three years. Various discounts are available, but we will choose on-demand for added flexibility.

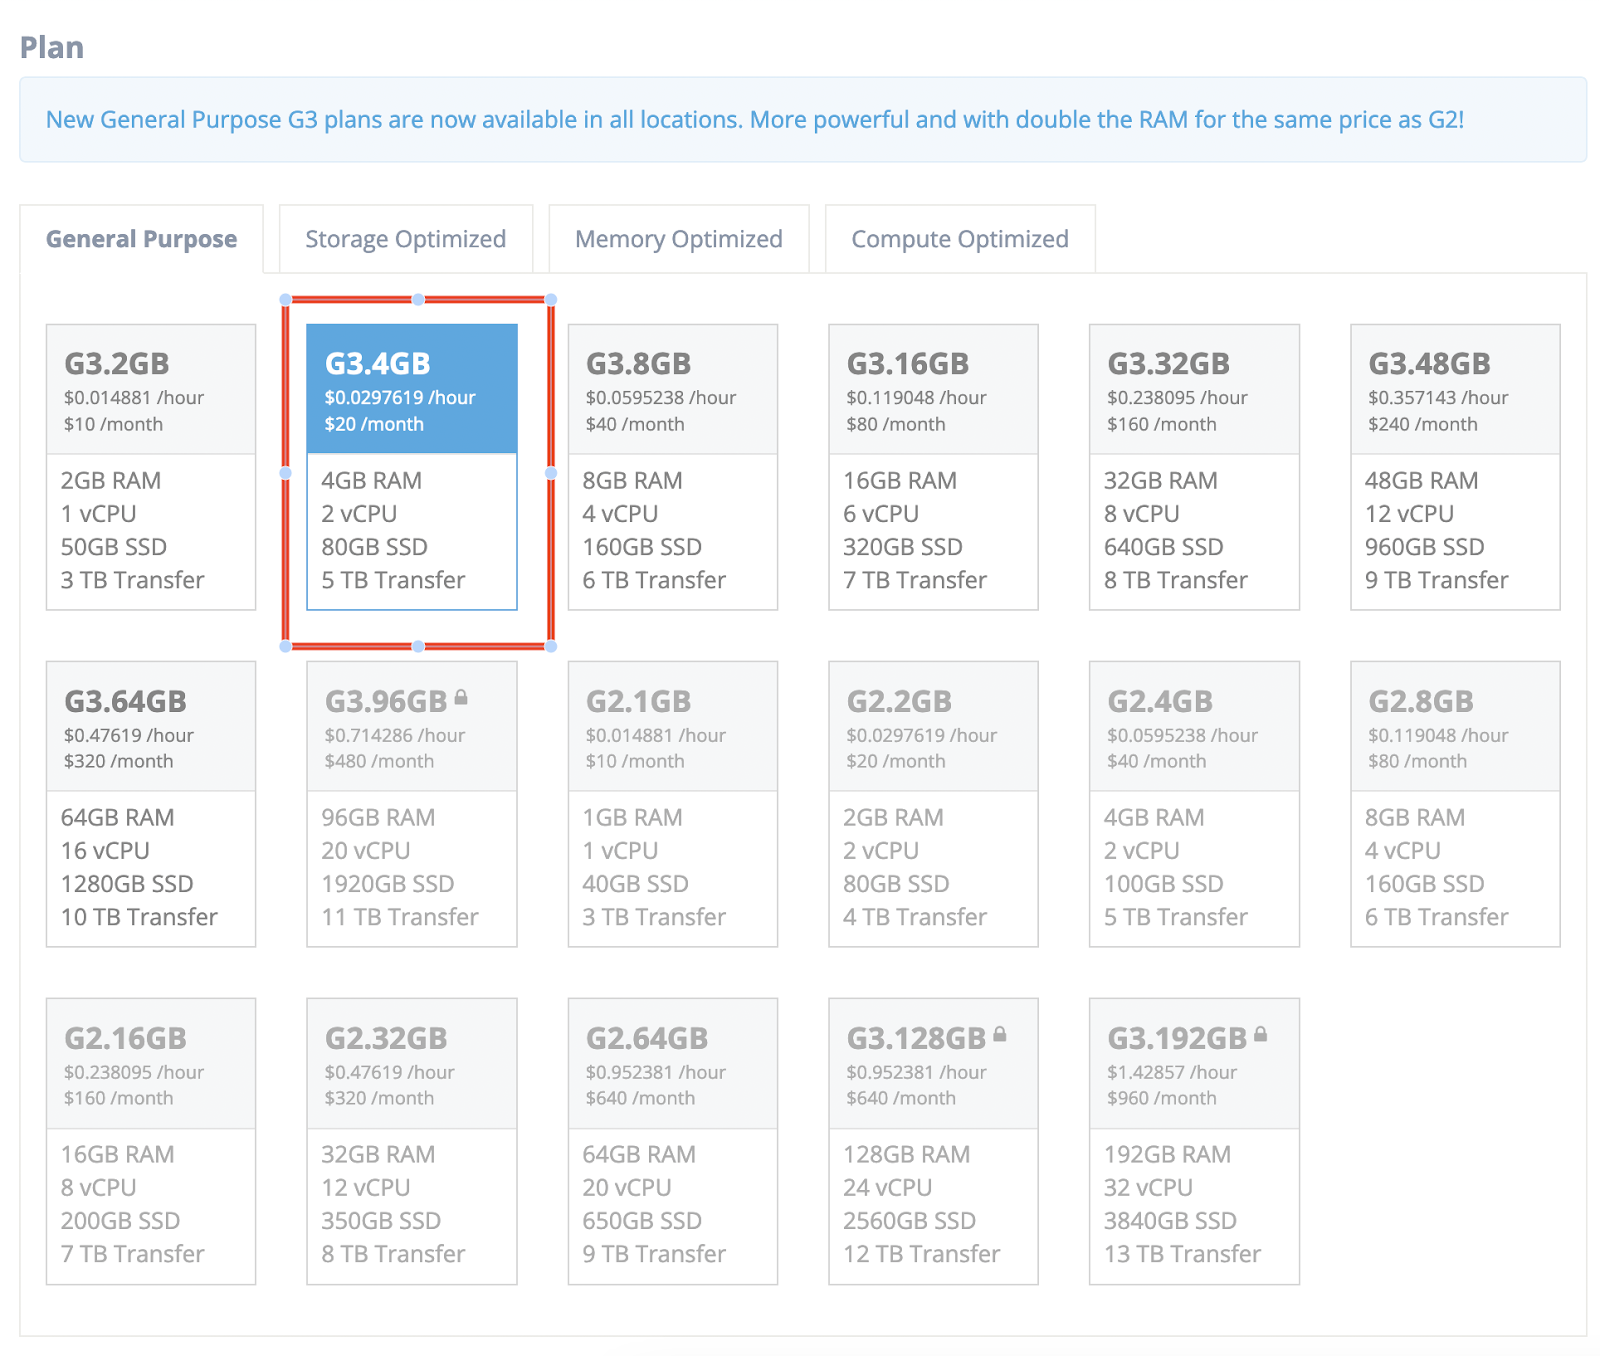
- Choose the instance plan. Portainer recommends at least 4GB RAM (more for production workloads). In this demo, we will choose the G3.4GB plan
- You can also select additional options, such as backups and IPV6, and add your own SSH keys if needed.
- When you have selected everything you need, click the “Create Server” button.
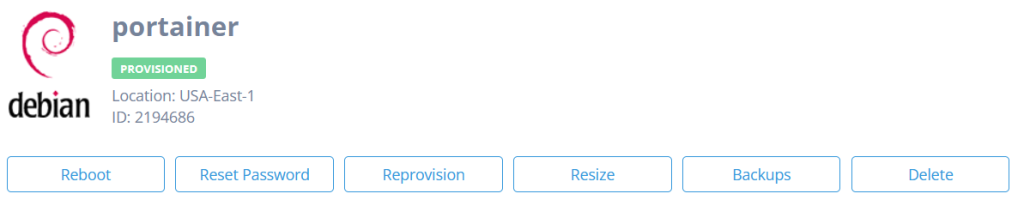
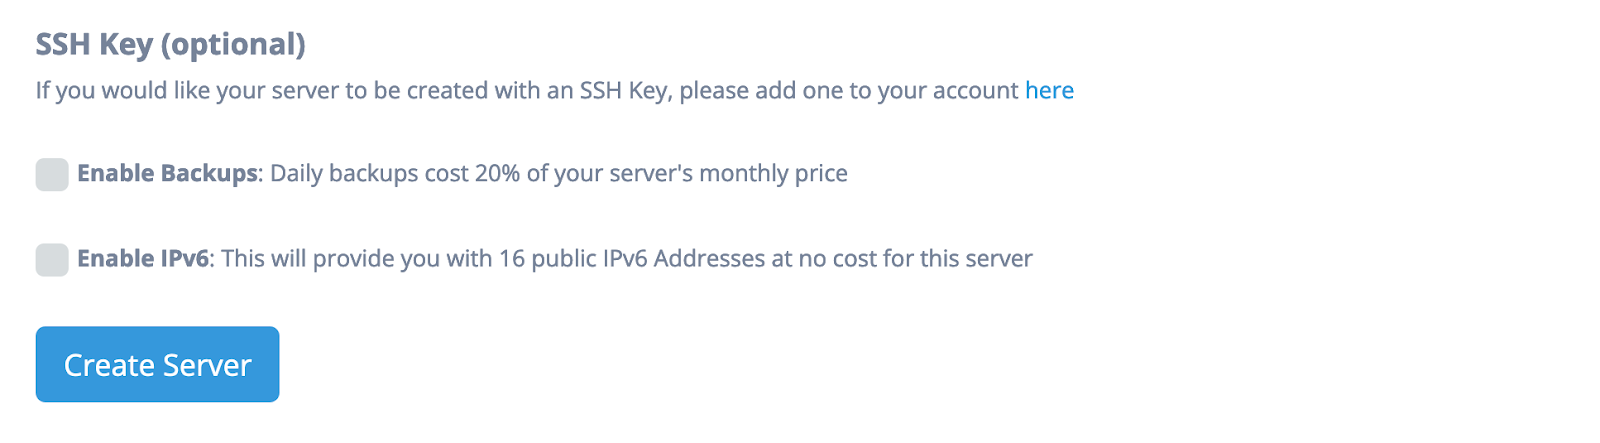
- Wait about 30 seconds for your server to be created. Once your server is ready, you can log in to it using SSH and start using it. The credentials are provided on screen and emailed to the primary email address on your account.
Step 1: Connect securely
Provision the server with your SSH public key and connect as a named, non-root account:
Verify the operating system:
. /etc/os-release
printf 'Distribution: %s\nVersion: %s\nCodename: %s\n' \
"$ID" "$VERSION_ID" "$VERSION_CODENAME"The expected result is Debian 13, codename trixie.
Keep the existing SSH session open while testing any SSH configuration changes. Do not disable password or root login until a second key-authenticated session succeeds.
Step 2: Update Debian and install prerequisites
sudo apt update
sudo apt upgrade -y
sudo apt install -y ca-certificates curl openssl rsyncReboot if the upgrade installed a new kernel, reconnect, and confirm the server is healthy before continuing.
Step 3: Install Docker Engine and Compose
These commands follow Docker’s current Debian repository procedure.
Add Docker’s signing key:
sudo install -m 0755 -d /etc/apt/keyrings

sudo curl -fsSL https://download.docker.com/linux/debian/gpg \
  -o /etc/apt/keyrings/docker.asc

sudo chmod a+r /etc/apt/keyrings/docker.ascAdd the Docker repository:
sudo tee /etc/apt/sources.list.d/docker.sources >/dev/null <<EOF
Types: deb
URIs: https://download.docker.com/linux/debian
Suites: $(. /etc/os-release && echo "$VERSION_CODENAME")
Components: stable
Architectures: $(dpkg --print-architecture)
Signed-By: /etc/apt/keyrings/docker.asc
EOFInstall Docker Engine, Buildx, and the Compose plugin:
sudo apt update

sudo apt install -y \
  docker-ce \
  docker-ce-cli \
  containerd.io \
  docker-buildx-plugin \
docker-compose-pluginVerify the service and run a disposable test container:
sudo systemctl is-active --quiet docker
sudo docker run --rm hello-world
sudo docker compose versionThis guide continues to use sudo docker. Adding a user to the docker group gives that user root-equivalent control of the host and should not be presented as a harmless convenience.
Step 4: Create the storage directories
Create the deployment directories:
install -d -m 0750 "$HOME/navidrome"/{data,backups,caddy}

sudo install -d \
  -o "$(id -un)" \
  -g "$(id -gn)" \
  -m 0750 \
  /srv/music

cd "$HOME/navidrome"Store the UID, GID, and music path in a local Compose environment file:
cat > .env <<EOF
PUID=$(id -u)
PGID=$(id -g)
MUSIC_DIR=/srv/music
EOF

chmod 600 .envNavidrome’s official Docker guidance recommends running the container as the UID and GID that own its volumes. The music directory only needs read access; the data and backup directories need read/write access.
Step 5: Create the Navidrome configuration
Generate a random password-encryption key:
KEY="$(openssl rand -hex 32)"

cat > data/navidrome.toml <<EOF
PasswordEncryptionKey = "$KEY"
EnableSharing = false
EnforceNonRootUser = true

[Backup]
Path = "/backup"
Count = 7
Schedule = "0 3 * * *"
EOF

unset KEY
chmod 600 data/navidrome.tomlBack up this file securely. Navidrome warns that PasswordEncryptionKey cannot be changed after it has been applied without breaking user authentication.
The backup schedule retains seven database backups and runs daily at 03:00 server time. These backups contain the Navidrome database, including users and play history, but not the music files or configuration.
Step 6: Configure Caddy
Create caddy/Caddyfile:
music.example.com {
    encode zstd gzip
    reverse_proxy navidrome:4533
}Replace music.example.com with the real DNS name before starting the stack.
Caddy obtains and renews public certificates automatically when the domain points to the server, ports 80 and 443 are reachable, and its data directory is persistent. It also redirects HTTP requests to HTTPS.
Step 7: Create the Compose file
Create compose.yaml:
services:
  navidrome:
    image: deluan/navidrome:0.63.2
    user: "${PUID}:${PGID}"
    restart: unless-stopped
    environment:
      ND_CONFIGFILE: /data/navidrome.toml
      ND_LOGLEVEL: info
      ND_SCANSCHEDULE: 1h
    volumes:
      - type: bind
        source: ./data
        target: /data
      - type: bind
        source: ./backups
        target: /backup
      - type: bind
        source: ${MUSIC_DIR}
        target: /music
        read_only: true
    ports:
      - "127.0.0.1:4533:4533"
    networks:
      - music
    security_opt:
      - no-new-privileges:true

  caddy:
    image: caddy:2.11.4-alpine
    restart: unless-stopped
    depends_on:
      - navidrome
    ports:
      - "80:80"
      - "443:443"
      - "443:443/udp"
    volumes:
      - type: bind
        source: ./caddy
        target: /etc/caddy
        read_only: true
      - type: volume
        source: caddy_data
        target: /data
      - type: volume
        source: caddy_config
        target: /config
    networks:
      - music

networks:
  music:

volumes:
  caddy_data:
caddy_config:The Navidrome diagnostic port is bound only to host loopback. Public clients must use Caddy on HTTPS.
Caddy must proxy to navidrome:4533, not localhost:4533, because localhost inside the Caddy container refers to the Caddy container itself.
Step 8: Validate and start the deployment
Validate the rendered configuration before making changes:
sudo docker compose config >/dev/nullPull the pinned images and start the containers:
sudo docker compose pull
sudo docker compose up -dCheck their state:
sudo docker compose ps
sudo docker compose logs --tail=100 navidrome caddyValidate Navidrome locally:
curl -fsS http://127.0.0.1:4533/ >/dev/null \
&& echo "Navidrome answered on loopback"Validate the public HTTPS endpoint:
curl -fsS -o /dev/null \
-w 'HTTPS status: %{http_code}\n' \
https://music.example.com/Confirm the configured container user:
CID="$(sudo docker compose ps -q navidrome)"
sudo docker inspect \
--format 'Configured user: {{.Config.User}}' \
"$CID"The result must contain the non-root UID and GID from .env.
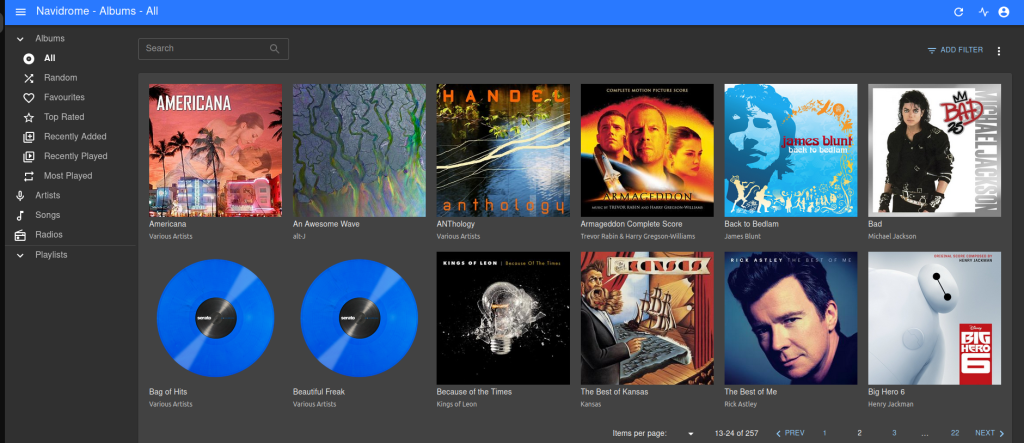
Step 9: Upload music securely
On Linux or macOS, transfer music with rsync over SSH:
rsync -a --info=progress2 \
"/path/to/local/music/" \
[email protected]:/srv/music/On Windows, use WinSCP in SFTP mode—not FTP. Verify the displayed SSH host-key fingerprint against a trusted value before accepting it.
On the server, look for unreadable content:
find /srv/music -type d ! -readable -print | head -50
find /srv/music -type f ! -readable -print | head -50No output is expected.
Do not solve permission problems with an unconditional recursive chown. Identify the affected directory, owner, group, mount options, or ACL first.
Navidrome scans the library on its configured schedule. Monitor the scan:
sudo docker compose logs -f navidromeStop following the log with Ctrl+C; this does not stop the container.
Step 10: Create the first administrator
Browse to:
https://music.example.comCreate the initial Navidrome administrator with a unique password stored in a password manager.
Do not create the account over direct HTTP or by visiting the server’s public IP on port 4533.
After the first scan:
- Confirm several artists and albums appear.
- Play at least one MP3 and one lossless file.
- Seek within a track.
- Check album artwork.
- Review the Navidrome logs for permission, database, or transcoding errors.
Step 11: Configure a mobile client
Install a current Subsonic/OpenSubsonic-compatible client such as Substreamer.
Use:
Server URL: https://music.example.com
Username: your Navidrome username
Password: your Navidrome passwordDo not add :4533 when using the HTTPS reverse proxy.
Test playback over both Wi-Fi and cellular data. If lossless playback is unreliable on cellular, configure an appropriate transcoded bitrate in the client or Navidrome player settings rather than assuming one bitrate works for every connection.
Step 12: Back up the deployment
Create a manual database backup:
cd "$HOME/navidrome"
sudo docker compose run --rm navidrome backup createList the resulting files:
find backups -maxdepth 1 -type f -printf '%TY-%Tm-%Td %TH:%TM %p\n' | sortCopy the following to encrypted off-host storage:
data/navidrome.tomlbackups/compose.yaml.env- The music library itself
Protect these files because the configuration contains the password-encryption key.
Navidrome’s internal backup covers only its database. A provider snapshot is useful but does not replace an independent off-host backup of the music and configuration.
Test restoration on a separate staging instance. Restoring a Navidrome database wipes the existing database and must be done while the application is stopped. Before publishing a file-specific restore command, verify the syntax exposed by the pinned release:
sudo docker compose run --rm navidrome backup restore --helpStep 13: Upgrade and roll back safely
Before an upgrade:
cd "$HOME/navidrome"
sudo docker compose run --rm navidrome backup create
cp compose.yaml \
"compose.yaml.$(date +%Y%m%d-%H%M%S).bak"Review the target release notes, update only the required pinned image tag, and validate:
sudo docker compose config >/dev/null
sudo docker compose pull
sudo docker compose up -d
sudo docker compose ps
sudo docker compose logs --tail=100Repeat the browser, mobile playback, scan, and backup checks.
For a container-only rollback, restore the previous Compose file or image tag and run:
sudo docker compose pull
sudo docker compose up -dA previous application image may not accept a database migrated by a newer release. In that case, stop Navidrome and restore the pre-upgrade database backup using the restore syntax tested for the pinned release.
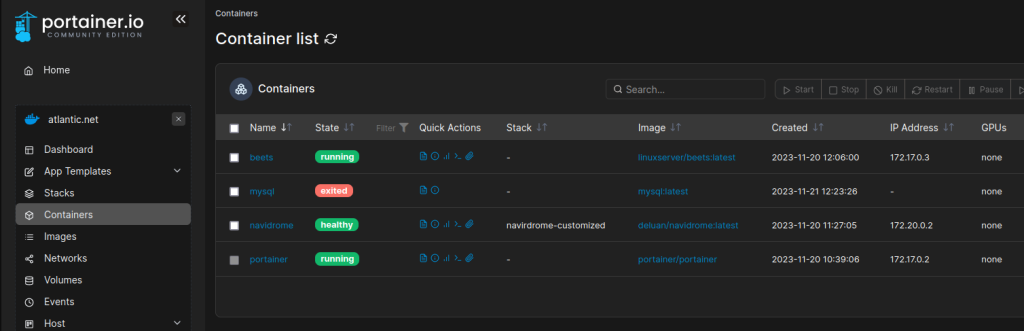
Optional: Install Portainer privately
Portainer is not required for this deployment.
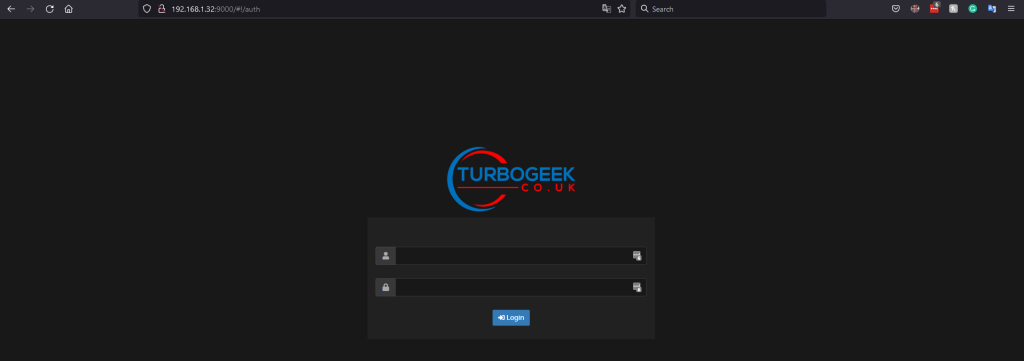
Its Docker socket mount gives it extensive control over the host, so only trusted administrators should have access. Do not expose it publicly on HTTP port 9000.
Install the current CE LTS image on loopback HTTPS:
sudo docker volume create portainer_data

sudo docker run -d \
  --name portainer \
  --restart=always \
  -p 127.0.0.1:9443:9443 \
  -v /var/run/docker.sock:/var/run/docker.sock \
  -v portainer_data:/data \
portainer/portainer-ce:ltsCreate an SSH tunnel from your workstation:
ssh -L 9443:127.0.0.1:9443 [email protected]Open:
https://127.0.0.1:9443Port 8000 is unnecessary unless you use Portainer Edge Agents. Current Portainer documentation uses HTTPS port 9443 and the portainer/portainer-ce image.
Safe metadata management
Do not run automatic tagging or file-moving tools against the only copy of a music library.
The original Beets commands beet config -i and beet fetch -af are not current documented commands. Beets can also retag, copy, rename, and move files depending on configuration.
The safest beginner workflow is:
- Back up the original files.
- Work on a local staging copy.
- Review proposed matches interactively.
- Inspect changed tags and filenames.
- Upload the approved result to
/srv/music.
A separate Beets procedure should use distinct /config, /music, and /downloads mounts and begin with preview commands such as:
beet config -e
beet import --pretend /downloads
beet move -pTroubleshooting
Caddy cannot obtain a certificate
Check that:
getent ahosts music.example.com
sudo ss -lntup | grep -E ':(80|443)\b'
sudo docker compose logs --tail=200 caddyThe A and AAAA records must point to working server addresses. Remove an incorrect AAAA record rather than leaving broken IPv6 published.
Navidrome shows no music
Check the configured path and permissions:
grep '^MUSIC_DIR=' .env
find /srv/music -type f | head
find /srv/music -type f ! -readable -print | head -50
sudo docker compose logs --tail=200 navidromeDo not recursively change ownership until the actual UID, group, ACL, and mount behavior have been identified.
The container repeatedly restarts
sudo docker compose ps
sudo docker compose logs --tail=200 navidrome
sudo docker inspect "$(sudo docker compose ps -q navidrome)"
df -h
df -iCheck for an invalid TOML file, an unreadable configuration, a non-writable data directory, a full filesystem, or an incorrect UID/GID.
Playback works locally but not externally
Confirm that the client uses https://music.example.com, not the IP address or port 4533. Check Caddy logs and test from a cellular connection.
Validate public exposure
From a separate authorized machine, scan only the relevant ports:
nmap -Pn -p 22,80,443,4533,8337,9000,9443 server.example.comThe expected public ports are 80 and 443, plus port 22 only when permitted by the administration firewall rule. Ports 4533, 8337, 9000, and 9443 must not be publicly reachable.
Final verification checklist
The deployment is complete only when:
- Docker and Compose pass their verification commands.
- Both containers remain running after a host reboot.
- Navidrome runs under a non-root UID/GID.
- The music mount is read-only inside Navidrome.
- The HTTPS certificate is trusted and HTTP redirects to HTTPS.
- Port 4533 is reachable only through host loopback and the internal Docker network.
- The library scan completes without permission errors.
- Browser and mobile playback succeed.
- A manual database backup is created.
- Configuration, database backups, and music exist off-host.
- A restoration has been tested in staging.
- An external scan confirms that no administration ports are exposed.
Leave a Reply