
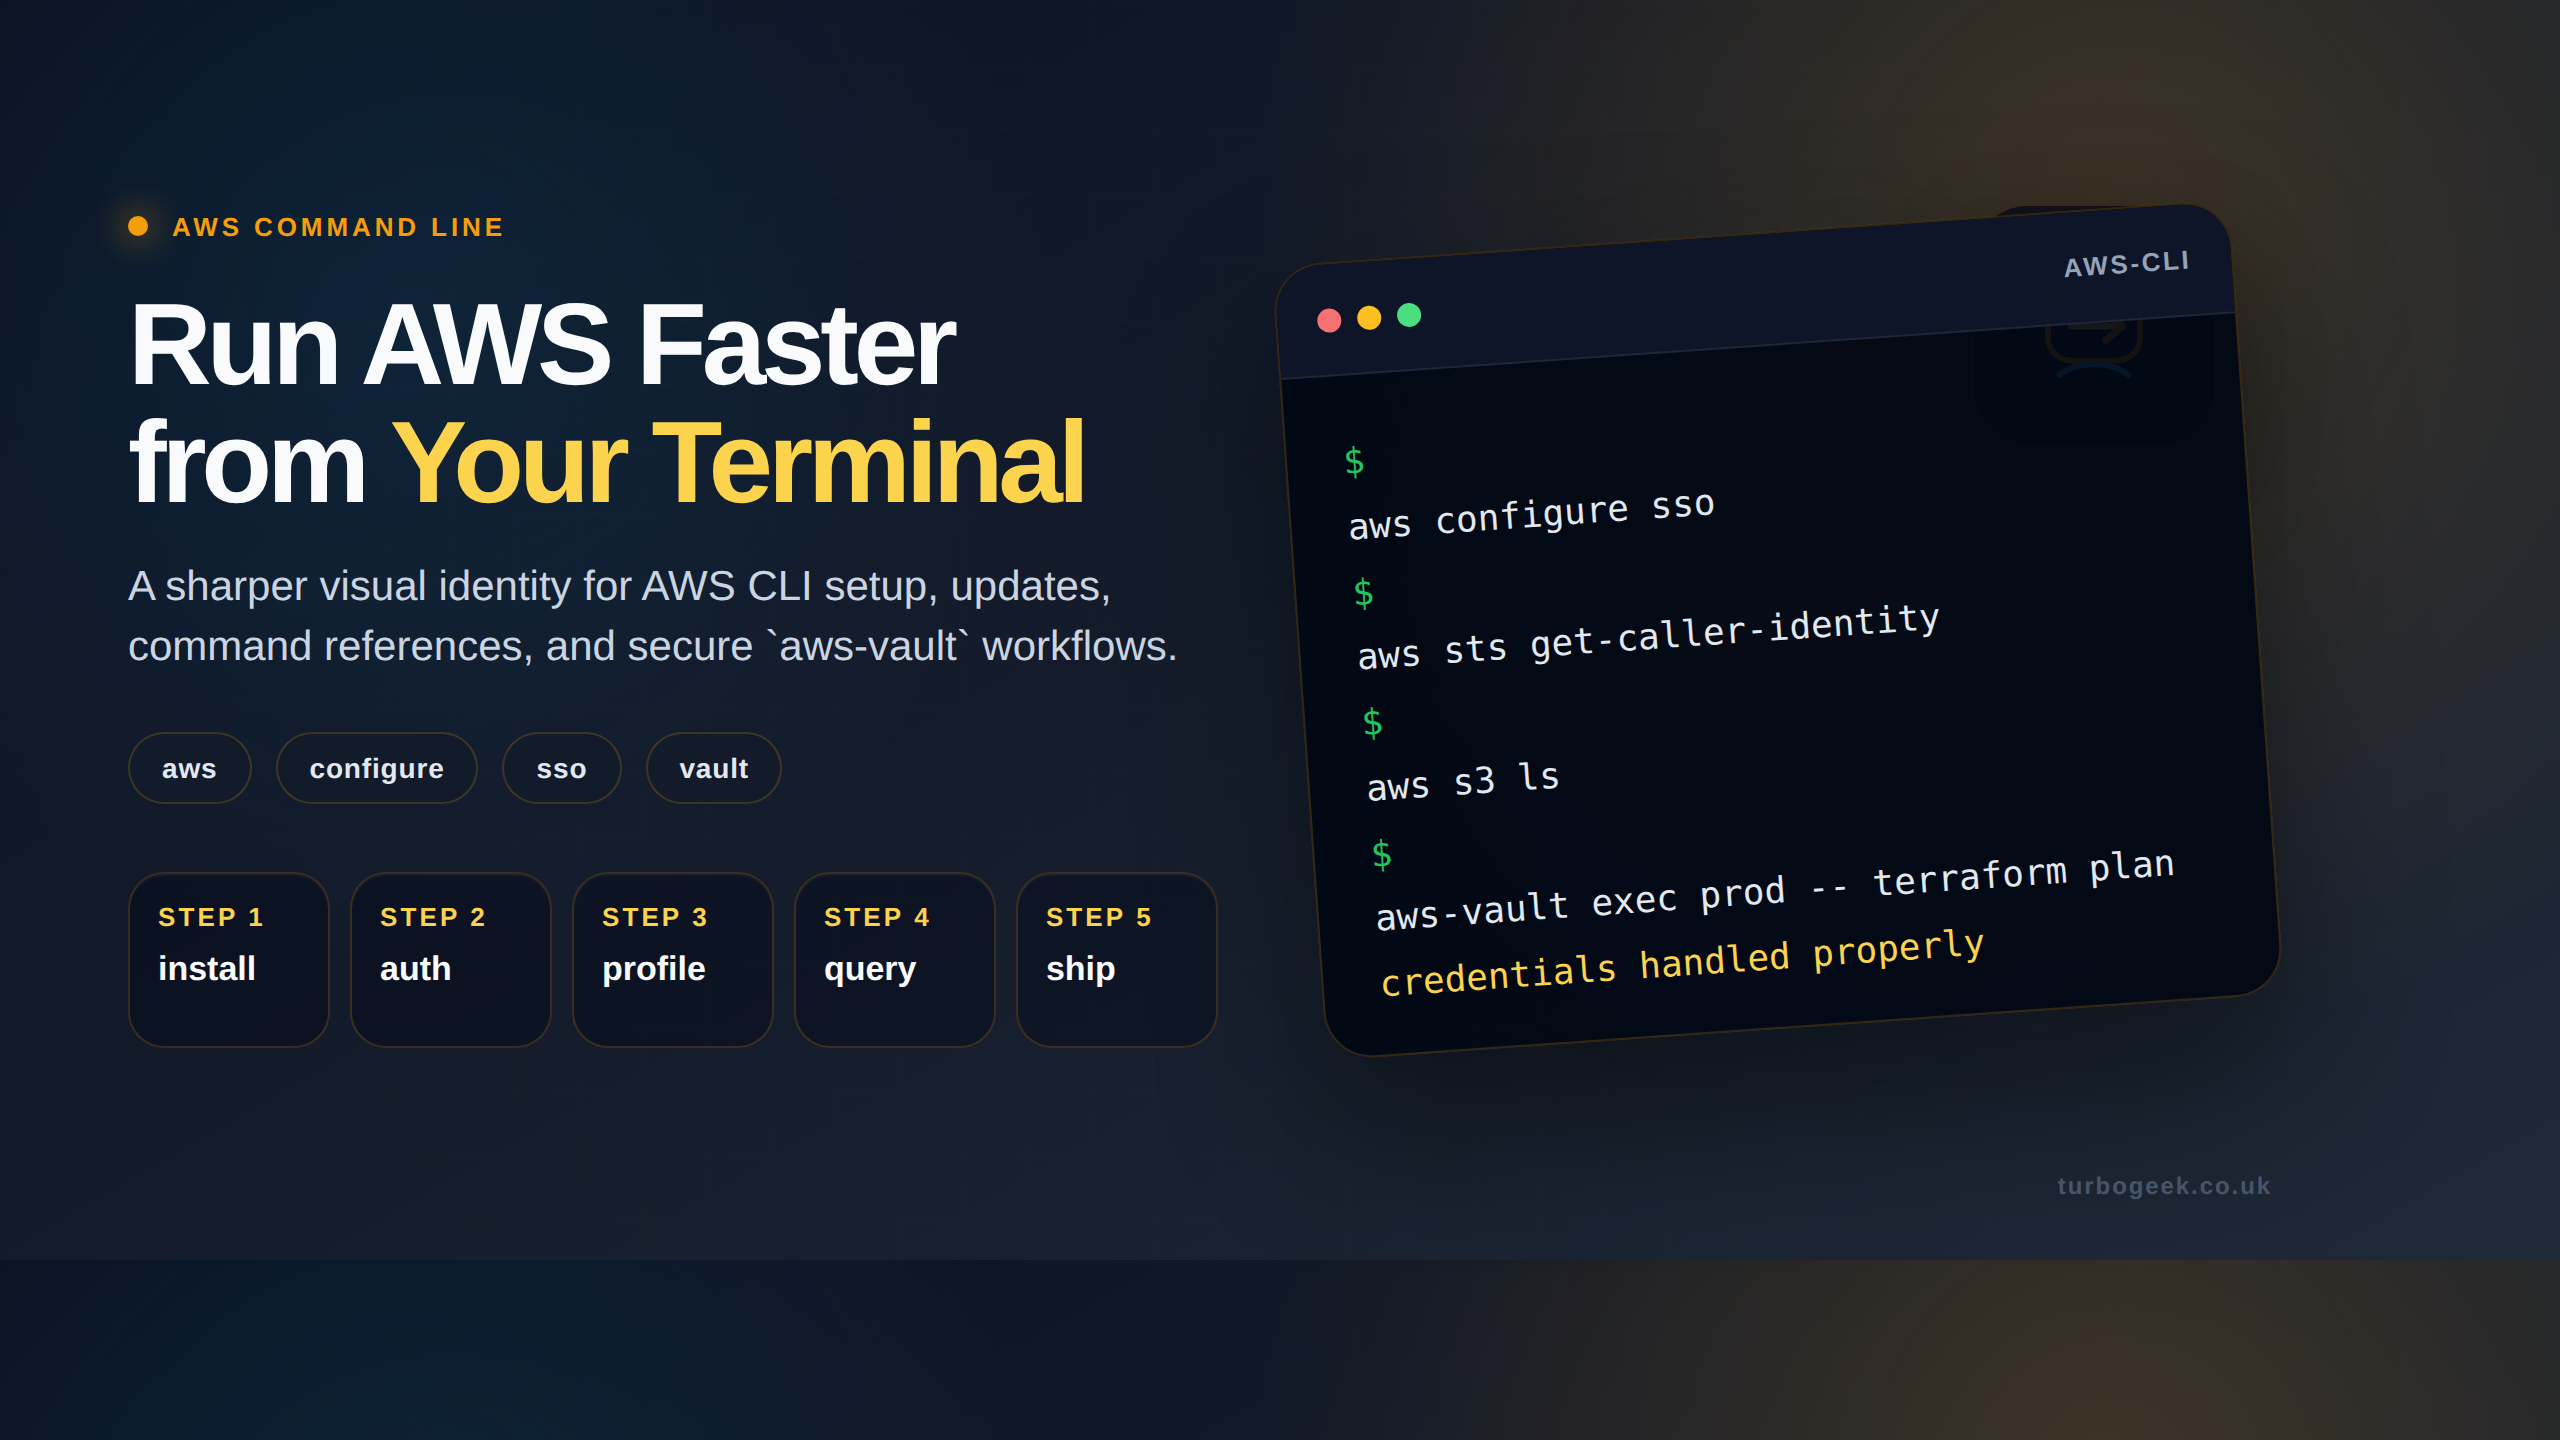
TL;DR
- AWS CLI v2 is the current supported version — v1 still works but is in maintenance mode.
- Windows: MSI installer. macOS: Homebrew or PKG. Linux: bundled installer or package manager.
- After install, run
aws configureto set credentials — better, useaws configure ssofor IAM Identity Center. - Update by re-running the installer; CLI v2 supports in-place updates without uninstalling first.
What is the AWS CLI?
The AWS Command Line Interface (AWS CLI) is the official Amazon-supported tool for managing AWS services from a terminal. It wraps the same APIs the AWS console uses, which means anything you can click in the console you can script in the CLI — and version-control, share, and rerun.
AWS CLI v2 is the current major release. It bundles its own Python runtime (no system Python dependency), supports IAM Identity Center single-sign-on, and ships with autocomplete out of the box. v1 is still maintained for security but no longer receives feature work — new installations should always be v2.
Prerequisites
- Admin rights on Windows / macOS / Linux to install system software.
- An AWS account and either an IAM access key or IAM Identity Center access for credentials.
- Roughly 200 MB free disk for the CLI itself.
How to use this guide
The sections below walk through the practical commands and options. After the main content you’ll find a Verification block (sanity-check it actually worked), a Troubleshooting block (common error messages and what to do), and Related reading for follow-on topics.
The AWS Command Line Interface (CLI) is an essential tool for any developer, sysadmin, or DevOps engineer working with Amazon Web Services. It allows you to control and automate hundreds of AWS services directly from your terminal, streamlining everything from resource management to complex deployment scripts.
This guide provides clear, step-by-step instructions for installing and updating the latest version of AWS CLI (v2) on Windows, macOS, and Linux using only the command line. We’ll focus on the official, recommended methods to ensure a stable and reliable setup.

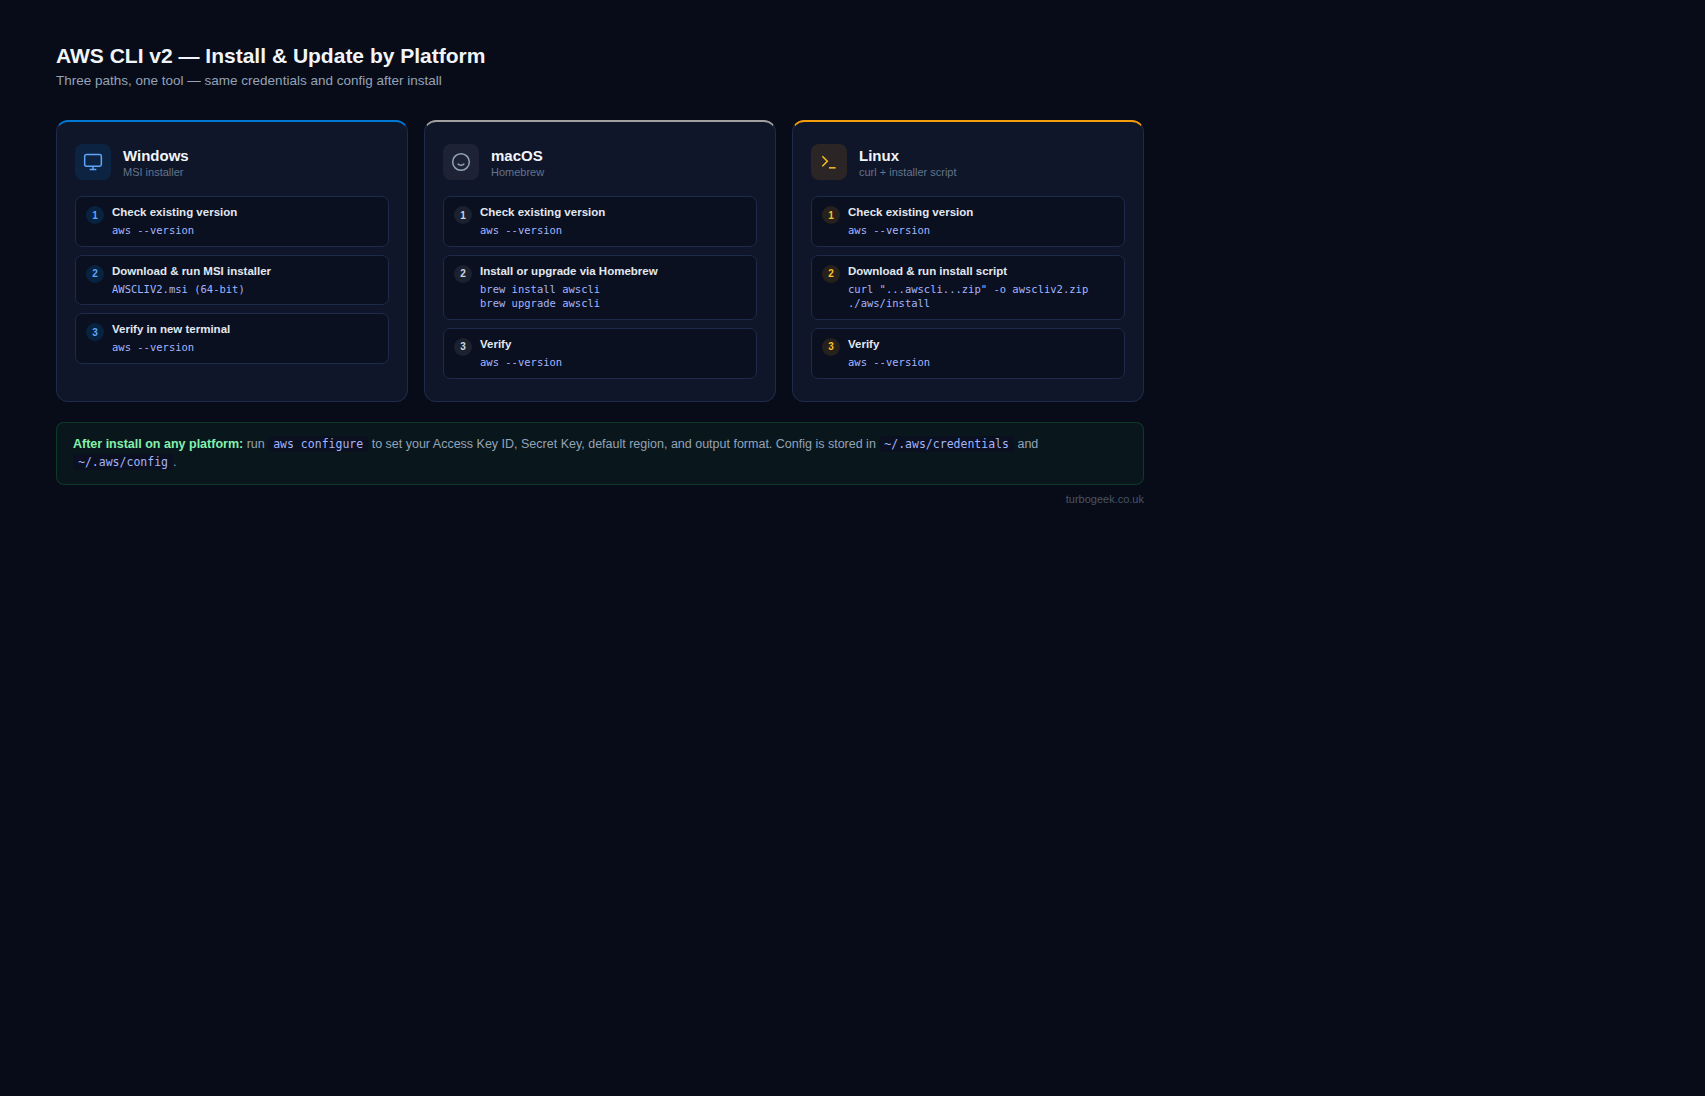
Install & Update AWS CLI on Windows
The recommended method for Windows is using the official MSI installer, which can be downloaded and run silently via PowerShell. You will need administrator privileges.
1. Check for an Existing Installation (Optional)
Open a new Command Prompt or PowerShell window and run:
aws --versionIf the CLI is installed, this command will return the installed version. If not, you’ll see an error.
2. Install or Update the AWS CLI
This single set of commands works for both a fresh installation and for updating an existing one. The MSI installer automatically handles overwriting the old version with the new one.
- Open PowerShell as Administrator.
- Download the latest official AWS CLI MSI installer:
Invoke-WebRequest -Uri "https://awscli.amazonaws.com/AWSCLIV2.msi" -OutFile "AWSCLIV2.msi"- Run the installer silently:
/quietflag installs the CLI for all users without showing a graphical interface.
msiexec.exe /i "AWSCLIV2.msi" /quiet 3. Verify the Installation
Important: You must close and reopen your PowerShell or Command Prompt window for the new PATH to take effect.
aws --versionThe output should now show the latest version, for example: aws-cli/2.22.0 Python/3.12.6 Windows/11 exe/AMD64.
Install & Update AWS CLI on macOS
For macOS, the most common and straightforward method is using the Homebrew package manager.
1. Check for an Existing Installation (Optional)
Open a new Terminal window and check if the CLI is already installed:
aws --version2. Install or Update with Homebrew
If you don’t have Homebrew, you can install it with a single command from their official website:
/bin/bash -c "$(curl -fsSL https://raw.githubusercontent.com/Homebrew/install/HEAD/install.sh)"- To install the AWS CLI, run the following
brewcommand. Homebrew automatically taps the correct formula for the latest version of AWS CLI v2.
brew install awscli- To update an existing Homebrew installation, simply run the upgrade command:
brew upgrade awscli3. Verify the Installation
Open a new terminal session to ensure you’re using the updated version and run:
aws --versionInstall & Update AWS CLI on Linux
AWS recommends using the official bundled installer for all Linux distributions, including Ubuntu, Amazon Linux, and CentOS. This method avoids potential conflicts with system Python packages.
1. Check for an Existing Installation (Optional)
In your terminal, check for a pre-existing version of the CLI:
aws --version2. Install or Update the AWS CLI
These steps download the official installer, unzip it, and run the installation script. The script automatically handles both new installs and updates.
- Download the latest installer package. We use
curlto fetch the 64-bit Linux package.
curl "https://awscli.amazonaws.com/awscli-exe-linux-x86_64.zip" -o "awscliv2.zip"- Unzip the installer. If you don’t have
unzip, install it first withsudo apt install unziporsudo yum install unzip.
unzip awscliv2.zip- Run the install script. Use
sudoto install the CLI to the default location (/usr/local/aws-cli), which makes it available to all users. The--updateflag will replace an existing installation with the version you just downloaded.
sudo ./aws/install --update3. Verify the Installation
Check the version to confirm the process was successful.
aws --versionAfter installation or an update, you can safely remove the files you downloaded:
rm -f awscliv2.zip
rm -rf aws
Next Steps: Configure Your Credentials
Once the AWS CLI is installed, your next step is to configure it with your security credentials. Run the following command and follow the prompts:
aws configureYou will be asked for your:
- AWS Access Key ID
- AWS Secret Access Key
- Default region name (e.g.,
us-east-1) - Default output format (e.g.,
json)
This creates a credentials file that the CLI uses to authenticate your requests to AWS services.
Verification
Sanity-check the install / change actually worked:
- Run
aws --version— confirms the CLI is installed and shows the major.minor.patch version. - Run
aws sts get-caller-identity— confirms credentials are set and shows the AWS account, IAM user/role and ARN you’re authenticated as. - Run
aws s3 ls— lists S3 buckets in the configured account/region; quick smoke-test for working IAM permissions.
Troubleshooting
aws: command not found — The install completed but the CLI isn’t on your PATH. Open a fresh terminal. On Linux/macOS, check echo $PATH includes /usr/local/bin. On Windows, restart the command prompt or sign out and back in.
Unable to locate credentials — No credentials configured. Run aws configure or, for SSO, aws configure sso. Confirm with aws configure list.
Multiple AWS profiles, wrong one used by default — Set AWS_PROFILE=<name> in your shell, or pass --profile <name> on each command.
Authoritative sources
The canonical reference is the AWS CLI v2 install guide and the aws-cli v2 changelog on GitHub for current release notes.
Leave a Reply