
Python is a high-level, general-purpose programming language that is widely used throughout the IT Industry. It is also one of the most popular in use today. It’s renowned for its versatility and beginner-friendly syntax and has become a cornerstone of modern software development, data science, and automation.

So many everyday applications are programmed in Python that it’s essential to have the Python runtime installed on your Linux server.
This guide provides a comprehensive walkthrough of the different methods for installing Python on Ubuntu, empowering you to choose the approach that best suits your needs and technical expertise. From the simplicity of APT to the flexibility of compiling from source, we’ll explore how to use each method, ensuring a smooth and successful Python installation.
Procedure: Installing Python on Ubuntu
Prerequisites:
- An Ubuntu system with an active internet connection.
- Access to a terminal window.
- Administrative privileges (sudo access).
Using APT to Install:
This is the recommended and simplest method for installing Python.
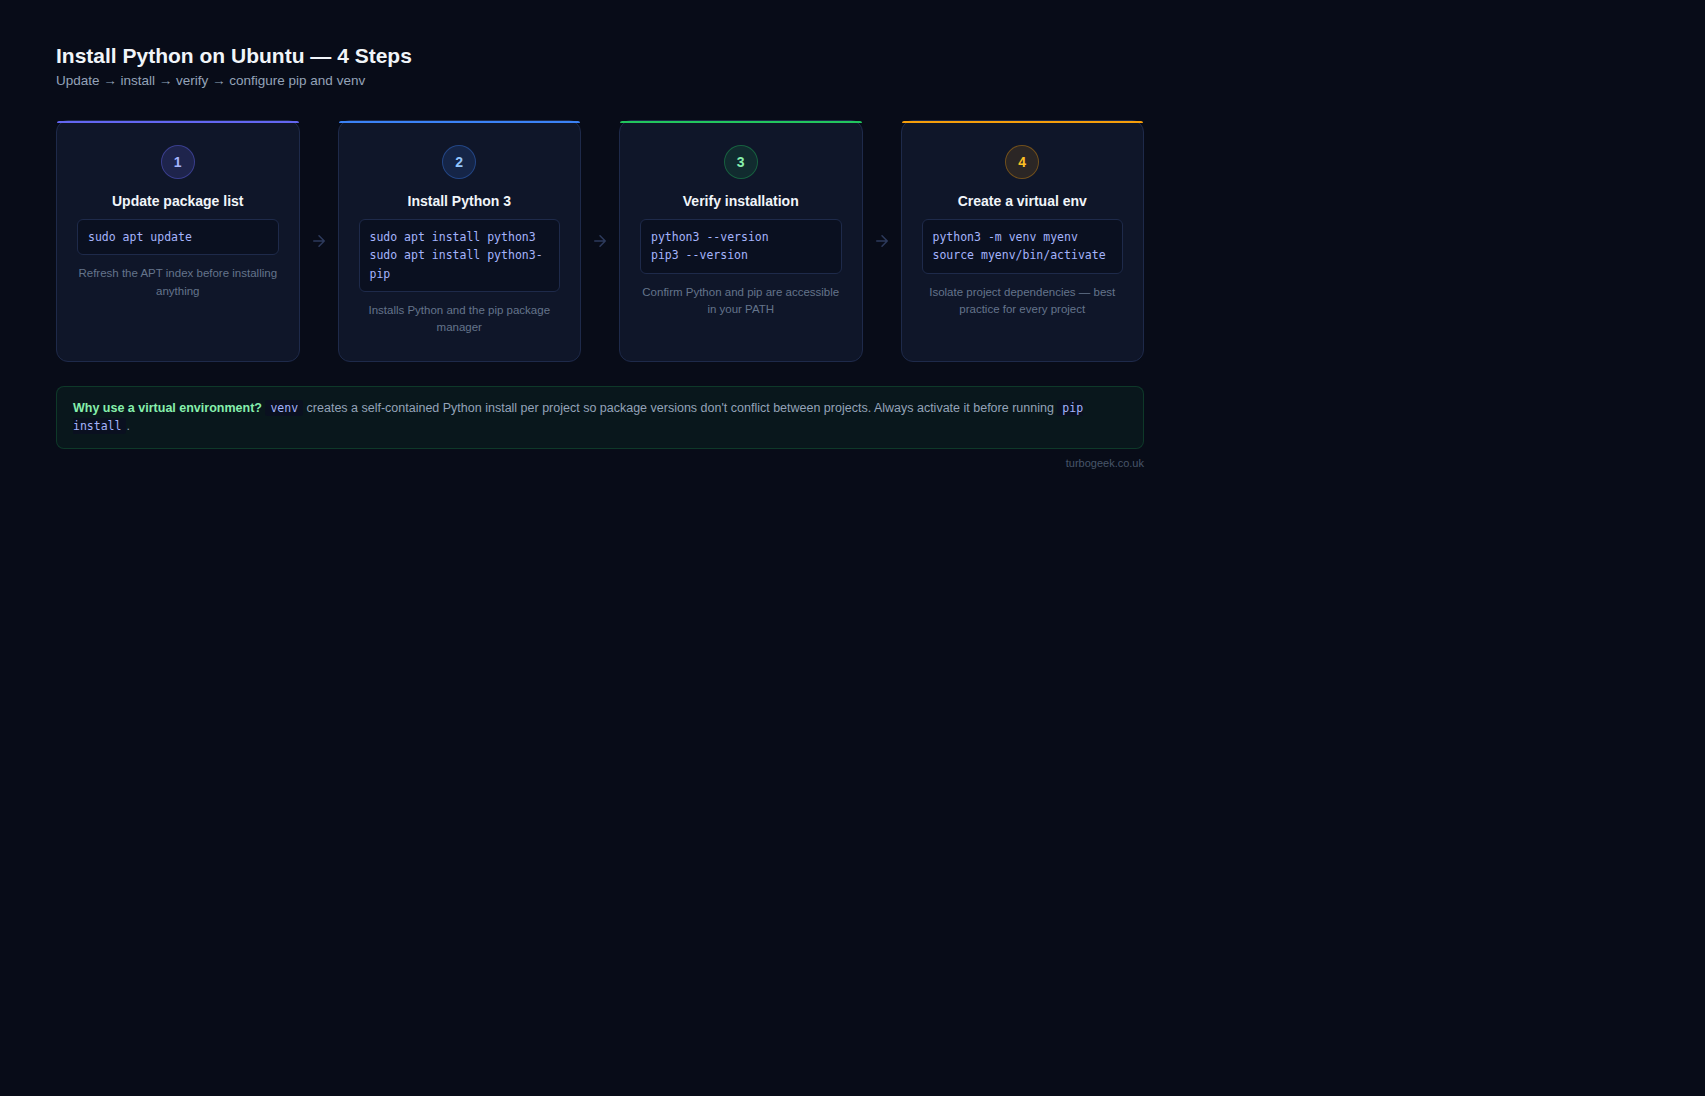
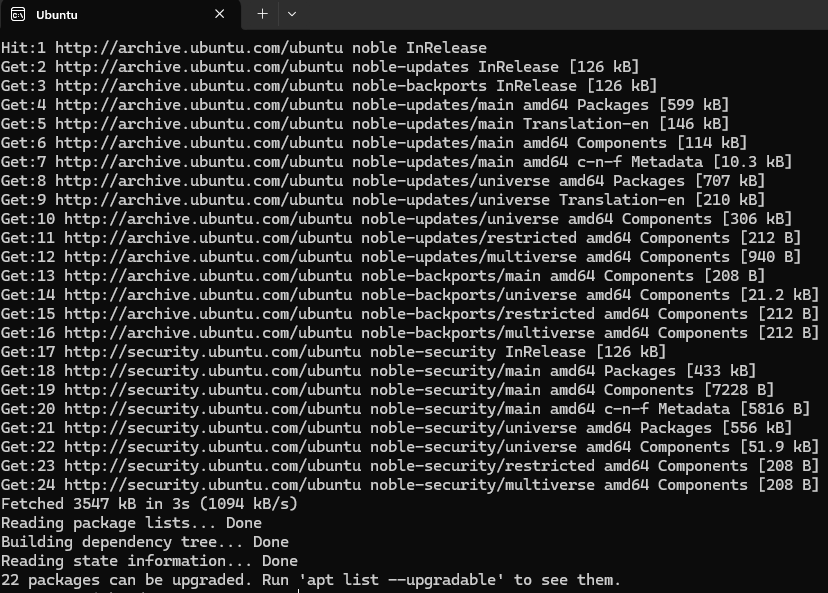
Step 1: Update the package repository.
APT is the Advanced Package Tool used by Ubuntu-type distributions.
sudo apt updateStep 2: Install Python
Install the desired Python version. Replace [version] with the specific version number (e.g., 3.10, 3.11).
If you are not sure which version you want to install, you can find further information on the Python website.
sudo apt install python3Step 3: Verify the installation.
Now we need to verify the installation has worked correctly
python3 --versionPost-Installation:
- pip: Ensure
pipis installed, as it is the recommended package installer.
sudo apt install python[version]-pip- Virtual Environments: Consider using virtual environments to isolate project dependencies and avoid conflicts.
python[version] -m venv [environment name]Note: Replace [version] with the specific Python version you are installing.
This procedure provides a comprehensive guide to installing Python on Ubuntu using different methods. Choose the method that best suits your needs and follow the steps carefully.
Check out our other Tech Quicky content here.
Leave a Reply